Crispy Air Fryer Pepperoni Roll Recipe: A Tasty Game Day Win
Weeknight dinners reach new heights with this simple air fryer pepperoni roll that promises crispy, cheesy perfection in minutes.
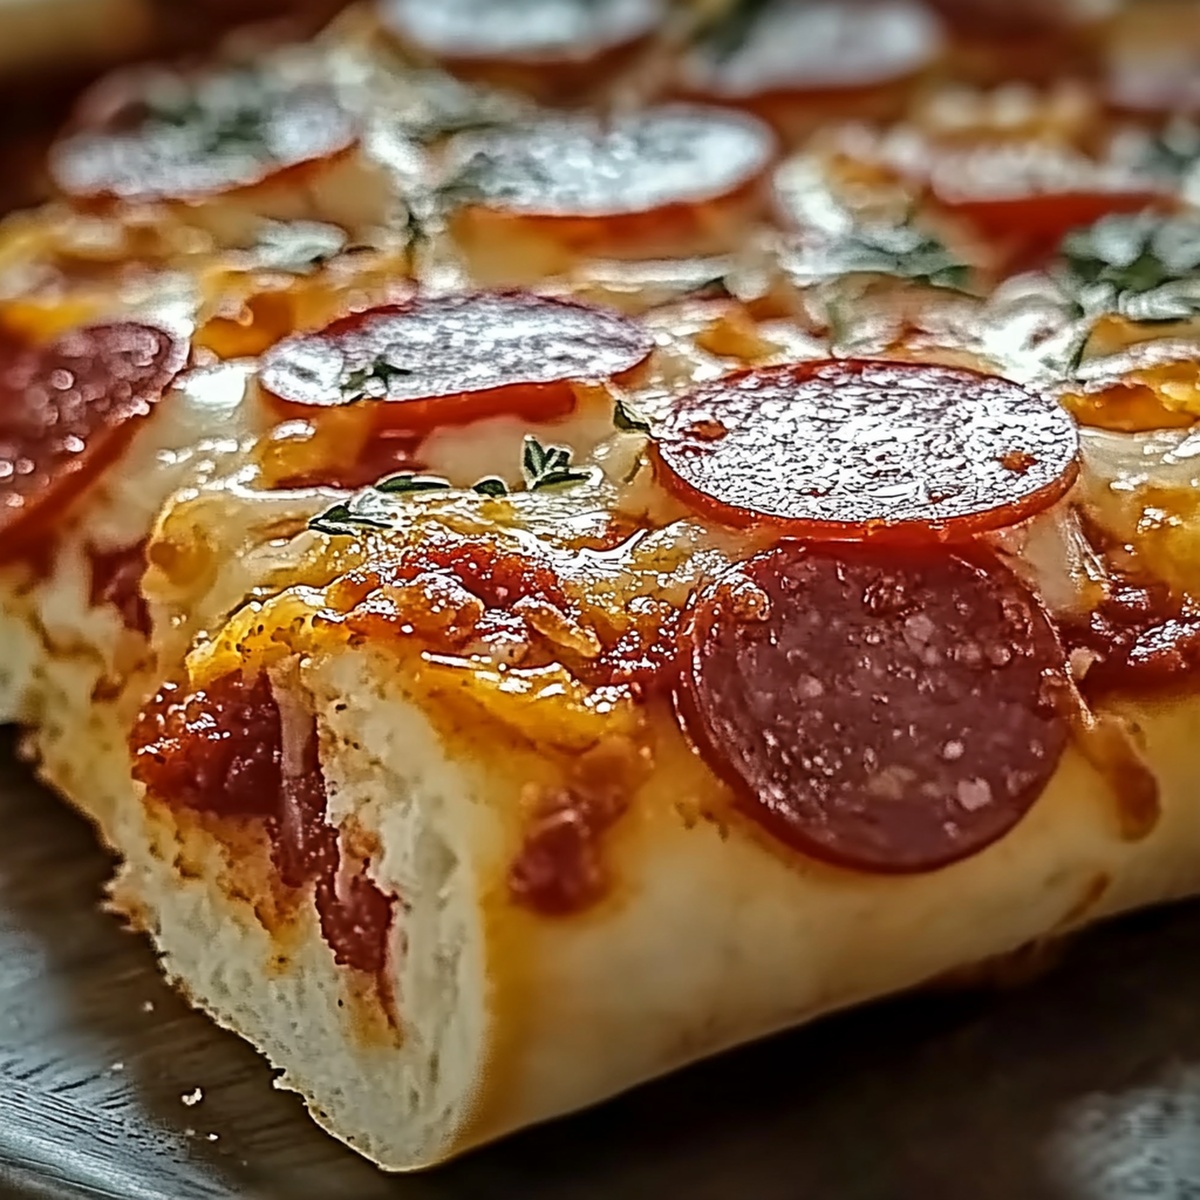
Small kitchen miracles happen when melted mozzarella meets golden-brown dough and savory pepperoni slices.
West Virginia’s classic snack gets a modern twist through smart appliance magic.
Our compact culinary adventure requires minimal ingredients and delivers maximum satisfaction.
Crisp edges and gooey centers await anyone willing to experiment with this quick recipe.
The magic happens fast, with each bite promising delightful comfort and flavor.
Grab some napkins and get ready to wow everyone at the table.
Why Air Fryer Pepperoni Roll Is A Snack-Time Favorite
Everything You Need For Air Fryer Pepperoni Roll
Dough and Base:Cheese and Protein:Seasonings:How To Make Air Fryer Pepperoni Roll
Step 1: Warm Up The Air Fryer
Crank your air fryer to a toasty 375 degrees Fahrenheit (190 Celsius) and let it heat up while you prepare your delicious pepperoni rolls.
Step 2: Stretch The Dough
Grab your pizza dough and roll it out on a clean surface. Slice the dough into four neat rectangles that will become your crispy pepperoni masterpieces.
Step 3: Create Cheesy Pepperoni Layers
Sprinkle your rectangles with a generous amount of mozzarella cheese, then add a delightful stack of pepperoni slices right in the center of each piece. Your taste buds will be dancing already!
Step 4: Roll And Seal The Goodness
Carefully roll each rectangle into a tight bundle, tucking in the sides like a cozy blanket. Pinch the edges firmly to keep all that cheesy, pepperoni goodness sealed inside.
Step 5: Add Flavor Boosters
Lovingly brush each roll with olive oil, then shower them with:These magical sprinkles will transform your rolls into flavor explosions.
Step 6: Air Fry To Perfection
Arrange the rolls in your air fryer basket, making sure they have a little breathing room between them. This ensures each roll gets crispy and golden.
Step 7: Cook Until Gorgeous
Let the air fryer work its magic for 8-10 minutes. You’re looking for a beautiful golden-brown color and a crispy exterior that screams “eat me now!”
Tips For Better Air Fryer Pepperoni Roll Results
Storing Your Air Fryer Pepperoni Roll Easily
Tasty Pairings With Air Fryer Pepperoni Roll
Fun Ideas To Twist Air Fryer Pepperoni Roll
Air Fryer Pepperoni Roll FAQ Guide
These air fryer pepperoni rolls are lighter, crispier, and cook much faster than oven-baked versions. The air fryer creates a perfectly golden exterior while keeping the inside soft and cheesy.
Absolutely! Homemade pizza dough works great and can add a fresher flavor compared to store-bought. Just ensure your dough is rolled out evenly for consistent cooking.
Yes, use part-skim mozzarella and choose leaner pepperoni. Blotting the pepperoni with a paper towel before adding to the roll can also help reduce excess oil.
Definitely! Kids love these handheld rolls because they’re easy to eat, cheesy, and have a fun, crispy texture that makes them irresistible.
Print
Air Fryer Pepperoni Roll Recipe
- Total Time: 20 minutes
- Yield: 8 1x
Description
West Virginia’s beloved air fryer pepperoni roll delivers mouthwatering comfort with crispy golden edges and melted cheese inside. Snacking perfection awaits you with this quick, satisfying treat that brings mountain state magic straight to your kitchen.
Ingredients
Main Protein:
- 20 slices pepperoni
Cheese:
- 1 cup shredded mozzarella cheese
Dough and Seasonings:
- 1 can refrigerated pizza dough
- 1 tablespoon (15 milliliters) olive oil
- ½ teaspoon garlic powder
- ½ teaspoon Italian seasoning
Optional Dipping Sauce:
- Marinara sauce
Instructions
- Stretch the pizza dough into uniform rectangular shapes on a clean work surface, ensuring even thickness.
- Distribute mozzarella cheese generously across the center of each dough section, creating a creamy base for the pepperoni.
- Arrange pepperoni slices in a neat, overlapping pattern over the cheese, covering the entire central area.
- Carefully fold the dough edges inward, encasing the cheese and pepperoni completely, and press firmly to create a secure seal.
- Drizzle olive oil across the exterior of each roll, ensuring complete coverage for a golden, crisp finish.
- Sprinkle a blend of garlic powder and Italian seasoning over the oiled surface, adding robust flavor and aromatic complexity.
- Position the prepared rolls inside the air fryer basket, maintaining slight separation to allow consistent heat circulation.
- Cook in the preheated air fryer, rotating midway through to promote even browning and achieve a crispy, appetizing exterior.
- Remove when the rolls transform into a rich, golden-brown color with a satisfyingly crunchy texture.
Notes
- Seal the edges tightly to prevent cheese from leaking during cooking.
- Experiment with different cheese varieties like provolone or cheddar for unique flavor combinations.
- Customize the filling by adding sliced olives, bell peppers, or jalapeños for extra texture and taste.
- Adjust air fryer time based on dough thickness and desired crispiness, checking midway to prevent burning.
- Prep Time: 10 minutes
- Cook Time: 10 minutes
- Category: Snacks, Lunch
- Method: Frying
- Cuisine: Italian
Nutrition
- Serving Size: 8
- Calories: 300
- Sugar: 1 g
- Sodium: 800 mg
- Fat: 18 g
- Saturated Fat: 7 g
- Unsaturated Fat: 10 g
- Trans Fat: 0 g
- Carbohydrates: 25 g
- Fiber: 1 g
- Protein: 12 g
- Cholesterol: 30 mg
Dave Mitchell
Founder & Chief Recipe Developer
Expertise
Education
Asheville-Buncombe Technical Community College
Associate of Applied Science in Culinary Arts
Focus: Comprehensive training in culinary techniques, kitchen management, and menu planning, with a special emphasis on grilling and outdoor cooking.
Dave Mitchell is the heart behind Daves Grill, a cook, writer, and lover of all things grilled. He studied Culinary Arts at Asheville-Buncombe Technical Community College and spent years cooking, testing, and sharing recipes that actually work.
Dave started Daves Grill to keep things simple: one great recipe at a time. His food is bold, easy to follow, and made for real people with regular kitchens. From juicy steaks to quick sides, Dave’s recipes bring the heat without the hassle.