Homemade Apple Pie Recipe: Classic Comfort in Every Slice
Crisp autumn winds carry memories of grandma’s heartwarming apple pie wafting through cozy kitchens.
Sweet orchard fruits nestled beneath buttery pastry create magic on dinner plates.
Rustic charm meets delectable comfort in this classic dessert that connects generations.
Seasonal ingredients dance together, promising rich flavors and nostalgic moments.
Delicate spices whisper tales of home-baked traditions waiting to unfold.
Baking this pie invites warm conversations and shared laughter around the table.
You’ll feel like a culinary artist crafting edible memories with every slice.
Grab a fork and let the delicious journey begin!
Why Apple Pie Is A Timeless Favorite
Everything Inside Apple Pie
Pie Crust:Filling Fruits:Filling Sweeteners:Filling Spices:Filling Enhancers:Egg Wash:Optional Finish:How To Bake Apple Pie Right
Step 1: Warm Up the Oven
Crank your oven to a toasty 425 degrees, getting it ready for pie magic.
Step 2: Craft the Bottom Crust
Gently roll out the first pie crust and nestle it into a cozy 9-inch pie pan, making sure it hugs the bottom and sides perfectly.
Step 3: Create Apple Flavor Explosion
In a spacious mixing bowl, combine:Toss everything together until the apples are beautifully coated with the sweet and spicy mixture.
Step 4: Build the Pie Foundation
Pour the apple mixture into the prepared crust, then dot the top with soft butter pieces for extra richness.
Step 5: Top It Off
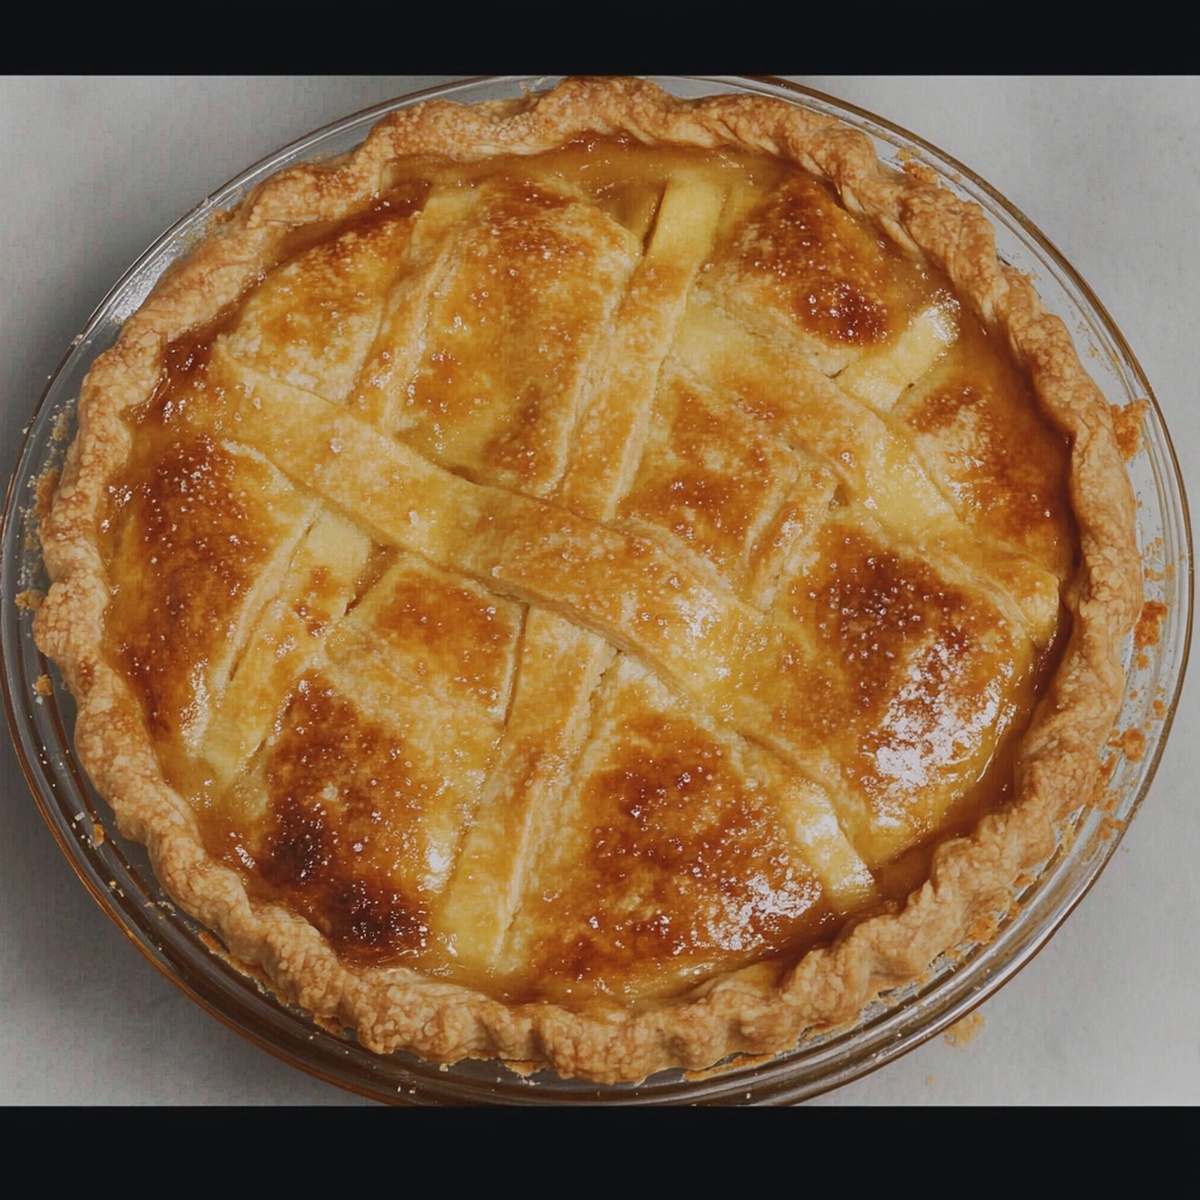
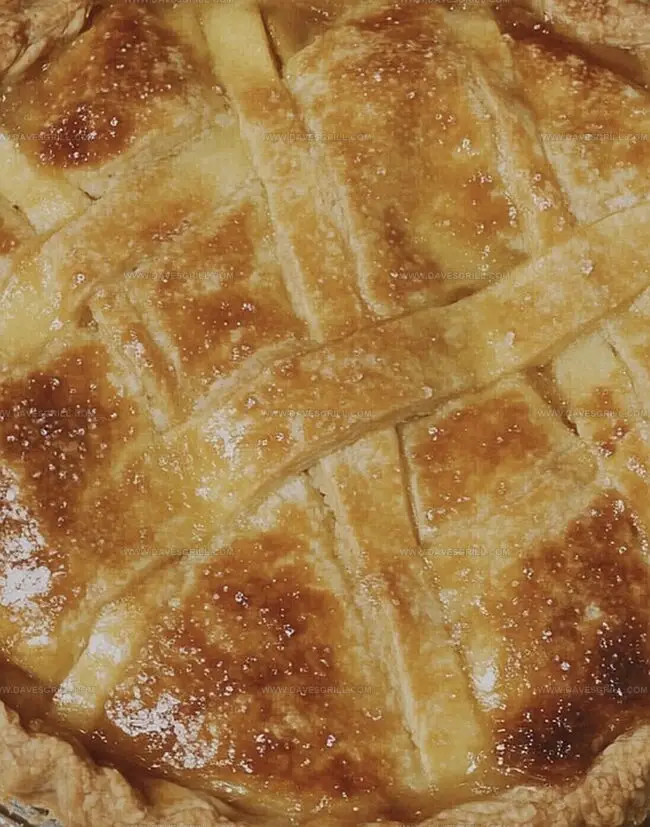
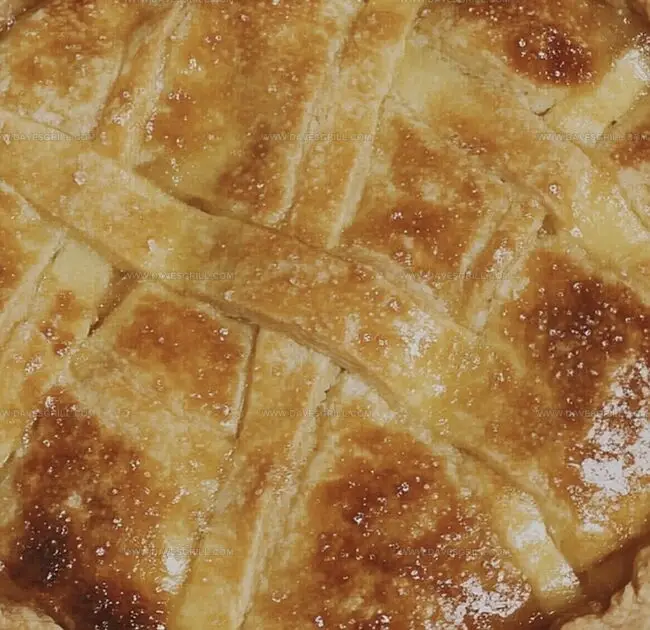
Roll out the second crust and drape it over the apple landscape. Trim any extra dough hanging over the edges, then pinch and crimp the borders to create a beautiful seal. Slice a few strategic vents on top to let steam escape.
Step 6: Give It a Golden Glow
Whisk an egg with milk, then lovingly brush this mixture over the entire top crust to create a stunning golden finish.
Step 7: Bake to Perfection
Place the pie on a baking sheet to catch any potential drips. Slide it into the preheated oven and bake for 45-50 minutes. You’re looking for a crust that turns a gorgeous golden brown and a filling that bubbles with excitement.
Step 8: Prevent Over-Browning
If the crust starts turning too dark too quickly, gently cover the edges with aluminum foil halfway through baking.
Step 9: Let It Rest
Patience is key! Allow the pie to cool for at least two hours. This waiting period helps the filling set and makes slicing a breeze.
Smart Tips For Apple Pie Success
How To Keep Apple Pie Fresh
What Goes Great With Apple Pie
Tasty Spins On Classic Apple Pie
Apple Pie FAQ List
Granny Smith, Honeycrisp, and Braeburn apples are ideal. They hold their shape well and provide a perfect balance of tartness and sweetness during baking.
Sprinkle a thin layer of breadcrumbs or ground nuts on the bottom crust before adding the apple filling. This helps absorb excess moisture and keeps the crust crisp.
Yes! You can prepare the pie and refrigerate it unbaked for up to 24 hours. When ready to bake, brush with egg wash and put directly in the preheated oven.
Cooling allows the filling to set and thicken, preventing a runny texture. This helps the pie slice cleanly and hold its shape when served.
Print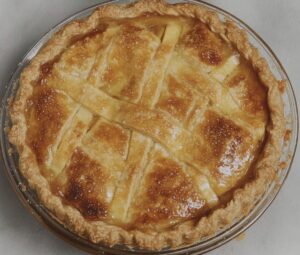
Apple Pie Recipe
- Total Time: 1 hour 20 minutes
- Yield: 8 1x
Description
Homemade apple pie delivers classic comfort with layers of buttery crust and spiced fruit filling. Sweet cinnamon notes and flaky pastry transport taste buds to grandma’s kitchen, inviting delightful memories of warm, comforting desserts.
Ingredients
Main Ingredients:
- 6 to 7 cups peeled and sliced apples (Granny Smith, Honeycrisp, or a mix)
- 1 package (14 ounces / 397 grams) refrigerated pie crusts (or homemade crust for 9-inch double-crust pie)
- 1 egg (for egg wash)
Sugars and Sweet Components:
- ¾ cup (150 grams) granulated sugar
- ¼ cup (50 grams) brown sugar
- 1 tablespoon lemon juice
- 1 teaspoon vanilla extract
Spices and Thickeners:
- 2 tablespoons all-purpose flour
- 1 teaspoon ground cinnamon
- ¼ teaspoon ground nutmeg
- 1 tablespoon butter (cut into small pieces)
- 1 tablespoon milk
Instructions
- Prepare a generous workspace for assembling this classic dessert, ensuring all ingredients and tools are within reach.
- Craft the bottom pastry layer by gently unrolling and pressing the dough into a 9-inch pie dish, creating a smooth foundation for the filling.
- Transform sliced apples into a decadent mixture by combining them with sweet and aromatic seasonings, tossing until each slice is thoroughly coated with the fragrant blend.
- Transfer the spiced apple medley into the prepared crust, distributing butter pieces strategically across the surface to enhance richness and flavor.
- Delicately drape the remaining pastry over the apple landscape, trimming excess edges and creating an artful seal by crimping the borders with gentle pinches.
- Craft a lustrous golden finish by whisking an egg wash and tenderly brushing it across the pie’s crown, ensuring even coverage.
- Position the pie on a rimmed baking sheet to catch potential drips, then slide into a preheated oven set to a high temperature.
- Monitor the pie’s transformation, rotating the baking sheet if necessary and shielding the crust’s edges with aluminum foil to prevent excessive browning.
- Allow the pie to rest and settle after emerging from the oven, giving the filling time to stabilize and develop a perfect, sliceable consistency.
Notes
- Choose crisp, tart apples like Granny Smith or Honeycrisp for the best flavor balance and structural integrity during baking.
- Create decorative lattice or intricate top crusts for a professional bakery-style presentation that elevates the visual appeal.
- Prevent soggy bottom crusts by preheating a baking sheet and placing the pie directly on the hot surface to ensure even heat distribution.
- Reduce sugar content for a healthier version by substituting part of the sugar with stevia or using less refined sweeteners like coconut sugar.
- Prep Time: 30 minutes
- Cook Time: 50 minutes
- Category: Desserts
- Method: Baking
- Cuisine: American
Nutrition
- Serving Size: 8
- Calories: 290
- Sugar: 16 g
- Sodium: 200 mg
- Fat: 12 g
- Saturated Fat: 5 g
- Unsaturated Fat: 6 g
- Trans Fat: 0 g
- Carbohydrates: 40 g
- Fiber: 2 g
- Protein: 3 g
- Cholesterol: 30 mg
Dave Mitchell
Founder & Chief Recipe Developer
Expertise
Education
Asheville-Buncombe Technical Community College
Associate of Applied Science in Culinary Arts
Focus: Comprehensive training in culinary techniques, kitchen management, and menu planning, with a special emphasis on grilling and outdoor cooking.
Dave Mitchell is the heart behind Daves Grill, a cook, writer, and lover of all things grilled. He studied Culinary Arts at Asheville-Buncombe Technical Community College and spent years cooking, testing, and sharing recipes that actually work.
Dave started Daves Grill to keep things simple: one great recipe at a time. His food is bold, easy to follow, and made for real people with regular kitchens. From juicy steaks to quick sides, Dave’s recipes bring the heat without the hassle.