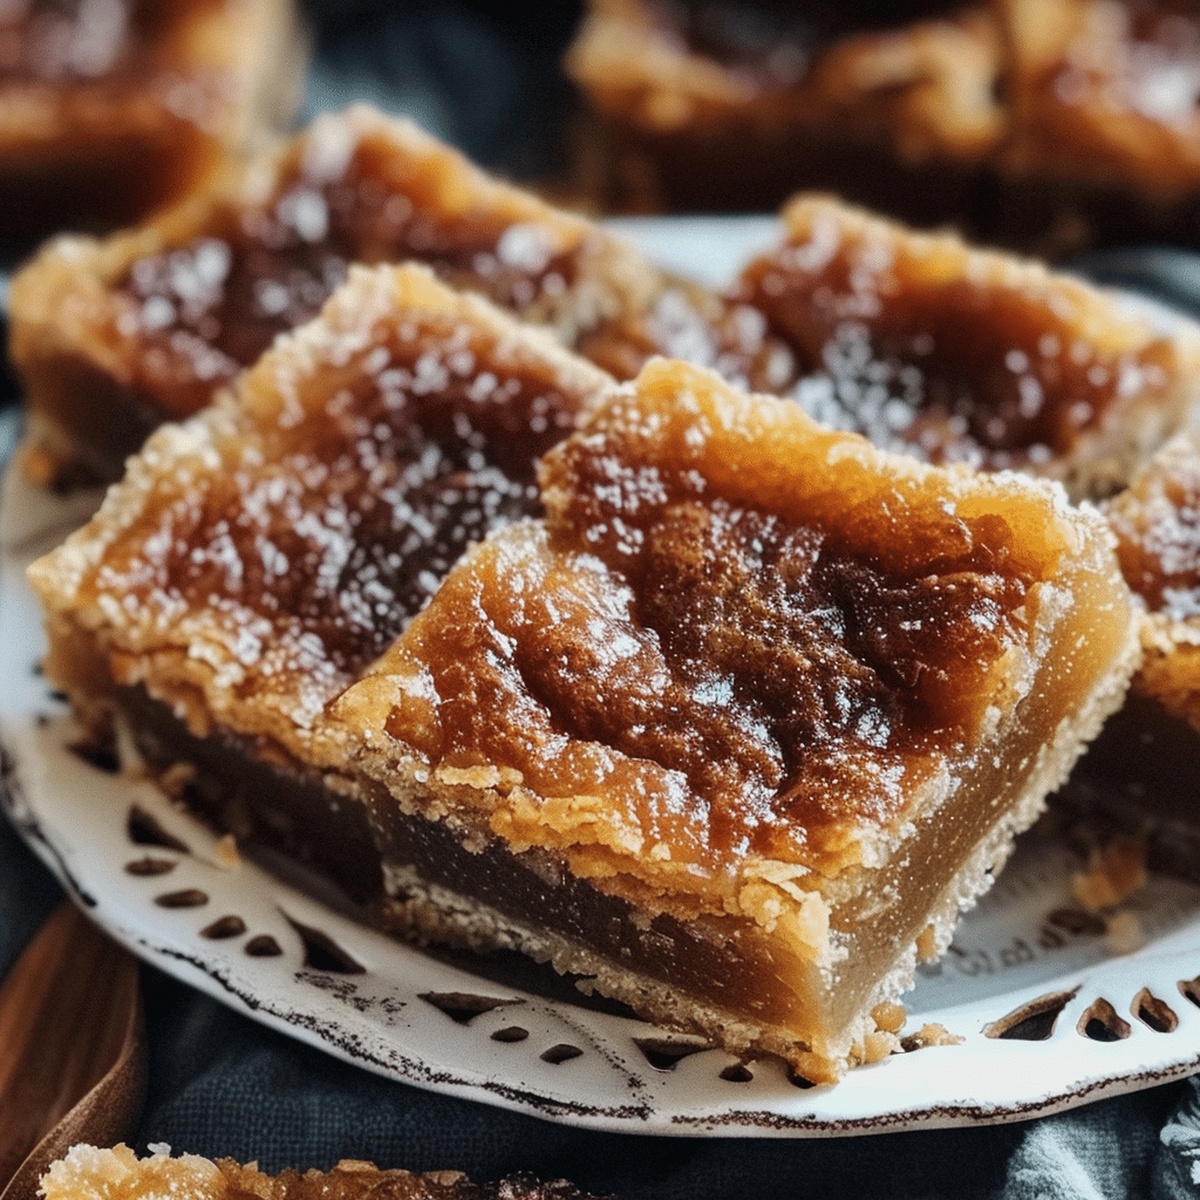
Gooey Butter Tart Squares Recipe for Sweet Lovers
Sweet butter tart squares have been a Canadian dessert legend for generations.
Maple-loving bakers across ontario adore this classic treat.
Each bite delivers a perfectly balanced combination of sugary richness and buttery crunch.
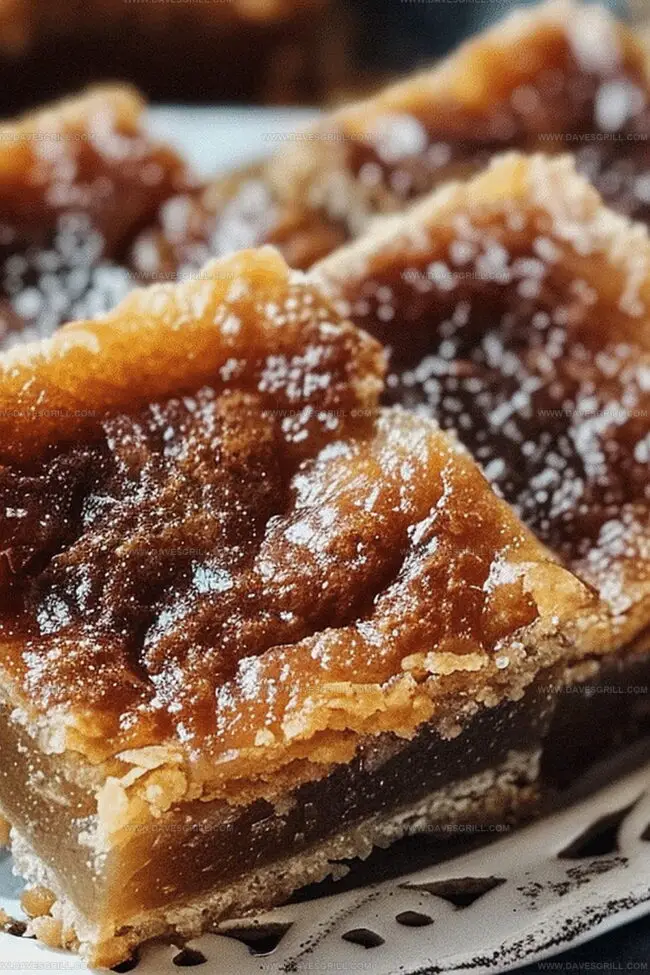
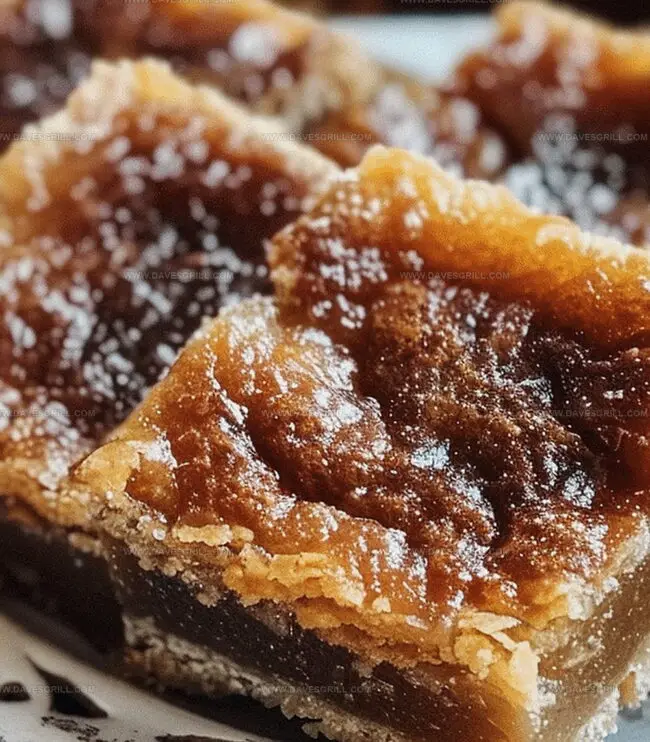
Flaky pastry cradles a gooey, caramel-like filling that melts delightfully on your tongue.
Provincial bakeries and home kitchens share this beloved recipe with pride.
Crisp edges and silky centers make these squares irresistible to anyone who tries them.
You’ll want to bookmark this crowd-pleasing dessert for every potluck and family gathering.
What Makes Butter Tart Squares Irresistible
Ingredients That Go Into Butter Tart Squares
Crust Ingredients:Filling Ingredients:Optional Mix-Ins:Baking Your Way to Classic Butter Tart Squares
Step 1: Warm Up the Oven
Crank the oven to 350F (175C). Grab an 8×8-inch baking pan and give it a quick spray with cooking spray or line it with parchment paper, making sure some paper hangs over the edges for easy lifting later.
Step 2: Create the Crumbly Crust
Grab a mixing bowl and toss in:Slice in cold butter and mash it up using a pastry cutter or fork until the mixture looks like chunky sand.
Step 3: Press and Bake the Crust
Firmly press the crumbly mixture into the bottom of the prepared pan. Slide it into the oven and bake until it turns a delicate golden color, about 10-12 minutes.
Step 4: Whip Up the Gooey Filling
In a separate bowl, whisk together:Mix until silky smooth. Want some extra texture? Fold in raisins or chopped walnuts.
Step 5: Pour and Finish Baking
Drizzle the filling over the pre-baked crust, spreading it evenly. Return to the oven and bake until the top turns golden and the center has a slight wobble, around 25-30 minutes.
Step 6: Cool and Slice
Let the squares cool completely in the pan. Use the parchment paper handles to lift the entire batch out. Slice into neat squares.
Step 7: Serve and Store
Serve these delectable treats to eager friends and family. Leftovers can hang out in an airtight container at room temperature for 3 days or chill in the fridge for up to a week.
Tips for That Signature Gooey Center
How to Keep Butter Tart Squares Fresh
Serving Ideas for Butter Tart Squares
Fun Twists on Butter Tart Squares
Gluten-Free Version: Replace wheat flour with almond flour or a gluten-free blend for the crust and filling to accommodate celiac or gluten-sensitive individuals.
Nut-Free Alternative: Omit walnuts and substitute with dried cranberries or chocolate chips for added texture and flavor without nut allergens.
Vegan Option: Swap eggs with flax eggs (ground flaxseed mixed with water), use coconut oil instead of butter, and choose plant-based sweeteners like maple syrup for a completely dairy-free and egg-free dessert.
Low-Sugar Adaptation: Reduce brown sugar quantity and incorporate natural sweeteners like stevia or monk fruit sweetener to create a diabetic-friendly version with lower sugar content.
Print
Butter Tart Squares Recipe
- Total Time: 50 minutes
- Yield: 16 1x
Description
Buttery Canadian butter tart squares deliver classic Prairie comfort in one delectable dessert. Sweet pastry layers merge with rich caramel-like filling, promising pure deliciousness you can savor with each delightful bite.
Ingredients
Main Ingredients:
- 2 large eggs
- 1 cup packed brown sugar
- ½ cup cold butter, cubed
- ¼ cup melted butter
- 1 cup all-purpose flour
Binding and Flavor Ingredients:
- ¼ cup granulated sugar
- 1 tablespoon white vinegar
- 1 teaspoon vanilla extract
Optional Add-ins:
- ½ cup raisins or chopped walnuts
Instructions
- Prepare the oven environment by positioning the rack in the center and heating to 350F (175C), ensuring an even baking temperature.
- Create the foundational crust by combining flour and granulated sugar in a medium mixing bowl, then incorporate cold butter using a pastry cutter until the mixture transforms into coarse, crumbly texture.
- Transfer the crust mixture into a prepared 8×8-inch baking pan, pressing firmly and uniformly across the bottom to create a compact base layer.
- Partially bake the crust for 10-12 minutes until it achieves a delicate golden hue, establishing a sturdy foundation for the filling.
- Simultaneously craft the rich filling by whisking eggs, brown sugar, melted butter, flour, vinegar, and vanilla extract into a silky, harmonious blend.
- Optionally enhance the filling’s depth by gently folding in raisins or chopped walnuts, distributing them evenly throughout the mixture.
- Carefully pour the filling over the pre-baked crust, using a spatula to spread it into a consistent layer that covers the entire surface.
- Return the pan to the oven and bake for 25-30 minutes, watching for a golden-brown top and a slightly quivering center that indicates perfect custard-like consistency.
- Allow the baked squares to cool completely within the pan, which helps the filling set and makes cutting easier.
- Utilize the parchment paper overhang to gracefully lift the entire dessert from the pan, then slice into neat squares.
- Serve at room temperature and store any remaining squares in an airtight container, consuming within 3 days for optimal freshness.
Notes
- Achieve a buttery, crumbly crust by using cold butter and working quickly to prevent melting.
- Ensure even baking by pressing the crust mixture firmly and uniformly into the pan, creating a consistent base.
- Prevent raisins or nuts from sinking by lightly coating them in flour before folding into the filling.
- Customize the recipe by swapping raisins with chocolate chips, coconut flakes, or dried cranberries for varied flavor profiles.
- Prep Time: 15 minutes
- Cook Time: 35 minutes
- Category: Desserts, Snacks
- Method: Baking
- Cuisine: Canadian
Nutrition
- Serving Size: 16
- Calories: 210
- Sugar: 18 g
- Sodium: 80 mg
- Fat: 10 g
- Saturated Fat: 6 g
- Unsaturated Fat: 4 g
- Trans Fat: 0 g
- Carbohydrates: 30 g
- Fiber: 1 g
- Protein: 2 g
- Cholesterol: 50 mg
Dave Mitchell
Founder & Chief Recipe Developer
Expertise
Education
Asheville-Buncombe Technical Community College
Associate of Applied Science in Culinary Arts
Focus: Comprehensive training in culinary techniques, kitchen management, and menu planning, with a special emphasis on grilling and outdoor cooking.
Dave Mitchell is the heart behind Daves Grill, a cook, writer, and lover of all things grilled. He studied Culinary Arts at Asheville-Buncombe Technical Community College and spent years cooking, testing, and sharing recipes that actually work.
Dave started Daves Grill to keep things simple: one great recipe at a time. His food is bold, easy to follow, and made for real people with regular kitchens. From juicy steaks to quick sides, Dave’s recipes bring the heat without the hassle.