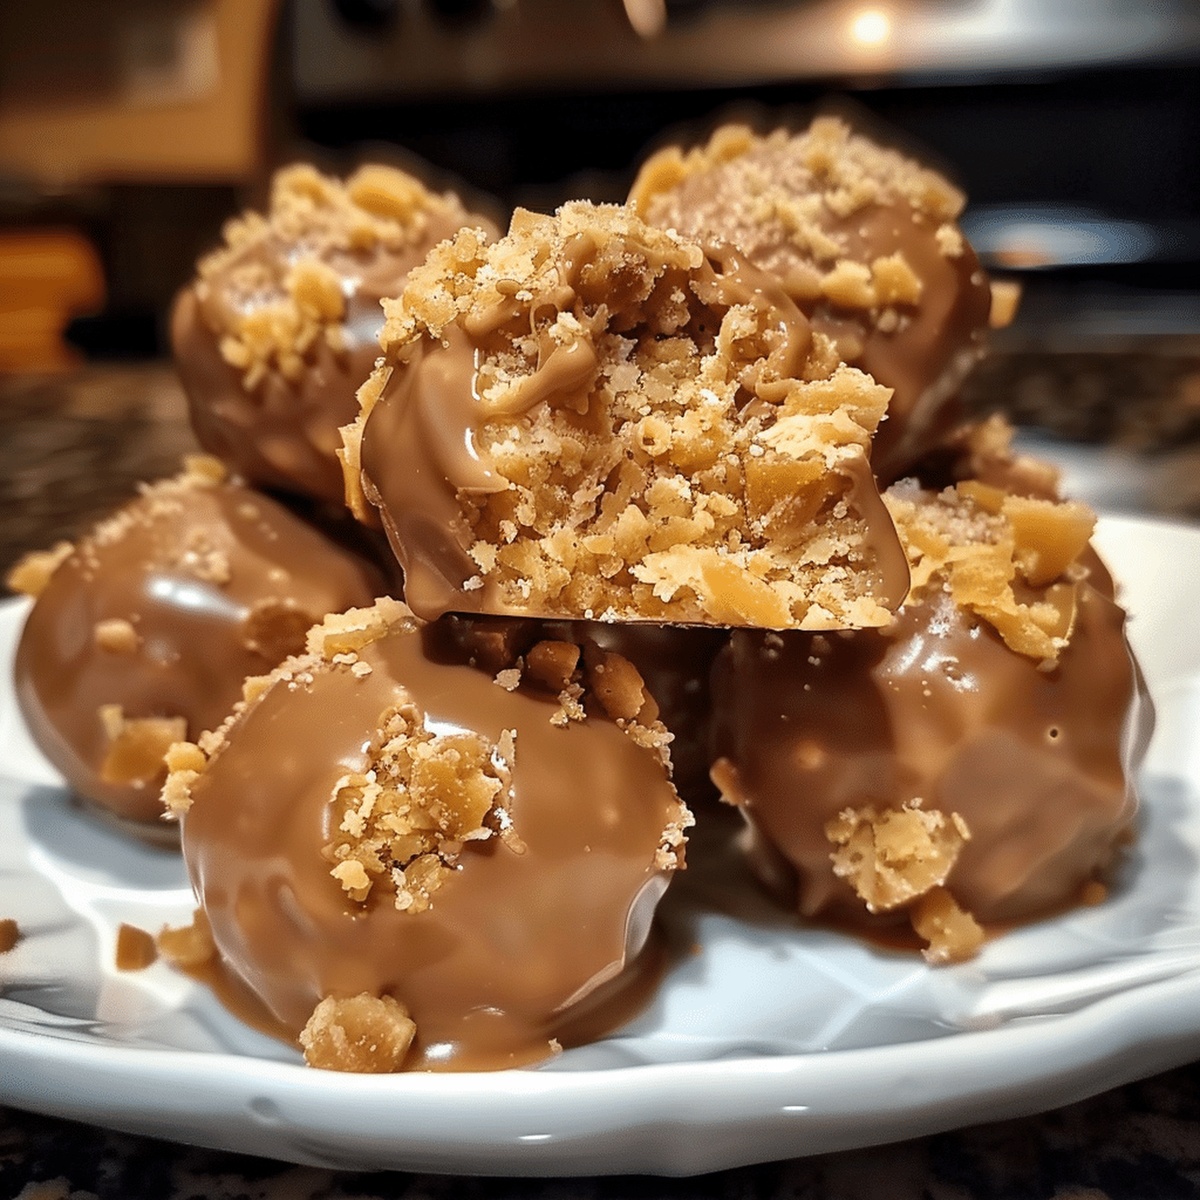
Irresistible Butterfinger Balls Recipe for Sweet Tooth Joy
Whipping up these delectable butterfinger balls can turn an ordinary afternoon into a sweet celebration of flavor.
Chocolate lovers understand the magnetic pull of such irresistible treats.
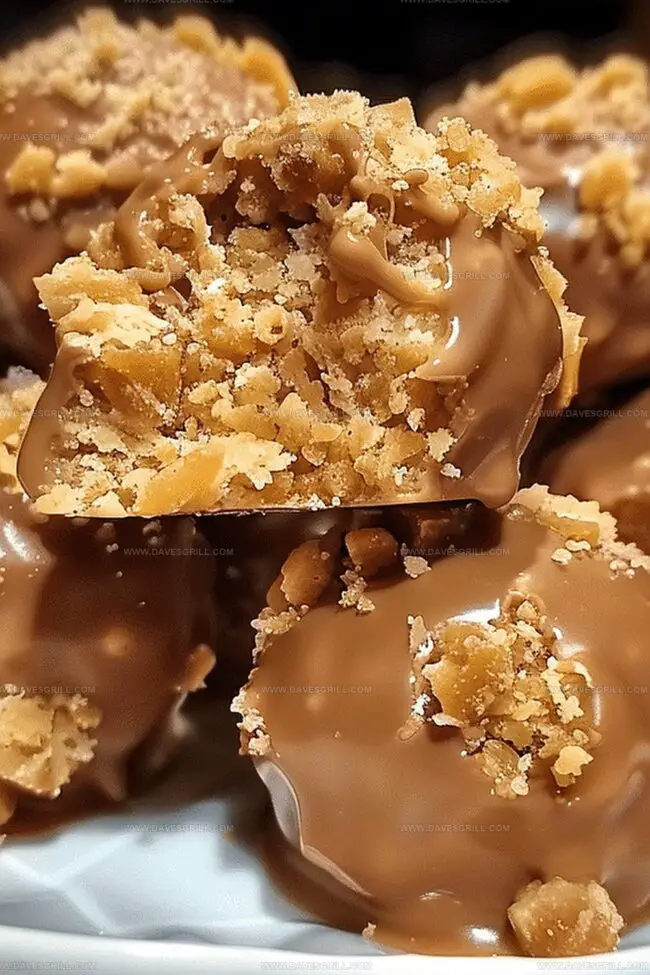
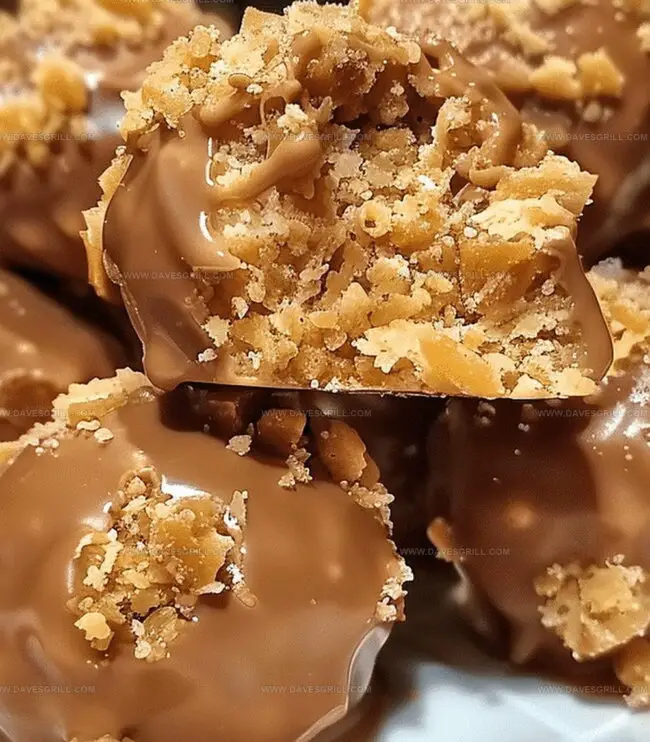
Crispy peanut butter centers coated in rich chocolate create a magical combination that dances across your taste buds.
Minimal ingredients and simple steps make this dessert accessible for bakers of all skill levels.
Some recipes intimidate, but these butterfinger balls welcome even novice cooks into the kitchen.
Multiple textures – crunchy, smooth, and creamy – promise a delightful sensory experience.
Grab a mixing bowl and discover how quickly you can craft these irresistible little bites of happiness.
Why Butterfinger Balls Are Addictive
Butterfinger Balls Ingredient Lineup
Base Ingredients:Coating Ingredients:Preparation Ingredients:Making Butterfinger Balls in Simple Steps
Step 1: Whip Up Peanut Butter Base
In a spacious mixing bowl, cream together smooth peanut butter and softened butter until silky and well-blended. Gradually fold in powdered sugar, stirring continuously until the mixture becomes consistent. Gently crush Butterfinger candy bars and sprinkle them into the creamy base, mixing thoroughly to distribute the crunchy pieces evenly.
Step 2: Shape Delightful Spheres
Scoop out small portions of the mixture and roll them between your palms to create perfect one-inch round balls. Carefully place each sphere onto a parchment-lined baking sheet. Transfer the tray to the freezer and let the balls chill for 20-30 minutes until they become firm and solid.
Step 3: Melt Chocolate Coating
Select a microwave-safe bowl and combine chocolate chips with a touch of coconut oil. Heat in short 20-30 second bursts, stirring between each interval to ensure smooth, glossy melting. Continue until the chocolate reaches a perfect, silky consistency.
Step 4: Create Chocolate-Covered Treats
Using a fork or specialized dipping tool, carefully submerge each chilled ball into the melted chocolate. Ensure complete and even coverage, allowing excess chocolate to drip off. Gently place the chocolate-coated spheres back onto the parchment-lined sheet.
Step 5: Set and Solidify
Allow the chocolate-covered balls to rest at room temperature or place them in the refrigerator. Wait approximately 30 minutes for the chocolate to completely set and harden, creating a smooth, crisp exterior.
Step 6: Indulge and Enjoy
Once the chocolate has fully hardened, these irresistible Butterfinger Candy Bites are ready to be savored. Serve and delight in the perfect blend of creamy peanut butter and crunchy chocolate.
Tips for Perfect Butterfinger Balls Every Time
How to Store and Enjoy Butterfinger Balls Later
What to Pair with Butterfinger Balls
Butterfinger Balls Mix-and-Match Options
Print
Butterfinger Balls Recipe
- Total Time: 45 minutes
- Yield: 24 1x
Description
Indulgent butterfinger balls bring nostalgic candy bar flavors into delightful homemade treats perfect for parties. Chocolate-coated crumbles meld creamy peanut butter with crispy candy pieces, promising sweet satisfaction with each delectable bite you’ll savor.
Ingredients
Main Ingredients:
- 1 cup (240 g) creamy peanut butter
- ½ cup (115 g) unsalted butter, softened
- 1 ½ cups (about 10 ounces) crushed Butterfinger candy bars
- 3 cups (360 g) powdered sugar
Coating Ingredients:
- 12 ounces (340 g) chocolate chips (milk, semi-sweet, or dark)
- 1 tablespoon coconut oil or vegetable shortening (optional, for smooth coating)
Instructions
- Craft a creamy base by whisking peanut butter and softened butter until velvety and uniform in texture, incorporating powdered sugar gradually to create a smooth, cohesive mixture.
- Fold crushed Butterfinger pieces into the blended mixture, ensuring even distribution of the crunchy candy fragments throughout the preparation.
- Precision is key when forming uniform spherical shapes; gently roll the mixture into compact, bite-sized orbs approximately one inch in diameter.
- Transfer the formed balls onto a parchment-lined tray, then chill in the freezer to solidify their structure and enhance handling capabilities, allowing 20-30 minutes for proper firming.
- Prepare the chocolate coating by melting chocolate chips with a touch of coconut oil, utilizing brief microwave intervals and stirring between each heating cycle to achieve a glossy, smooth consistency.
- Carefully immerse each chilled ball into the molten chocolate, utilizing a fork or specialized dipping tool to ensure complete and elegant coverage.
- Return chocolate-enrobed spheres to the parchment-lined surface, allowing them to rest and stabilize at room temperature or within the refrigerator until the chocolate shell hardens completely.
- Once the chocolate sets and solidifies, these decadent Butterfinger Balls are ready to be savored, presenting a delightful combination of creamy, crunchy, and sweet elements.
Notes
- Chill the mixture thoroughly before forming balls to prevent sticking and make rolling easier.
- Use room temperature ingredients for smoother blending and consistent texture.
- Crush Butterfinger candy bars finely for an even distribution of crunch throughout the mixture.
- For a gluten-free version, verify that all ingredients, especially the Butterfinger bars, are certified gluten-free.
- Store these treats in an airtight container in the refrigerator to maintain their shape and prevent melting.
- Experiment with different chocolate coatings like dark, milk, or white chocolate for varied flavor profiles.
- For a lower-sugar option, substitute some powdered sugar with a sugar-free alternative or reduce the amount.
- Prep Time: 15 minutes
- Cook Time: 30 minutes
- Category: Desserts, Snacks
- Method: Blending
- Cuisine: American
Nutrition
- Serving Size: 24
- Calories: 196
- Sugar: 18g
- Sodium: 85mg
- Fat: 12g
- Saturated Fat: 5g
- Unsaturated Fat: 7g
- Trans Fat: 0g
- Carbohydrates: 21g
- Fiber: 0.5g
- Protein: 3g
- Cholesterol: 10mg
Dave Mitchell
Founder & Chief Recipe Developer
Expertise
Education
Asheville-Buncombe Technical Community College
Associate of Applied Science in Culinary Arts
Focus: Comprehensive training in culinary techniques, kitchen management, and menu planning, with a special emphasis on grilling and outdoor cooking.
Dave Mitchell is the heart behind Daves Grill, a cook, writer, and lover of all things grilled. He studied Culinary Arts at Asheville-Buncombe Technical Community College and spent years cooking, testing, and sharing recipes that actually work.
Dave started Daves Grill to keep things simple: one great recipe at a time. His food is bold, easy to follow, and made for real people with regular kitchens. From juicy steaks to quick sides, Dave’s recipes bring the heat without the hassle.