
Cozy Butterfinger Caramel Crunch Bars Recipe for Sweet Lovers
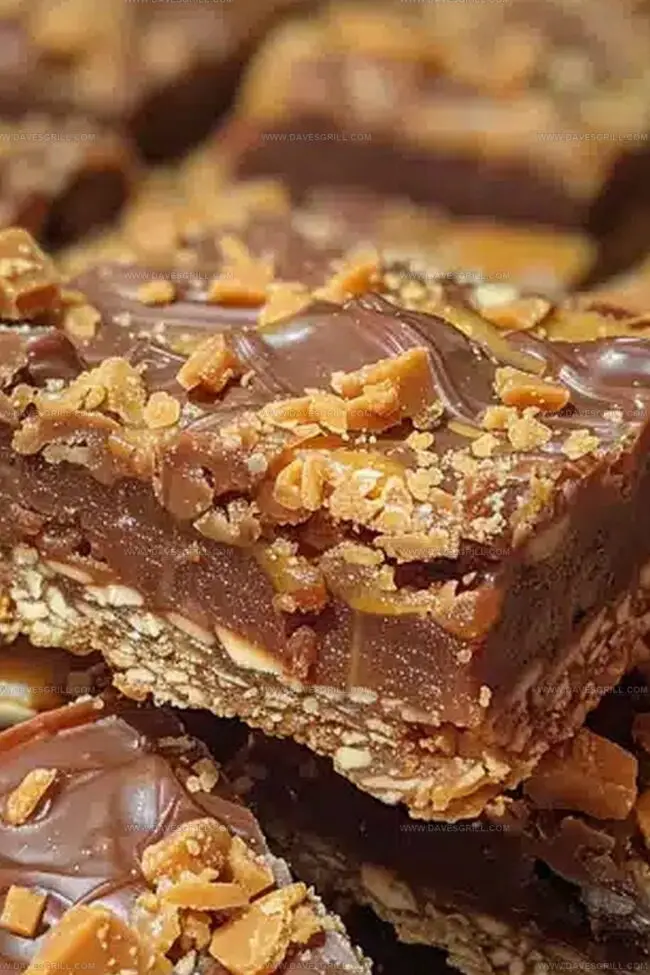
Sweet dreams come alive with these decadent butterfinger caramel crunch bars that blend rich chocolate and crunchy candy pieces.
Layers of indulgence melt together in a symphony of textures and flavors.
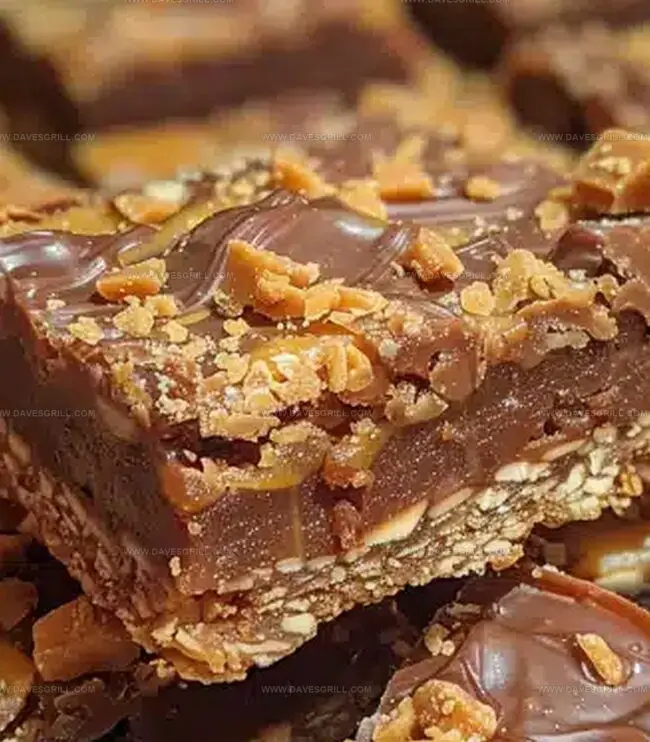
Chocolate lovers will swoon over the intense caramel notes dancing through each bite.
Crisp candy fragments add unexpected excitement to this nostalgic treat.
Crafting these bars requires minimal effort but delivers maximum satisfaction.
Chocolate and caramel fans should definitely clear their afternoon for this irresistible adventure.
The magic happens when you combine simple ingredients into something extraordinary.
Reasons to Enjoy Butterfinger Caramel Crunch Bars
Ingredients for Butterfinger Caramel Crunch Bars
Base Layer Ingredients:Caramel Layer Ingredients:Topping and Garnish Ingredients:How to Make Butterfinger Caramel Crunch Bars at Home
Step 1: Create Crunchy Foundation
Mix ingredients thoroughly until well blended. Press mixture firmly into a greased 8×8-inch baking dish. Compact the base smoothly and place in refrigerator.
Step 2: Develop Luscious Caramel Layer
Heat ingredients in a saucepan over medium temperature. Stir continuously until mixture transforms into golden caramel color and thickens. Pour hot caramel over chilled foundation. Sprinkle crushed Butterfinger pieces generously across caramel surface. Refrigerate for half an hour.
Step 3: Crown With Chocolate Topping
Melt chocolate and oil in microwave using 30-second intervals. Stir until silky smooth. Pour melted chocolate over caramel layer. Spread evenly with spatula. Scatter remaining Butterfinger chunks across chocolate surface.
Step 4: Finalize And Slice
Chill entire dessert for minimum two hours until completely set. Remove from refrigerator. Lift entire creation using parchment paper. Slice into delectable squares or rectangular pieces using sharp knife.
Tips to Get Crunchy Butterfinger Caramel Bars Just Right
Storing and Reheating Butterfinger Caramel Crunch Bars
Best Treats to Serve with Butterfinger Caramel Crunch Bars
Tasty Variations for Butterfinger Caramel Crunch Bars
Print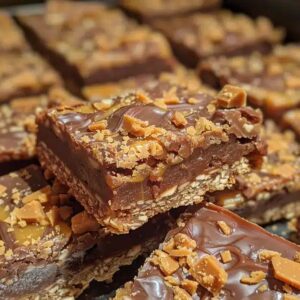
Butterfinger Caramel Crunch Bars Recipe
- Total Time: 25 minutes
- Yield: 12 1x
Description
Indulgent Butterfinger Caramel Crunch Bars merge classic candy with irresistible layers of sweet and salty goodness. Chocolate, caramel, and crushed Butterfinger pieces create a dessert you’ll crave again and again.
Ingredients
Main Ingredients:
- 1 ½ cups crushed Butterfinger candy bars (about 6 fun-sized bars)
- 1 cup milk chocolate chips
- 1 cup graham cracker crumbs
Crust and Caramel Base:
- ½ cup unsalted butter, melted
- ½ cup unsalted butter
- ¼ cup granulated sugar
- ½ cup packed brown sugar
- ¼ cup light corn syrup
- 1 (14 ounces / 396 grams) can sweetened condensed milk
Optional Ingredients:
- 1 tablespoon vegetable oil or coconut oil (optional, for a smoother chocolate layer)
Instructions
- Craft a foundational layer by blending graham cracker crumbs with melted butter and sugar until thoroughly incorporated.
- Firmly compress the crumbly mixture into a prepared 8×8-inch baking vessel, ensuring an even, compact base.
- Temporarily chill the graham cracker foundation while constructing the caramel element.
- In a saucepan, merge sweetened condensed milk, butter, corn syrup, and brown sugar over medium heat.
- Continuously stir the mixture, allowing it to transform into a rich, golden caramel consistency with a thick, luxurious texture.
- Cascade the molten caramel across the chilled graham cracker foundation, distributing it uniformly.
- Generously scatter one portion of crushed Butterfinger fragments over the caramel surface.
- Return the pan to the refrigerator, permitting the caramel layer to solidify for approximately 30 minutes.
- Melt chocolate chips with oil in a microwave-safe container, utilizing 30-second intervals and stirring until achieving a glossy, smooth consistency.
- Elegantly drape the liquefied chocolate across the set caramel layer, ensuring complete and even coverage.
- Sprinkle the remaining Butterfinger pieces atop the chocolate layer for added crunch and visual appeal.
- Refrigerate the confection for a minimum of two hours, allowing complete structural stabilization.
- Extract the dessert from the pan using parchment paper as a lifting mechanism.
- Slice the chilled treat into precise squares or rectangular segments using a sharp cutting implement.
Notes
- Prevent graham cracker base from crumbling by pressing mixture firmly and evenly with the back of a measuring cup or flat-bottomed glass.
- Stir caramel mixture constantly to avoid burning and achieve smooth, golden consistency without scorching the bottom of the pan.
- Create gluten-free version by substituting graham cracker crumbs with almond flour or gluten-free cookie crumbs for a celiac-friendly treat.
- Use room temperature ingredients for better incorporation and smoother caramel layer, ensuring even melting and consistent texture.
- Prep Time: 15 minutes
- Cook Time: 10 minutes
- Category: Desserts, Snacks
- Method: None
- Cuisine: American
Nutrition
- Serving Size: 12
- Calories: 230
- Sugar: 22 g
- Sodium: 75 mg
- Fat: 12 g
- Saturated Fat: 7 g
- Unsaturated Fat: 4 g
- Trans Fat: 0 g
- Carbohydrates: 31 g
- Fiber: 1 g
- Protein: 2 g
- Cholesterol: 20 mg
Dave Mitchell
Founder & Chief Recipe Developer
Expertise
Education
Asheville-Buncombe Technical Community College
Associate of Applied Science in Culinary Arts
Focus: Comprehensive training in culinary techniques, kitchen management, and menu planning, with a special emphasis on grilling and outdoor cooking.
Dave Mitchell is the heart behind Daves Grill, a cook, writer, and lover of all things grilled. He studied Culinary Arts at Asheville-Buncombe Technical Community College and spent years cooking, testing, and sharing recipes that actually work.
Dave started Daves Grill to keep things simple: one great recipe at a time. His food is bold, easy to follow, and made for real people with regular kitchens. From juicy steaks to quick sides, Dave’s recipes bring the heat without the hassle.