Butterfinger Crunch Bars Recipe for Sweet Tooths
Sweet tooths go crazy for this butterfinger crunch bars recipe that combines the ultimate chocolate and peanut butter experience.
Crispy layers meld together with surprising texture and depth.
Crunchy candy pieces create an unexpected twist in every single bite.
Homemade desserts like these remind you how simple ingredients can become magical.
Rich chocolate coating gives these bars a professional bakery feel without complicated techniques.
Some recipes sound tricky, but this one comes together quickly with minimal effort.
Each square delivers a perfect balance of sweetness and salty notes that will have everyone asking for seconds.
You’ll want to make extra because these disappear faster than expected.
Butterfinger Crunch Bars That Satisfy the Sweet Tooth
Must-Haves for Making Crunch Bars
Base Ingredients:Chocolate Topping Ingredients:Crunch and Topping Ingredients:Directions to Build Layers Like a Pro
Step 1: Create Delicious Base
Grab a mixing bowl and combine:Mix everything thoroughly until the mixture becomes slightly sticky and holds together well.
Step 2: Prepare Baking Surface
Line an 8×8-inch baking dish with parchment paper. This helps with easy removal later.
Press the peanut butter mixture into the pan, creating an even layer. Use a spoon or spatula to smooth the surface perfectly.
Step 3: Melt Chocolate Topping
Use a microwave-safe bowl to melt chocolate chips. Heat in short 30-second bursts, stirring between each interval until completely smooth.
Optional: Add a touch of coconut oil for extra silky texture.
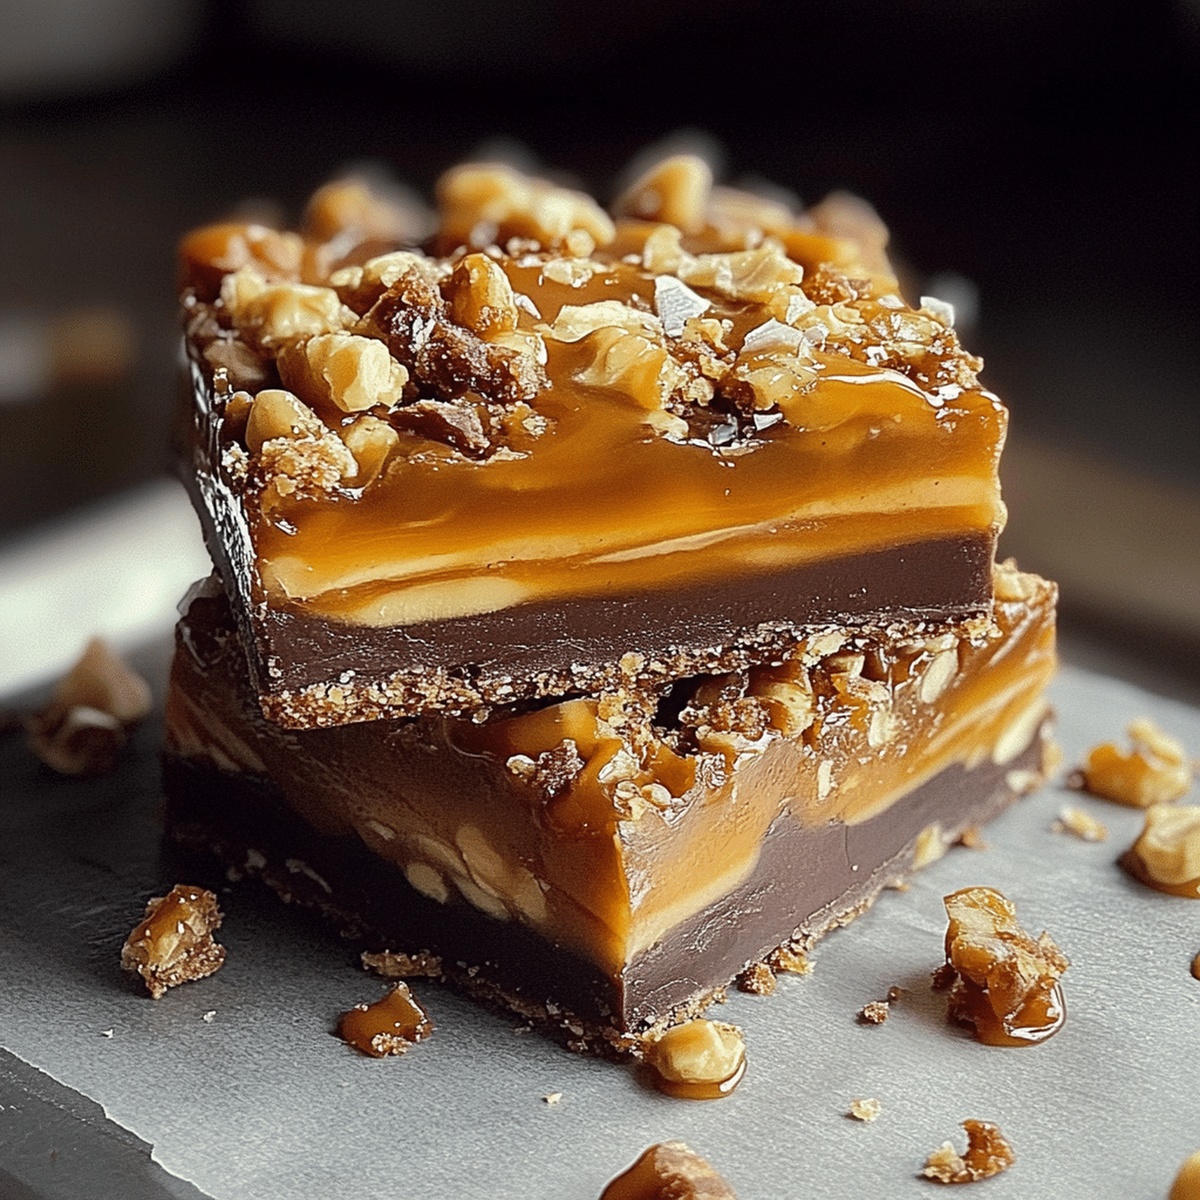
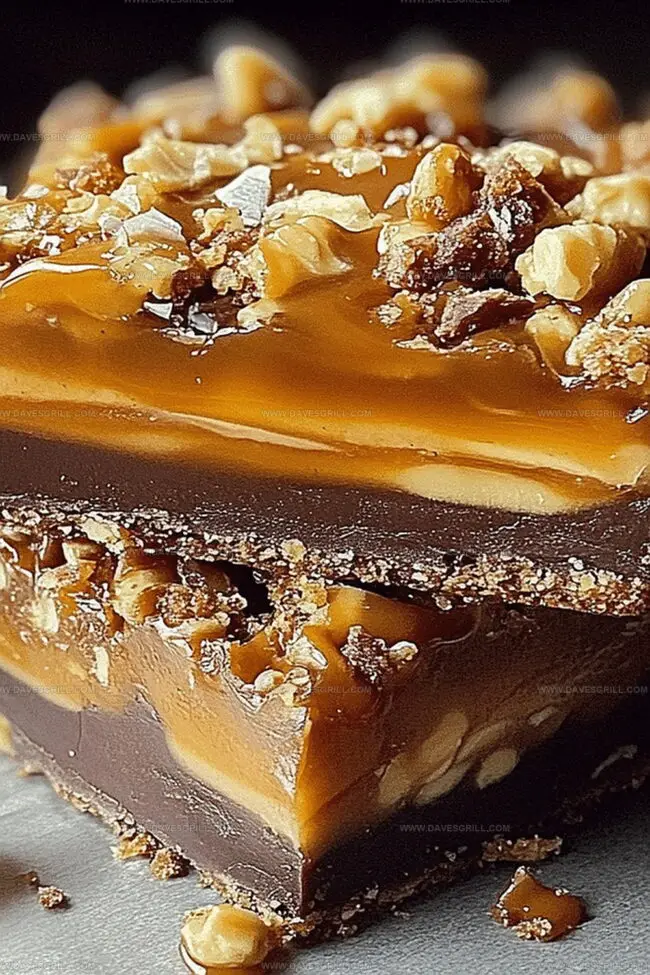
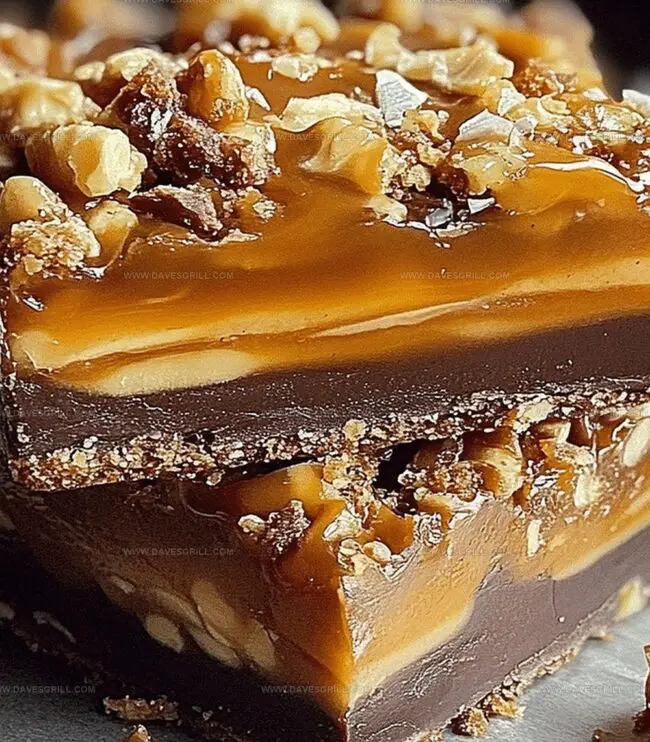
Pour melted chocolate over the peanut butter base, spreading evenly with a spatula.
Step 4: Add Crunchy Topping
Sprinkle remaining crushed Butterfinger pieces across the chocolate layer.
Gently press the candy pieces to ensure they stick to the chocolate surface.
Step 5: Chill and Serve
Refrigerate the bars for at least 2 hours until completely firm.
Remove from refrigerator, lift out using parchment paper, and slice into squares or rectangles.
Enjoy your homemade Butterfinger Crunch Bars!
Smart Tips for Even Slicing and Stacking
Store Crunch Bars to Retain Texture
Snack and Coffee Pairings for Crunch Bars
Variations Using Other Candy Mixes
Vegan Butterfinger Bars: Replace peanut butter with almond butter, use dairy-free chocolate chips, and swap Butterfinger candies with crushed vegan chocolate-covered peanut butter cookies for a plant-based version.
Gluten-Free Crunch Bars: Substitute graham cracker crumbs with gluten-free graham-style crackers or almond flour, ensuring all ingredients are certified gluten-free for those with celiac needs.
Keto-Friendly Chocolate Bars: Use sugar-free chocolate chips, replace powdered sugar with powdered erythritol, and swap Butterfinger candies with crushed sugar-free nut brittle to create a low-carb alternative.
No-Bake Protein Bars: Add a scoop of vanilla or peanut butter protein powder to the base mixture for extra protein, using whey or plant-based protein to boost nutritional value.
Print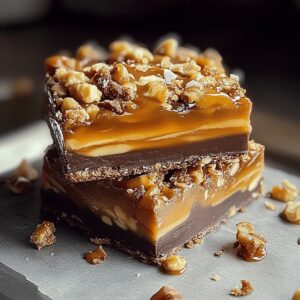
Butterfinger Crunch Bars Recipe
- Total Time: 2 hours 15 minutes
- Yield: 16 1x
Description
Butterfinger crunch bars deliver a nostalgic chocolate-peanut butter symphony with irresistible crispy layers. Sweet memories meld with rich indulgence, promising a delightful treat you’ll savor to the last crumbly bite.
Ingredients
Main Ingredients:
- 2 cups crushed Butterfinger candies (about 8 fun-size bars)
- 1 cup creamy peanut butter
- 1 cup graham cracker crumbs
Binding Ingredients:
- 1 cup powdered sugar
- ½ cup unsalted butter (1 stick), melted
Topping Ingredients:
- 1 cup milk or semi-sweet chocolate chips
- 2 tablespoons coconut oil or vegetable oil (optional, for smoother chocolate topping)
Instructions
- Craft the foundational layer by blending crushed graham crackers with creamy peanut butter, melted butter, powdered sugar, and a portion of crumbled Butterfinger candies until the mixture becomes a uniform, slightly tacky consistency.
- Carefully line an 8×8-inch baking dish with parchment paper, ensuring complete coverage of the bottom and sides for effortless removal.
- Transfer the peanut butter mixture into the prepared pan, using a spatula or spoon to distribute the mixture evenly and create a compact, smooth base layer.
- Melt chocolate chips in a microwave-safe bowl, utilizing short intervals and stirring frequently to prevent scorching. Incorporate coconut oil for enhanced smoothness if desired.
- Gently cascade the molten chocolate over the peanut butter foundation, using a clean spatula to spread the chocolate into a uniform layer that completely covers the base.
- Immediately scatter the remaining crushed Butterfinger pieces across the chocolate surface, applying light pressure to ensure the candy fragments adhere to the still-warm chocolate.
- Place the pan in the refrigerator and allow the bars to solidify completely, which typically requires approximately two hours of chilling time.
- Once fully set, extract the dessert from the pan by lifting the parchment paper edges, then slice into clean, geometric squares or rectangles using a sharp knife.
Notes
- Opt for natural peanut butter with minimal added sugars to control sweetness and enhance the authentic flavor profile of the bars.
- Crush Butterfinger candies by placing them in a sealed plastic bag and gently tapping with a rolling pin for consistent, small crumb sizes.
- Ensure chocolate is melted slowly and stirred frequently to prevent burning and achieve a smooth, glossy finish for the topping.
- Store bars in an airtight container in the refrigerator for up to a week, separating layers with parchment paper to prevent sticking.
- Prep Time: 15 minutes
- Cook Time: 2 hours
- Category: Desserts, Snacks
- Method: None
- Cuisine: American
Nutrition
- Serving Size: 16
- Calories: 220
- Sugar: 17 g
- Sodium: 80 mg
- Fat: 12 g
- Saturated Fat: 5 g
- Unsaturated Fat: 7 g
- Trans Fat: 0 g
- Carbohydrates: 25 g
- Fiber: 1 g
- Protein: 3 g
- Cholesterol: 10 mg
Dave Mitchell
Founder & Chief Recipe Developer
Expertise
Education
Asheville-Buncombe Technical Community College
Associate of Applied Science in Culinary Arts
Focus: Comprehensive training in culinary techniques, kitchen management, and menu planning, with a special emphasis on grilling and outdoor cooking.
Dave Mitchell is the heart behind Daves Grill, a cook, writer, and lover of all things grilled. He studied Culinary Arts at Asheville-Buncombe Technical Community College and spent years cooking, testing, and sharing recipes that actually work.
Dave started Daves Grill to keep things simple: one great recipe at a time. His food is bold, easy to follow, and made for real people with regular kitchens. From juicy steaks to quick sides, Dave’s recipes bring the heat without the hassle.