Zesty Cheesy Cream Cheese Chicken Enchiladas Recipe for Dinner
Creamy and packed with flavor, these cheesy cream cheese chicken enchiladas blend comfort and zest in every single bite.
Tender shredded chicken mingles with rich cream cheese, creating a mouthwatering filling that sings with southwestern flair.
Soft tortillas wrap around the savory mixture, promising a delightful meal that sparks excitement at the dinner table.
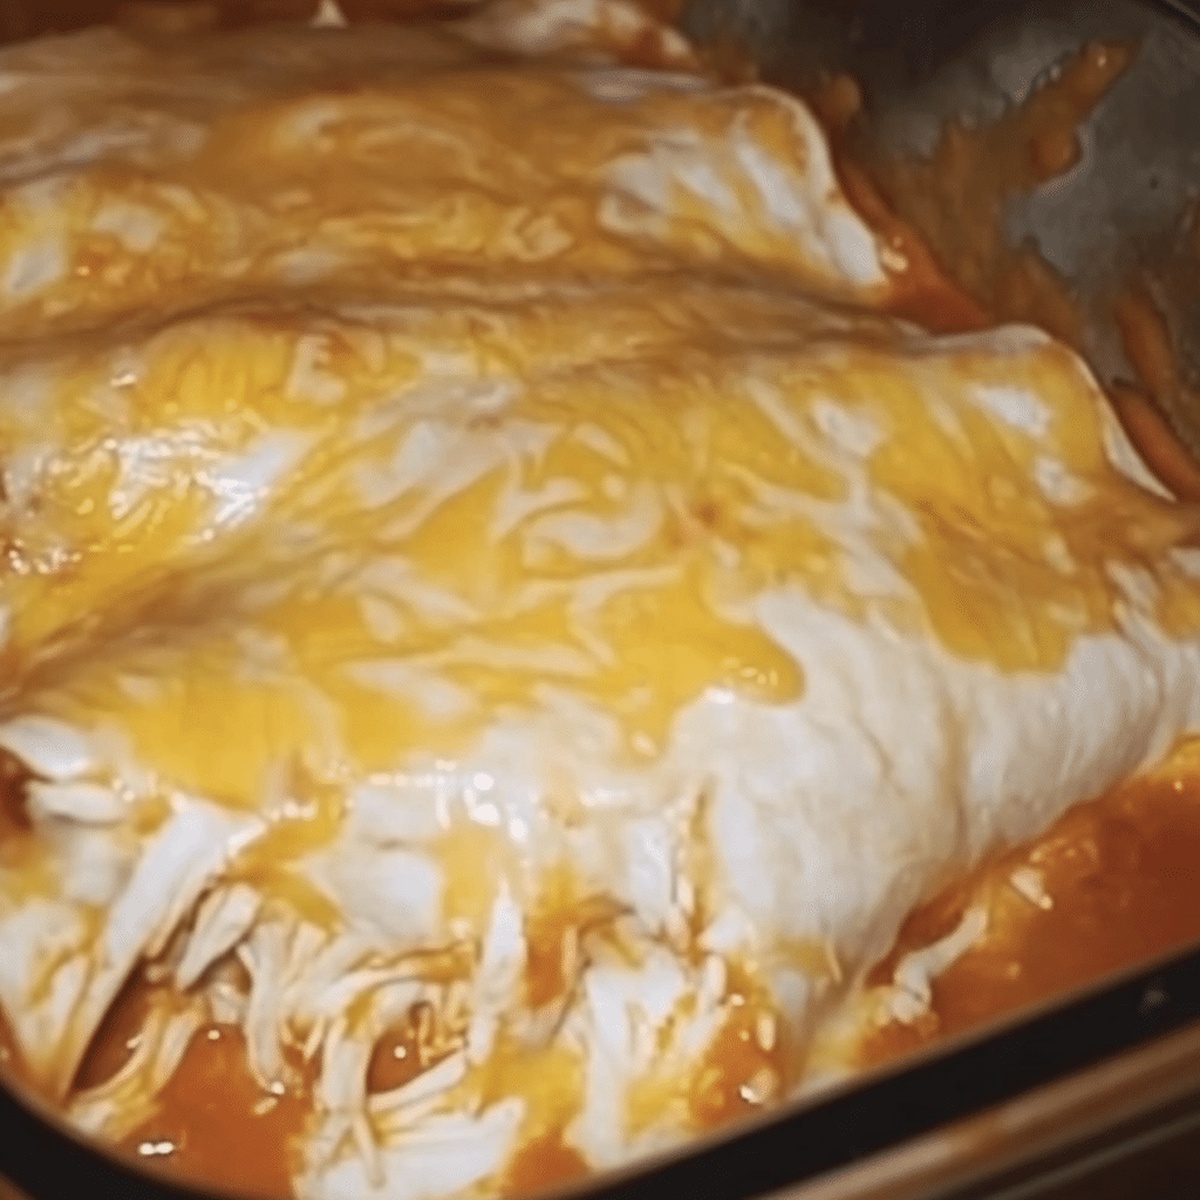
Melted cheese blankets the top, turning these enchiladas into a golden, bubbling masterpiece.
Each rolled tortilla bursts with hearty ingredients that guarantee satisfaction.
The combination of spices and smooth cream cheese elevates this classic dish beyond ordinary expectations.
Prepare to savor a recipe that transforms an everyday meal into a celebration of delicious possibilities.
Quick Recipe Overview

Chicken Enchilada Ingredient Rundown
For Protein and Creamy Base:For Flavor Enhancers and Seasonings:For Assembly and Topping:Tools That Make Rolling Enchiladas Simple
Bake Cream Cheese Chicken Enchiladas Easily

Crank your oven to a toasty 375F and give your baking dish a quick spray of cooking oil to prevent sticking.
Toss together shredded chicken, cream cheese, sour cream, cheese, green chilies, and seasonings in a big mixing bowl until everything is beautifully blended.
Spread a thin layer of enchilada sauce across the bottom of your dish. Scoop a hearty portion of the chicken mixture into each tortilla, rolling them snugly and placing them seam-side down.
Drench the rolled tortillas with remaining enchilada sauce and shower the top with a generous sprinkle of cheese.
Cover the dish with foil and slide it into the oven. Bake for 20 minutes, then remove the foil and let it cook for another 10 minutes until the cheese turns golden and bubbly.
Garnish with fresh cilantro, diced tomatoes, or spicy jalapeños. Pair with rice and beans for a mouthwatering meal that’ll make everyone’s taste buds dance.
Tips for That Gooey, Flavorful Finish
Serve Hot with Cilantro or Sour Cream
Store for a Quick Weeknight Meal
FAQs
Yes, rotisserie chicken works perfectly and saves time. Simply shred the meat and use it in the filling mixture.
Absolutely! Add diced jalapenos to the filling or use hot green chilies instead of mild ones. You can also incorporate cayenne pepper or hot sauce for extra heat.
Corn tortillas are a great alternative. Just warm them slightly before filling to prevent cracking. They’ll give the enchiladas a more traditional Mexican flavor.
Yes, you can assemble the enchiladas, cover, and refrigerate for up to 24 hours before baking. Just add a few extra minutes to the baking time if cooking directly from the refrigerator.
Print
Cheesy Cream Cheese Chicken Enchiladas Recipe
- Total Time: 50 minutes
- Yield: 9 1x
Description
Mexican-inspired Cream Cheese Chicken Enchiladas bring creamy comfort to classic cuisine. Hearty tortillas packed with tender chicken and rich cream cheese create a satisfying meal that delights palates.
Ingredients
- 2 cups (480 ml) cooked shredded chicken
- 8 oz (226 g) cream cheese (softened)
- 1 cup (240 ml) shredded cheddar or Monterey Jack cheese
- ½ cup (120 ml) sour cream
- 1 cup (240 ml) shredded cheese (for topping)
- 8–10 flour tortillas (medium-sized)
- 2 cups (480 ml) enchilada sauce (red or green)
- 1 can (4 oz/113 g) diced green chilies
- ½ tsp garlic powder
- ½ tsp onion powder
- Salt and pepper (to taste)
- Chopped cilantro
- Diced tomatoes
- Sliced jalapenos
- Sour cream
Instructions
- Preheat and Prepare: Warm the oven to 375°F (190°C) and lightly spray a rectangular baking dish with cooking spray, ensuring a non-stick surface for easy serving.
- Create Filling: Blend shredded chicken, cream cheese, sour cream, grated cheese, green chilies, and seasonings into a cohesive, creamy mixture that promises rich flavor in every bite.
- Build Foundation: Spread a thin layer of enchilada sauce across the baking dish bottom to prevent sticking and infuse initial flavor.
- Assemble Enchiladas: Spoon the chicken mixture into tortillas, roll tightly, and position seam-side down in the prepared dish, creating a neat arrangement of compact flavor parcels.
- Sauce and Cheese: Drench the rolled tortillas with remaining enchilada sauce, ensuring complete coverage, then generously shower with additional shredded cheese for a molten, golden finish.
- Bake to Perfection: Cover with aluminum foil and bake for 20 minutes, then uncover and continue baking until the cheese melts into a bubbly, bronzed landscape.
- Garnish and Serve: Adorn with fresh cilantro, diced tomatoes, or sliced jalapenos, and present alongside Mexican rice and beans for a complete, vibrant meal.
Notes
- Selecting the Right Chicken: Use rotisserie or leftover shredded chicken for maximum flavor and convenience, ensuring meat is tender and easily shredded.
- Cheese Melting Technique: Allow cheese to reach room temperature before mixing to create smoother, more evenly distributed filling that blends seamlessly with cream cheese.
- Tortilla Preparation: Warm tortillas briefly on a skillet or microwave to prevent cracking during rolling, making them more pliable and easier to handle.
- Dietary Modification: Swap regular tortillas with low-carb or gluten-free alternatives for those with specific dietary restrictions, maintaining the dish’s delicious essence.
- Prep Time: 20 minutes
- Cook Time: 30 minutes
- Category: Dinner, Lunch
- Method: Baking
- Cuisine: Mexican
Nutrition
- Serving Size: 9
- Calories: 450
- Sugar: 3 g
- Sodium: 800 mg
- Fat: 24 g
- Saturated Fat: 12 g
- Unsaturated Fat: 8 g
- Trans Fat: 0 g
- Carbohydrates: 35 g
- Fiber: 2 g
- Protein: 25 g
- Cholesterol: 80 mg
Emily Lawson
Content Creator & Culinary Specialist
Expertise
Education
Oregon Culinary Institute
Diploma in Culinary Arts
Focus: Emphasis on farm-to-table cooking, sustainable practices, and the fusion of global flavors with traditional grilling methods.
Emily Lawson is the content creator at Daves Grill, turning tasty ideas into clear, easy recipes. Based in Portland, she trained at the Oregon Culinary Institute and loves cooking with fresh, seasonal ingredients, especially grilled veggies and global flavors.
Emily mixes food writing with hands-on cooking to bring you recipes that feel fun, not stressful. Her goal is to make every dish simple, flavorful, and worth coming back to. Together, she and Dave serve up real food, one recipe at a time.