Irresistible Cheesy Pepperoni Pizza Roll-Ups Recipe for Kids
Hey pizza fans!
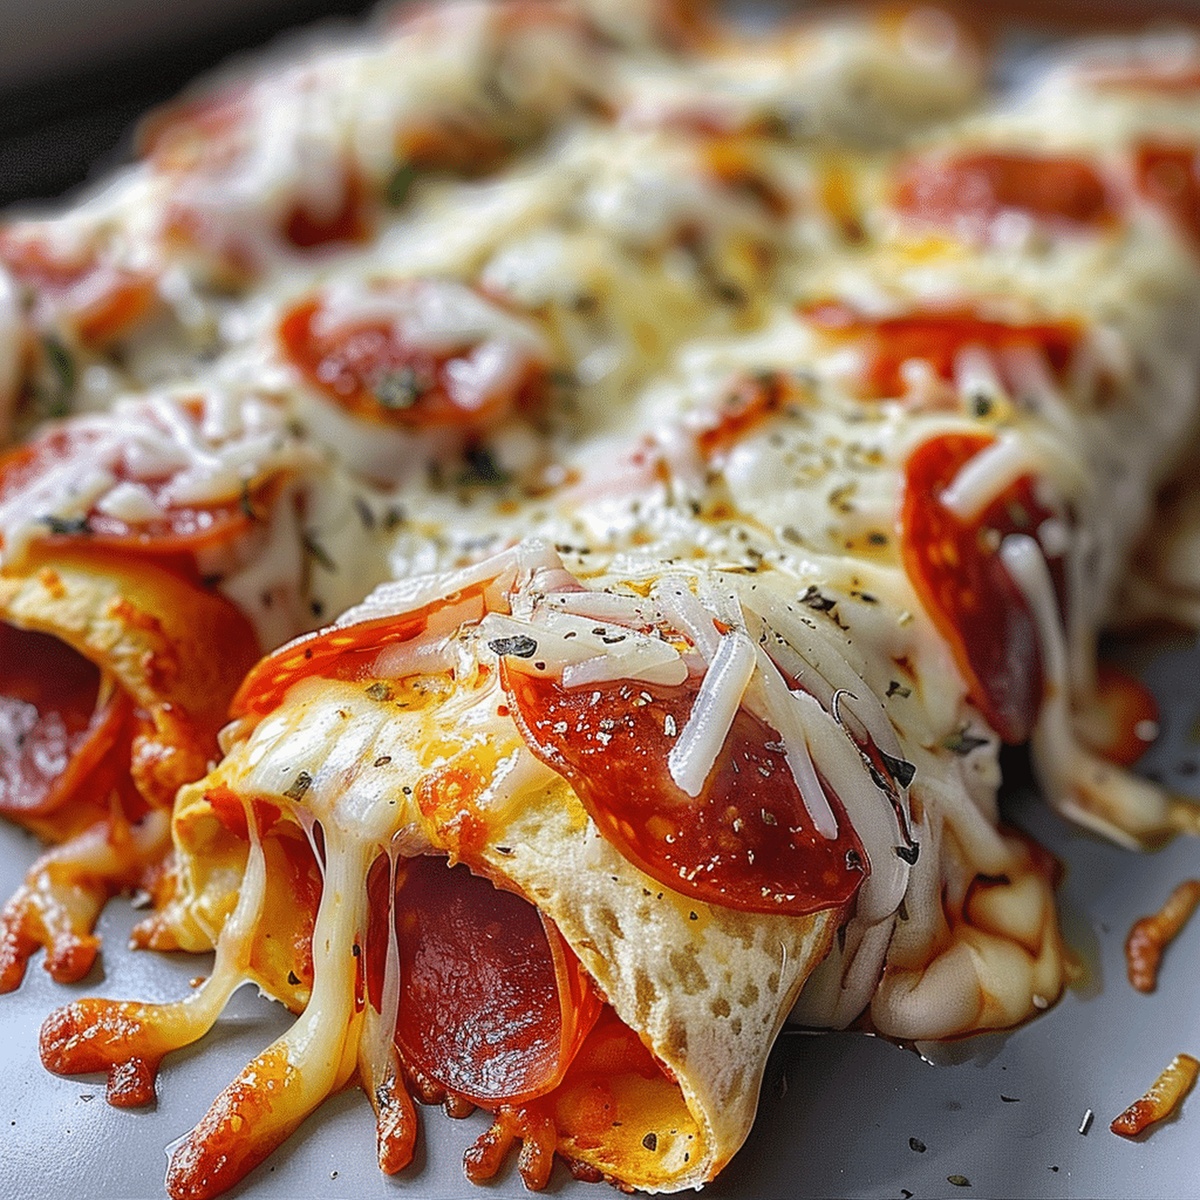
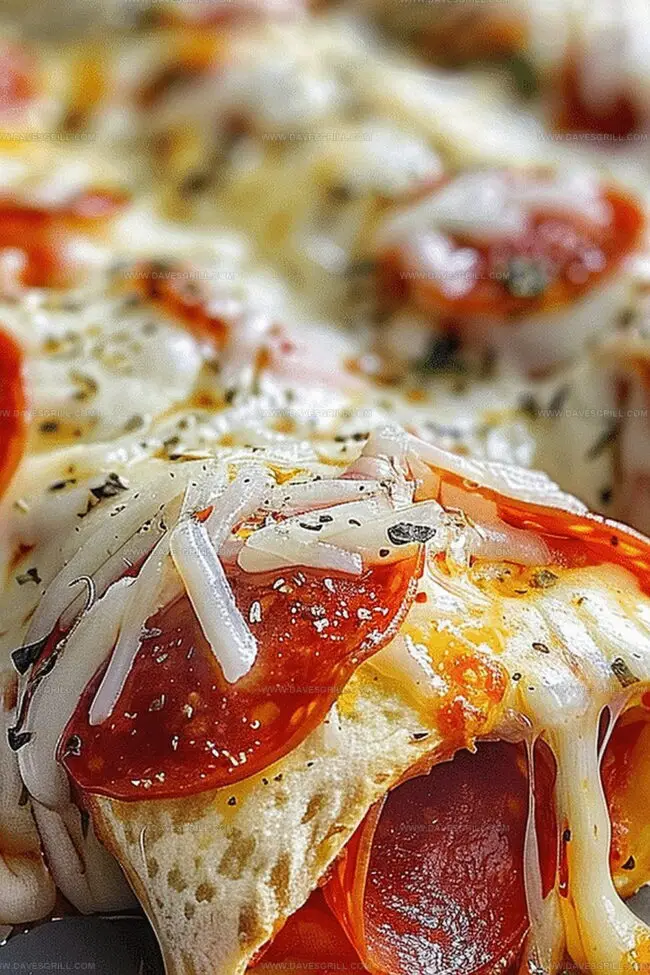
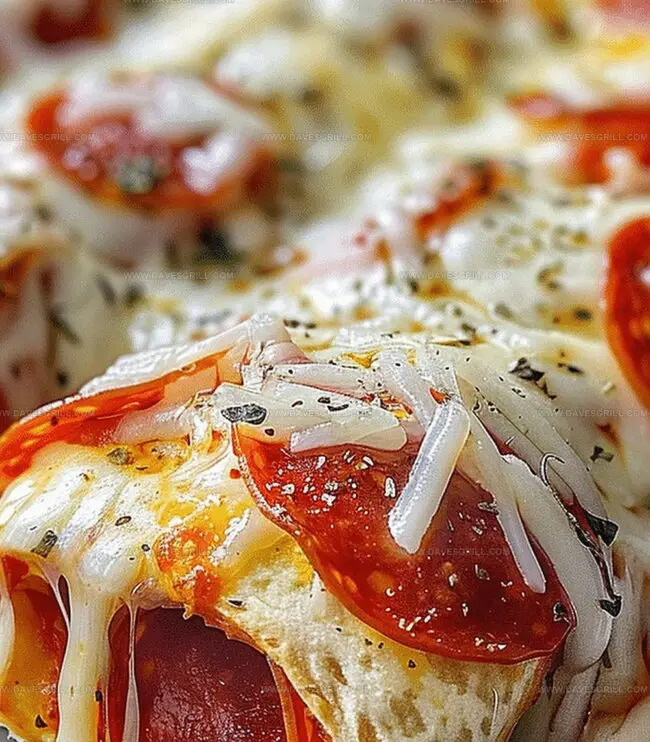
These cheesy pepperoni pizza roll-ups will spark serious excitement at your next gathering.
Crispy edges and melted cheese create an irresistible combo that makes everyone smile.
Packed with classic pizzeria flavors, these rolls deliver maximum taste in minimal time.
Rolled tight and baked to golden perfection, they’re a total crowd-pleaser for game nights or casual dinners.
Quick to assemble and even faster to disappear, these rolls combine convenience with serious flavor potential.
Kids and adults will devour these handheld delights faster than you can say “more pizza, please!” Let’s roll into deliciousness and make some magic happen in the kitchen.
Cheesy Pizza Roll-Ups That Steal the Show
What You Need for Pepperoni Pizza Roll-Ups
Dough Base:Cheese and Protein:Seasonings and Extras:Dipping Sauce:How to Roll Up Pizza Goodness
Step 1: Prepare Dough Foundation
Warm up your oven to 375F. Grab a baking sheet and cover it with parchment paper. Take your pizza dough and spread it out on a clean surface, stretching it into a wide rectangle shape.
Step 2: Layer Flavor Makers
Scatter these ingredients across the dough:Leave a small border around the edges to prevent ingredients from spilling out.
Step 3: Create Delicious Spiral
Roll the dough from one end tightly, creating a compact log. Use a sharp knife to cut the roll into bite-sized sections about one inch thick.
Step 4: Season and Beautify
Place each roll-up on the prepared baking sheet with the cut side facing upward. Brush the tops with melted butter, then sprinkle with:Step 5: Transform in Oven
Slide the baking sheet into the preheated oven. Bake until the roll-ups turn golden brown and cheese bubbles beautifully, around 12-15 minutes.
Step 6: Serve and Enjoy
Pull out the roll-ups and let them cool slightly. Serve alongside pizza sauce or marinara for dipping. Optional: Garnish with fresh basil leaves for extra pizzazz.
Tips for Better Pizza Roll-Ups
Storage Tips for Pepperoni Pizza Roll-Ups
Dips and Sides for Pizza Roll-Ups
Make It Your Own: Pizza Roll-Up Twists
Print
Cheesy Pepperoni Pizza Roll-Ups Recipe
- Total Time: 35 minutes
- Yield: 4 1x
Description
Pepperoni pizza roll-ups deliver a mouthwatering twist on classic pizza, wrapping savory flavors into convenient handheld bites. Crispy edges, melted cheese, and zesty pepperoni create an irresistible snack you can’t wait to devour.
Ingredients
Main Proteins and Cheese:
- ½ cup sliced pepperoni
- 1 cup shredded mozzarella cheese
- ¼ cup grated Parmesan cheese
Dough:
- 1 (16 ounces / 454 grams) ball of pizza dough (store-bought or homemade)
Seasonings and Additional Ingredients:
- 1 tablespoon melted butter
- 1 teaspoon Italian seasoning
- ½ teaspoon garlic powder
- 1 cup marinara sauce, for dipping
Instructions
- Craft a perfectly flat rectangular canvas with pizza dough on a clean, lightly floured workspace, ensuring even thickness and smooth edges.
- Generously distribute mozzarella cheese across the dough’s surface, maintaining a small perimeter to prevent overflow during rolling.
- Meticulously arrange pepperoni slices atop the cheese layer, creating an overlapping pattern for maximum flavor distribution.
- Carefully initiate the rolling process from the longer edge, applying gentle yet firm pressure to create a compact, tightly wound cylindrical shape.
- Using a sharp knife, slice the rolled log into uniform segments approximately one inch thick, revealing the spiraled interior.
- Position each pinwheel cut-side upward on a parchment-lined baking sheet, allowing slight spacing between roll-ups for even heat circulation.
- Delicately brush the exposed surfaces with melted butter, then liberally dust with a harmonious blend of garlic powder, Italian seasoning, and grated Parmesan cheese.
- Transfer the prepared roll-ups into a preheated 375°F oven, allowing them to transform into golden, crispy delicacies over 12-15 minutes.
- Remove from oven once achieving a rich, bubbling appearance and appetizing golden-brown coloration.
- Plate immediately alongside marinara or pizza sauce for dipping, optionally garnishing with fresh basil leaves for an aromatic finishing touch.
Notes
- Activate instant yeast at the right temperature by using warm (not hot) water to ensure perfect dough rise and texture.
- Customize roll-ups for dietary needs by using gluten-free pizza dough or turkey pepperoni for lower-fat options.
- Prevent soggy bottoms by patting pepperoni and cheese dry before adding to reduce excess moisture during baking.
- Enhance flavor complexity by experimenting with different cheese blends like provolone, cheddar, or adding fresh herbs directly into the filling.
- Prep Time: 15 minutes
- Cook Time: 20 minutes
- Category: Snacks, Appetizer, Lunch
- Method: Baking
- Cuisine: Italian
Nutrition
- Serving Size: 4
- Calories: 450
- Sugar: 4 g
- Sodium: 800 mg
- Fat: 22 g
- Saturated Fat: 10 g
- Unsaturated Fat: 8 g
- Trans Fat: 0 g
- Carbohydrates: 48 g
- Fiber: 2 g
- Protein: 18 g
- Cholesterol: 40 mg
Dave Mitchell
Founder & Chief Recipe Developer
Expertise
Education
Asheville-Buncombe Technical Community College
Associate of Applied Science in Culinary Arts
Focus: Comprehensive training in culinary techniques, kitchen management, and menu planning, with a special emphasis on grilling and outdoor cooking.
Dave Mitchell is the heart behind Daves Grill, a cook, writer, and lover of all things grilled. He studied Culinary Arts at Asheville-Buncombe Technical Community College and spent years cooking, testing, and sharing recipes that actually work.
Dave started Daves Grill to keep things simple: one great recipe at a time. His food is bold, easy to follow, and made for real people with regular kitchens. From juicy steaks to quick sides, Dave’s recipes bring the heat without the hassle.