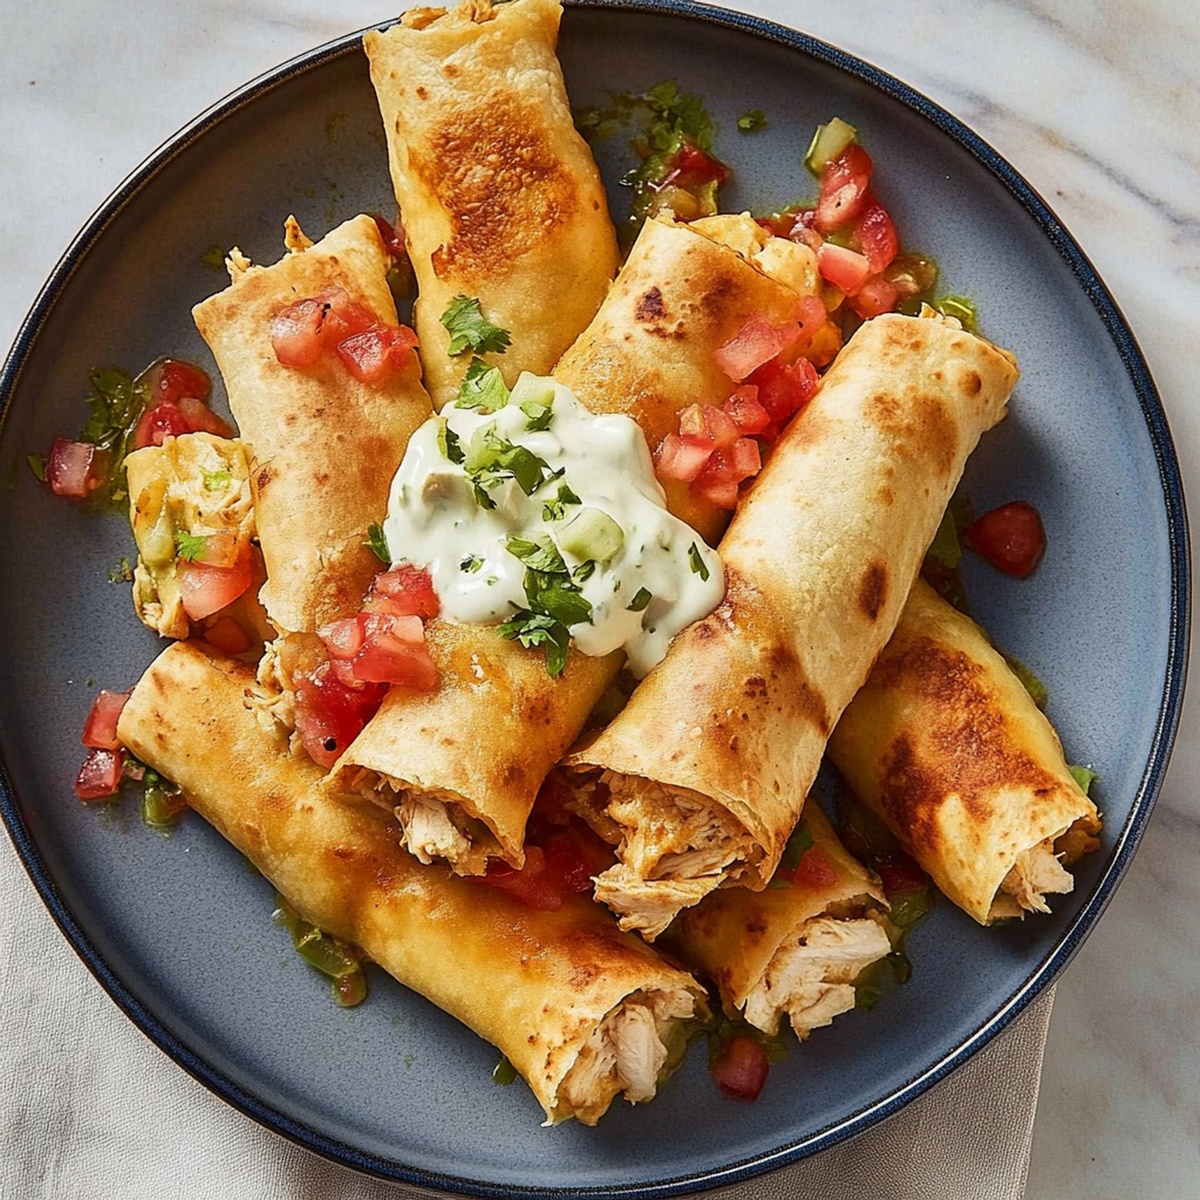
Crispy Fiesta Chicken Flautas Recipe: A Zesty Family Favorite
Crispy, golden chicken flautas dance with zesty flavors that spark serious Mexican street food magic.
These rolled tortilla treasures pack incredible taste into every delightful bite.
Crunchy exteriors give way to tender, seasoned meat that melts in your mouth.
Imagine creating restaurant-quality appetizers right in your kitchen with simple ingredients.
Quick and easy preparation means you can whip up these crowd-pleasers in under 30 minutes.
Vibrant garnishes like fresh salsa and creamy avocado will elevate your flautas from good to absolutely incredible.
Come hungry and ready to impress everyone at the table with this mouthwatering culinary adventure.
Reasons People Like Chicken Flautas
Items You’ll Need For Chicken Flautas
Main Ingredients:
Protein and Cheese:Tortilla Base:Seasoning and Flavor Enhancers:Cooking Ingredients:Cooking Chicken Flautas Made Simple
Step 1: Craft Delectable Chicken Filling
Grab these tasty ingredients:In a mixing bowl, combine all ingredients, stirring until everything blends together beautifully. The mixture should look colorful and smell absolutely mouthwatering.
Step 2: Roll Up Your Flavor Treasures
Warm your tortillas slightly to make them more flexible. Place a generous scoop of chicken mixture along one edge of each tortilla. Carefully roll the tortilla tightly, tucking in the sides as you go. If needed, use a toothpick to keep the roll secure.
Step 3: Crisp Up Your Culinary Creation
You have two awesome cooking methods:
Frying Option:
Heat oil in a skillet until it shimmers. Gently place flautas seam-side down in the hot oil. Cook until each side turns a gorgeous golden brown. The sizzling sound means deliciousness is happening! Remove and let excess oil drain on paper towels.
Baking Option:
Preheat oven to 400°F. Arrange flautas on a lined baking sheet. Brush lightly with oil for extra crispiness. Bake until they transform into crunchy, golden delights. Flip halfway through cooking for even browning.
Step 4: Serve and Celebrate
Transfer your stunning flautas to a serving plate. Pair with fresh salsa, guacamole, or sour cream for dipping. Enjoy your homemade Mexican-inspired feast!
Helpful Tips For Chicken Flautas
How To Keep Chicken Flautas Tasting Good
Top Matches For Chicken Flautas Meals
Creative Takes On Chicken Flautas
Quick Answers About Chicken Flautas
Flautas are similar to taquitos but typically use flour tortillas and are slightly longer, while taquitos often use corn tortillas and are shorter. Both are rolled and filled with meat, then fried or baked until crispy.
Yes, you can substitute corn tortillas, but they might be more prone to cracking. If using corn tortillas, warm them slightly first to make them more pliable and less likely to break while rolling.
Secure the flautas with toothpicks before frying or baking, or place them seam-side down in the pan. The heat will help seal the edge and keep them rolled tightly.
While cheese adds flavor and helps bind the filling, it’s optional. You can make flautas without cheese or substitute with a dairy-free alternative if needed.
Print
Chicken Flautas Recipe
- Total Time: 35 minutes
- Yield: 4 1x
Description
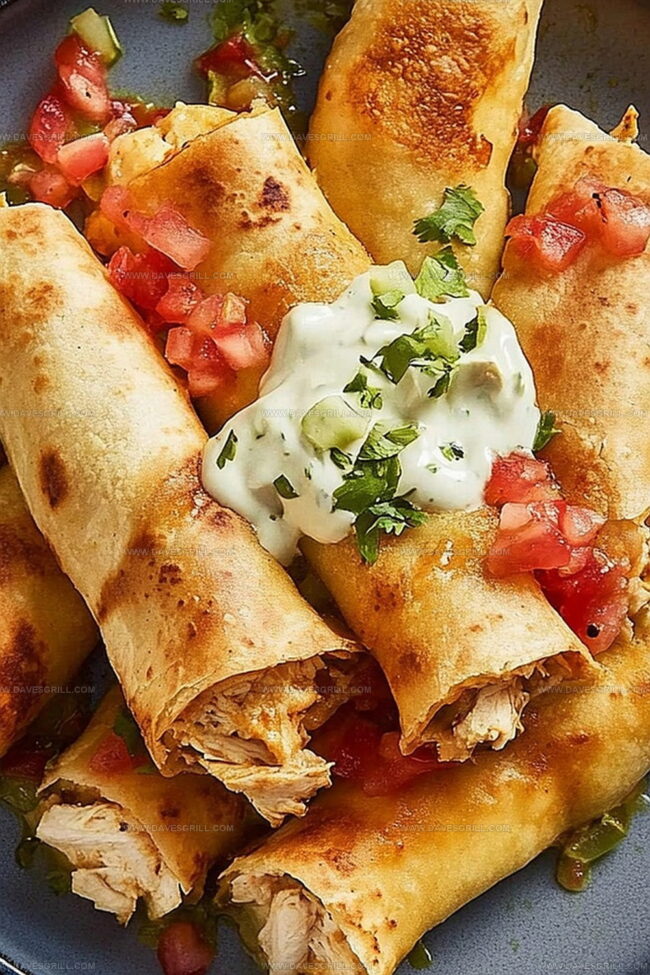
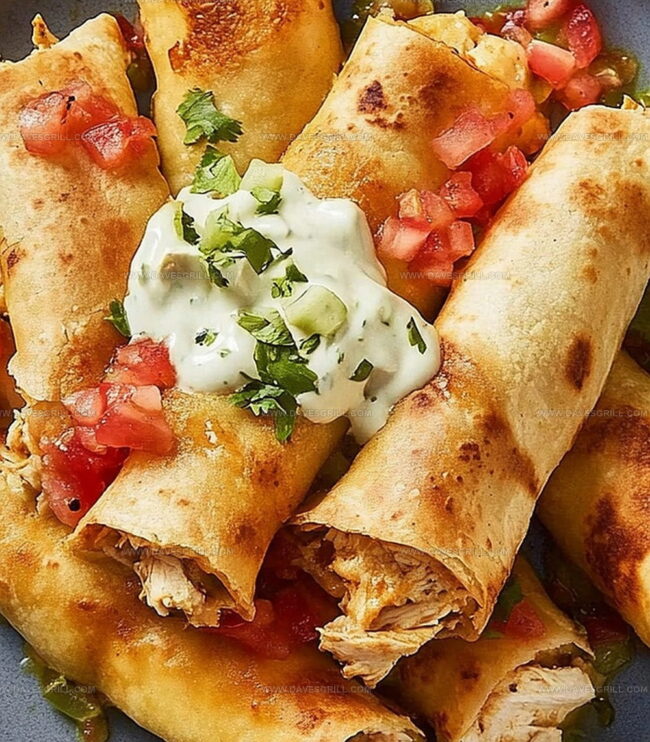
Sizzling Mexican chicken flautas deliver a crispy, golden crunch with tender spiced chicken wrapped in warm tortillas. Zesty salsa and creamy sour cream complete this irresistible dish you’ll devour in just a few delightful bites.
Ingredients
Main Protein:
- 2 cups (480 ml) cooked shredded chicken (rotisserie chicken works great)
Seasonings and Sauces:
- ½ cup (120 ml) shredded cheese (cheddar, Monterey Jack, or Mexican blend)
- ¼ cup (60 ml) salsa or enchilada sauce
- ½ teaspoon ground cumin
- ½ teaspoon chili powder
- ¼ teaspoon garlic powder
- Salt and pepper, to taste
Wrappers and Cooking Fat:
- 8 small flour tortillas (or corn tortillas, warmed)
- Vegetable oil, for frying or brushing if baking
Optional Toppings:
- Shredded lettuce
- Sour cream or crema
- Guacamole
- Pico de gallo or salsa
- Crumbled queso fresco
- Chopped cilantro
Instructions
- Prepare a zesty mixture by blending tender, shredded chicken with melted cheese, vibrant salsa, aromatic cumin, spicy chili powder, pungent garlic powder, and a balanced touch of salt and pepper until the ingredients meld harmoniously.
- Lay out soft tortillas and carefully distribute the flavorful chicken blend along one edge, ensuring an even spread that promises a burst of taste in every bite.
- Gently roll each tortilla into a tight cylinder, creating slender tubes of deliciousness that capture the essence of the filling.
- For a crispy exterior, select your preferred cooking method: pan-frying or oven-baking.
- When pan-frying, heat a generous layer of oil in a skillet until it shimmers with anticipation, then carefully place the rolled flautas seam-side down, allowing them to transform into golden-brown delicacies.
- Alternatively, for a lighter approach, arrange the flautas on a prepared baking sheet, lightly brushing with oil to encourage a crisp exterior.
- If frying, cook each batch for approximately 2-3 minutes per side, watching for a rich, amber color that signals perfect crispness.
- For oven method, bake at 400°F, rotating midway to ensure even browning, until the exterior achieves a satisfying crunch.
- Once cooked, transfer to absorbent paper to eliminate excess oil, creating a delightfully crisp and light texture.
Notes
- Customize the filling by mixing in diced bell peppers or corn for extra texture and nutrition.
- Swap chicken for black beans or pulled pork to create vegetarian or alternative protein options.
- Use corn tortillas for a gluten-free version, ensuring they’re soft and pliable before rolling to prevent cracking.
- Enhance flavor by marinating chicken beforehand in lime juice, cilantro, and additional spices for a more complex taste profile.
- Prep Time: 15 minutes
- Cook Time: 20 minutes
- Category: Lunch, Dinner, Appetizer
- Method: Frying
- Cuisine: Mexican
Nutrition
- Serving Size: 4
- Calories: 360
- Sugar: 1 g
- Sodium: 600 mg
- Fat: 20 g
- Saturated Fat: 7 g
- Unsaturated Fat: 11 g
- Trans Fat: 0 g
- Carbohydrates: 30 g
- Fiber: 2 g
- Protein: 22 g
- Cholesterol: 80 mg
Dave Mitchell
Founder & Chief Recipe Developer
Expertise
Education
Asheville-Buncombe Technical Community College
Associate of Applied Science in Culinary Arts
Focus: Comprehensive training in culinary techniques, kitchen management, and menu planning, with a special emphasis on grilling and outdoor cooking.
Dave Mitchell is the heart behind Daves Grill, a cook, writer, and lover of all things grilled. He studied Culinary Arts at Asheville-Buncombe Technical Community College and spent years cooking, testing, and sharing recipes that actually work.
Dave started Daves Grill to keep things simple: one great recipe at a time. His food is bold, easy to follow, and made for real people with regular kitchens. From juicy steaks to quick sides, Dave’s recipes bring the heat without the hassle.