
Golden Apple Pies: Crispy Cheesecake Fried Bliss Recipe
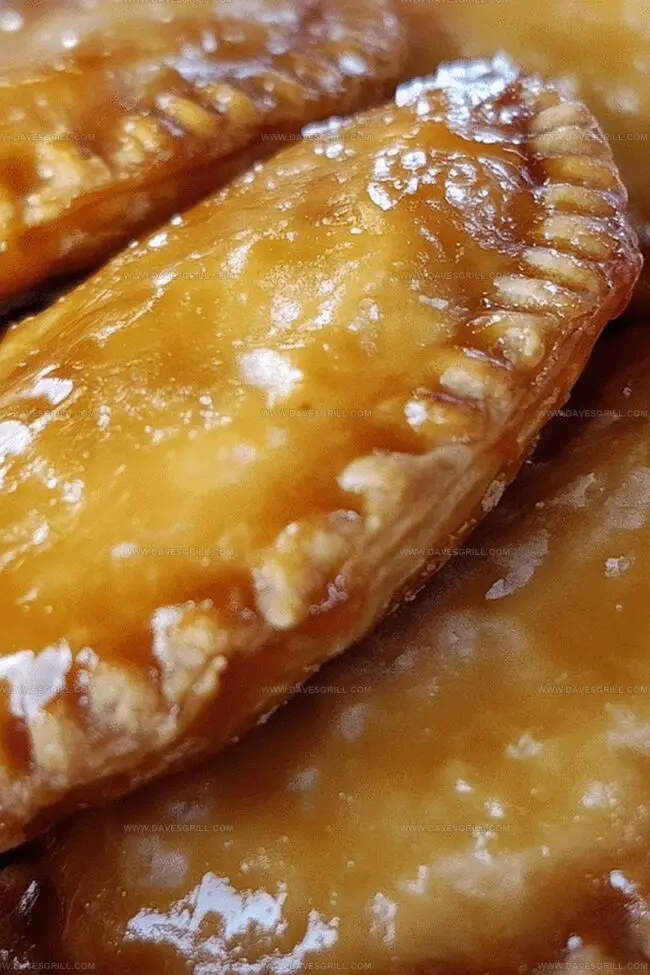
Sweet and golden, these crispy cheesecake fried apple pies burst with homemade comfort.
Tucked inside a delicate pastry shell, creamy cheesecake meets tender spiced apples in a delightful dance of flavors.
Each bite promises a perfect balance of crisp exterior and luscious filling that melts in your mouth.
Warm cinnamon and sweet apple notes weave through the rich cheesecake, creating an irresistible dessert.
The secret lies in the delicate frying technique that transforms simple ingredients into a magical treat.
Crisp, golden edges give way to a creamy, fruity center that beckons you closer.
These handheld pies are the ultimate indulgence for anyone seeking a remarkable dessert experience.
Quick Recipe Overview
Cheesecake Apple Pie Ingredient List
For Pie Filling:For Cheesecake Filling:For Pie Crust and Frying:Tools to Fry Stuffed Apple Pie Pockets
Fry Sweet Pies With Gooey Cheesecake Filling
Toss diced apples into a sizzling skillet with a pat of butter, letting them dance with sugar, cinnamon, and a whisper of nutmeg. Stir gently as they soften and caramelize, releasing their sweet, warm aroma.
Drizzle in a cornstarch mixture to give your apple filling a luxurious, silky texture. Let it bubble and transform, creating a luscious, clingy sauce that’ll make your taste buds tingle with anticipation.
Set your aromatic apple mixture aside, allowing it to cool and concentrate its delicious flavors. Thisal filling will soon become the heart of your crispy, creamy fried pies.
Spread a dollop of creamy cheesecake on delicate pastry rounds, then crown them with the spiced apple mixture. Fold and seal these little pockets of joy, creating perfect parcels of deliciousness.
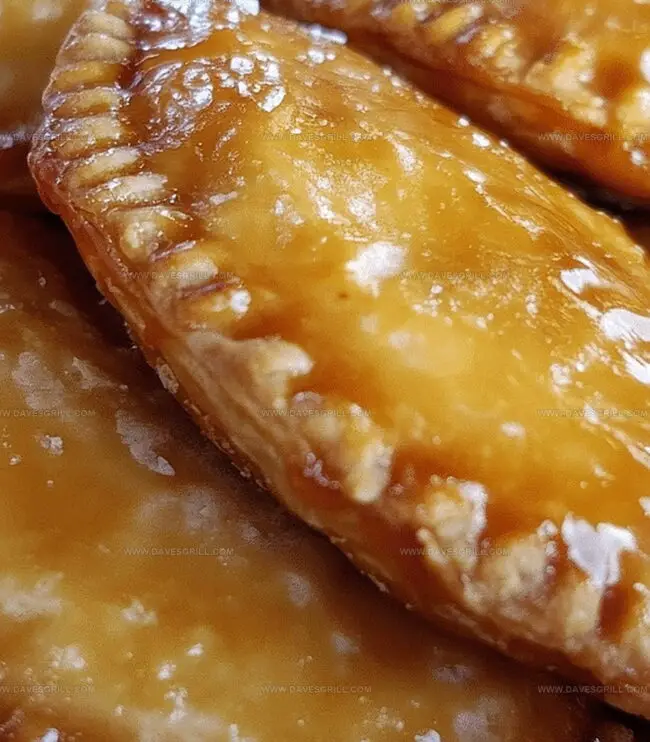
Slide your prepared pies into a bubbling oil bath, watching them transform into golden, crispy treasures. Fry until they’re beautifully bronzed and irresistibly crunchy on the outside.
Dust your hot, crispy pies with a snowfall of powdered sugar. Serve immediately, letting the contrast of crisp pastry, creamy cheesecake, and warm spiced apples create a dessert that’s pure.
Tips That Prevent Filling From Leaking
Serve Warm with Ice Cream
Store Pies to Reheat Later Without Soggy Crust
FAQs
Granny Smith or Honeycrisp apples are ideal because they hold their shape well and offer a nice balance of tartness and sweetness during cooking.
Absolutely! You can prepare the apple filling up to 2 days in advance and store it in an airtight container in the refrigerator, which can help save time when you’re ready to assemble the pies.
A deep skillet or heavy-bottomed pot for frying, a rolling pin, and a biscuit cutter or round cookie cutter will be helpful for creating uniform pie shapes.
Press the edges firmly with a fork and ensure no filling leaks out. Chilling the pies for 15-20 minutes before frying can also help them hold their shape better during cooking.
Print
Crispy Cheesecake Fried Apple Pies Recipe
- Total Time: 35 minutes
- Yield: 9 1x
Description
Stuffed Cheesecake Fried Apple Pies blend Southern charm with creamy indulgence. Golden-brown pastry encases sweet apple filling and rich cheesecake, promising delightful moments you’ll savor with each delectable bite.
Ingredients
- 3 apples (medium, Granny Smith or Honeycrisp, peeled and diced)
- 200 grams (8 oz) cream cheese (softened)
- 2 tbsps unsalted butter
- ¼ cup (50 grams) granulated sugar (for cheesecake)
- ⅓ cup (65 grams) granulated sugar (for apple filling)
- 1 tsp ground cinnamon
- ¼ tsp nutmeg
- 1 tbsp cornstarch
- 1 tsp vanilla extract (for cheesecake)
- 10–12 pie crusts (pre-made or homemade, rolled into 4–5 inch circles)
- Vegetable oil (for frying)
- 1 cup (120 grams) powdered sugar
- 2 tbsps milk
- ½ tsp vanilla extract
- 2 tbsps water (for cornstarch slurry)
Instructions
- Caramelize Preparation: Sauté diced apples in butter, incorporating cinnamon and nutmeg until fruit softens and transforms into a golden, aromatic filling.
- Thickening Process: Integrate cornstarch into apple mixture, stirring consistently to develop a glossy, cohesive texture that prevents liquid separation.
- Flavor Development: Allow apple compote to cool completely, enabling spices and ingredients to harmonize while preparing remaining dessert components.
- Cream Cheese Layer: Distribute softened cream cheese uniformly across pastry rounds, creating a smooth, luxurious foundation for the apple filling.
- Assembly Technique: Place cooled apple mixture strategically onto cream cheese-covered pastry halves, ensuring balanced distribution of ingredients.
- Sealing Method: Fold pastry circles, firmly crimping edges with a fork to create secure parcels that will withstand frying process and prevent filling leakage.
- Frying Preparation: Heat oil in deep skillet to optimal temperature, creating environment for achieving crisp, golden-brown exterior with perfect texture.
- Cooking Process: Immerse sealed pies in hot oil, rotating carefully to ensure even browning and develop a crunchy, amber-colored shell that encapsulates inner ingredients.
- Finishing Touch: Transfer fried pies to paper towels for oil absorption, then elegantly dust with powdered sugar to enhance visual appeal and add subtle sweetness.
Notes
- Prevent Filling Leakage: Seal pastry edges meticulously with fork tines, ensuring no gaps exist to stop apple-cheese mixture from seeping during frying.
- Control Oil Temperature: Maintain consistent 350-375°F oil heat for perfect golden-brown exterior without burning or undercooking the delicate pastry.
- Manage Apple Moisture: Cornstarch helps absorb excess liquid, preventing soggy pies and creating ideal thick, glossy apple compote consistency.
- Dairy-Free Adaptation: Substitute cream cheese with coconut cream or vegan cream cheese alternative for lactose-intolerant or plant-based dietary preferences.
- Prep Time: 20 minutes
- Cook Time: 15 minutes
- Category: Desserts, Snacks
- Method: Frying
- Cuisine: American
Nutrition
- Serving Size: 9
- Calories: 320
- Sugar: 18 g
- Sodium: 150 mg
- Fat: 18 g
- Saturated Fat: 8 g
- Unsaturated Fat: 10 g
- Trans Fat: 0 g
- Carbohydrates: 36 g
- Fiber: 1 g
- Protein: 3 g
- Cholesterol: 30 mg
Emily Lawson
Content Creator & Culinary Specialist
Expertise
Education
Oregon Culinary Institute
Diploma in Culinary Arts
Focus: Emphasis on farm-to-table cooking, sustainable practices, and the fusion of global flavors with traditional grilling methods.
Emily Lawson is the content creator at Daves Grill, turning tasty ideas into clear, easy recipes. Based in Portland, she trained at the Oregon Culinary Institute and loves cooking with fresh, seasonal ingredients, especially grilled veggies and global flavors.
Emily mixes food writing with hands-on cooking to bring you recipes that feel fun, not stressful. Her goal is to make every dish simple, flavorful, and worth coming back to. Together, she and Dave serve up real food, one recipe at a time.