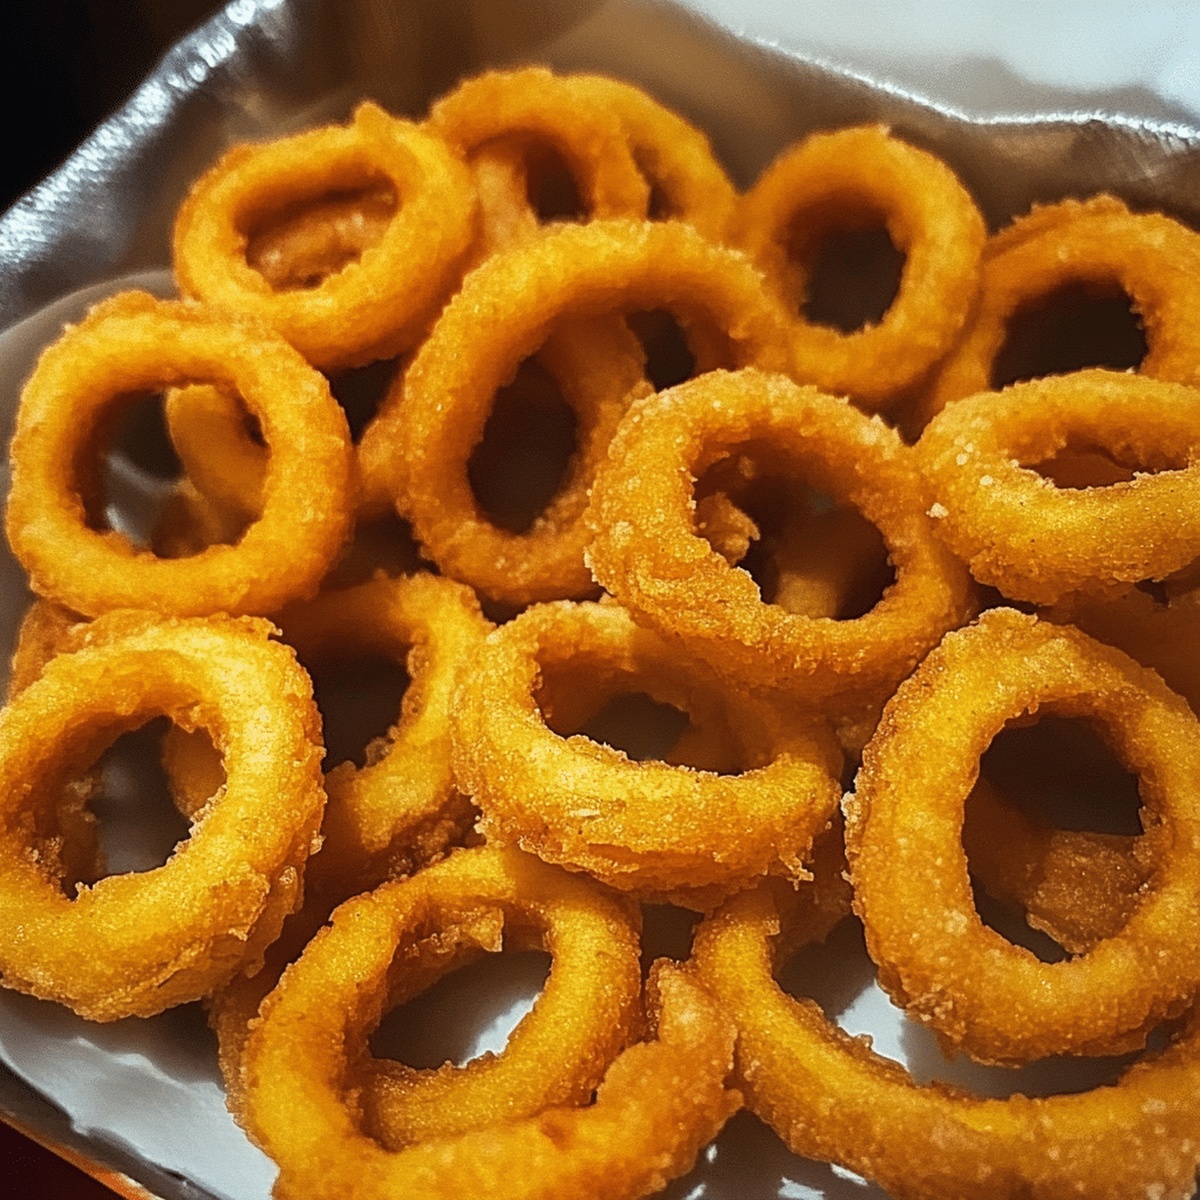
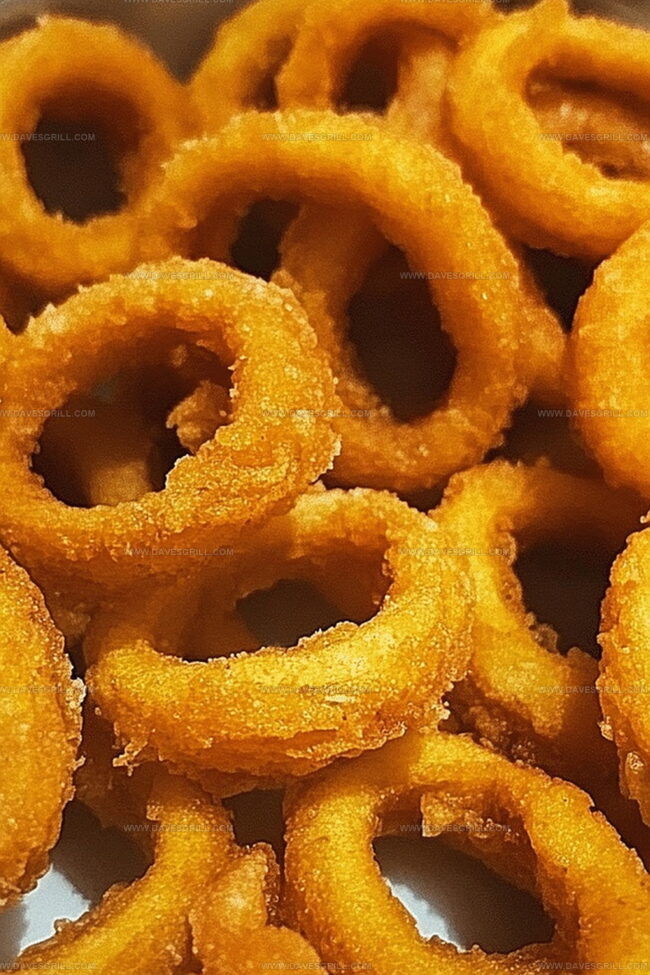
Crunchy & Golden Crispy Fried Onion Rings Recipe Everyone Loves
My weekend barbecue adventures always include these mouthwatering crispy fried onion rings that somehow manage to steal the spotlight from everything else.
Golden, crunchy rings tantalize every taste bud with their irresistible crackle and perfect seasoning.
Each bite delivers a satisfying crunch that makes ordinary side dishes seem boring in comparison.
Mastering this recipe requires simple ingredients and a few clever techniques that guarantee restaurant-quality results.
Home cooks can easily recreate these crispy delights with minimal kitchen skills and maximum flavor impact.
The secret lies in choosing the right onions and creating a light, airy batter that transforms ordinary vegetables into extraordinary snacks.
You’ll want to bookmark this recipe for every future gathering where impressive appetizers are needed.
What Makes Fried Onion Rings Addictive
Everything You’ll Need for Fried Onion Rings
Onion Base:Dry Ingredients:Wet Ingredients:How to Get Fried Onion Rings Every Time

Step 1: Slice Onions
Peel onions and slice them into thin rings. Gently separate each ring, ensuring they’re not stuck together.
Step 2: Create Magical Batter
In a mixing bowl, combine:Whisk egg and milk into the dry ingredients until the mixture becomes smooth and silky.
Step 3: Prepare Coating Station
Set up three separate plates:Step 4: Dredge Onion Rings
Coat each onion ring by following this sequence:Ensure each ring is evenly and generously covered.
Step 5: Heat Cooking Oil
Pour oil into a deep fryer or heavy-bottomed pan. Heat until temperature reaches 365°F.
Step 6: Fry to Perfection
Carefully lower coated rings into hot oil. Fry in small batches to maintain oil temperature.
Cook until rings turn golden brown and crispy, approximately 2-3 minutes.
Step 7: Drain and Serve
Remove rings using a slotted spoon. Place on paper towels to drain excess oil.
Sprinkle with salt and serve immediately while hot and crunchy.
Fried Onion Ring Tips You’ll Wish You Knew Sooner
Best Way to Store and Reheat Fried Onion Rings
Tasty Dips and Meals That Pair with Onion Rings
Ways to Spice Up Your Fried Onion Rings
Print
Crispy Fried Onion Rings Recipe
- Total Time: 25 minutes
- Yield: 4 1x
Description
Mouthwatering crispy fried onion rings deliver a golden crunch that elevates any meal with irresistible flavor. Seasoned batter and perfect frying technique ensure a delightful snack you’ll crave again and again.
Ingredients
Main Ingredients:
- 2 large onions
- 1 ¼ cups (300 ml) all-purpose flour
- ¾ cup (180 ml) dry bread crumbs
Liquid Ingredients:
- 1 egg
- 1 cup (240 ml) milk
Seasoning and Leavening Agents:
- 1 teaspoon baking powder
- 1 teaspoon salt
Cooking Ingredient:
- Oil for frying
Instructions
- Carefully peel onions and slice into delicate, translucent rings approximately 1/4 inch thick, ensuring uniform size for consistent cooking.
- Gently separate individual rings, discarding any broken or overly thin pieces to maintain structural integrity.
- Create a light, crispy coating by mixing flour, baking powder, and salt in a spacious mixing bowl, creating a uniform dry foundation.
- Dust onion rings with the seasoned flour mixture, completely coating each ring and allowing excess to gently fall away.
- Whisk egg and milk into the flour blend, transforming the dry ingredients into a smooth, silky batter with a consistent texture.
- Spread breadcrumbs across a flat surface, preparing a crunchy exterior layer for the rings.
- Immerse floured rings into the liquid batter, allowing excess to drip off over a wire rack to prevent soggy coating.
- Roll batter-covered rings through breadcrumbs, ensuring complete and even coverage for maximum crispiness.
- Heat oil in a deep, heavy-bottomed vessel to precisely 365°F, using a cooking thermometer for accuracy.
- Carefully lower rings into hot oil in small batches, preventing overcrowding and maintaining optimal temperature.
- Fry until golden brown and crispy, typically 2-3 minutes, rotating once to ensure uniform coloration.
- Transfer to paper towel-lined plate, allowing excess oil to drain and preserve the delicate crunch.
Notes
- Select sweet onions like Vidalia for milder, less sharp flavor and better caramelization during frying.
- Soak onion rings in cold water or buttermilk before battering to reduce sharp taste and help batter adhere more effectively.
- Keep batter cold by chilling ingredients beforehand, ensuring extra crispy and light coating that won’t become soggy quickly.
- Use cornstarch or rice flour in mix for extra crunchiness and gluten-free option, making rings suitable for different dietary needs.
- Prep Time: 15 minutes
- Cook Time: 10 minutes
- Category: Appetizer, Snacks
- Method: Frying
- Cuisine: American
Nutrition
- Serving Size: 4
- Calories: 250
- Sugar: 2 g
- Sodium: 400 mg
- Fat: 12 g
- Saturated Fat: 1.5 g
- Unsaturated Fat: 10 g
- Trans Fat: 0 g
- Carbohydrates: 34 g
- Fiber: 2 g
- Protein: 6 g
- Cholesterol: 30 mg
Dave Mitchell
Founder & Chief Recipe Developer
Expertise
Education
Asheville-Buncombe Technical Community College
Associate of Applied Science in Culinary Arts
Focus: Comprehensive training in culinary techniques, kitchen management, and menu planning, with a special emphasis on grilling and outdoor cooking.
Dave Mitchell is the heart behind Daves Grill, a cook, writer, and lover of all things grilled. He studied Culinary Arts at Asheville-Buncombe Technical Community College and spent years cooking, testing, and sharing recipes that actually work.
Dave started Daves Grill to keep things simple: one great recipe at a time. His food is bold, easy to follow, and made for real people with regular kitchens. From juicy steaks to quick sides, Dave’s recipes bring the heat without the hassle.