Zesty Garlic Bread Rolls Recipe: Crunchy Delights Made Simple
Warm, golden garlic bread rolls dance with irresistible aromas that fill every kitchen with comfort.
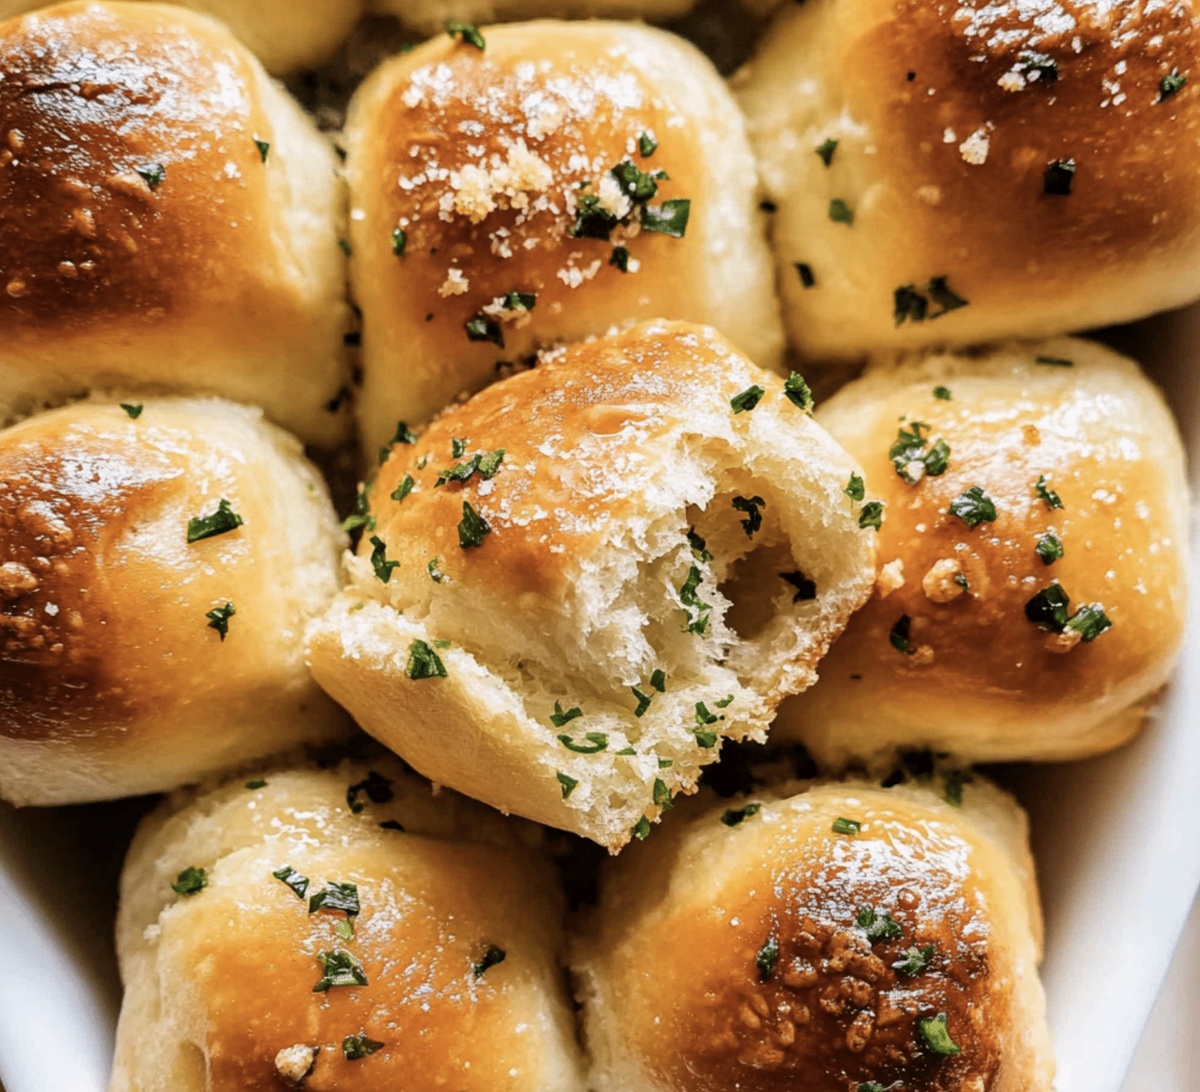
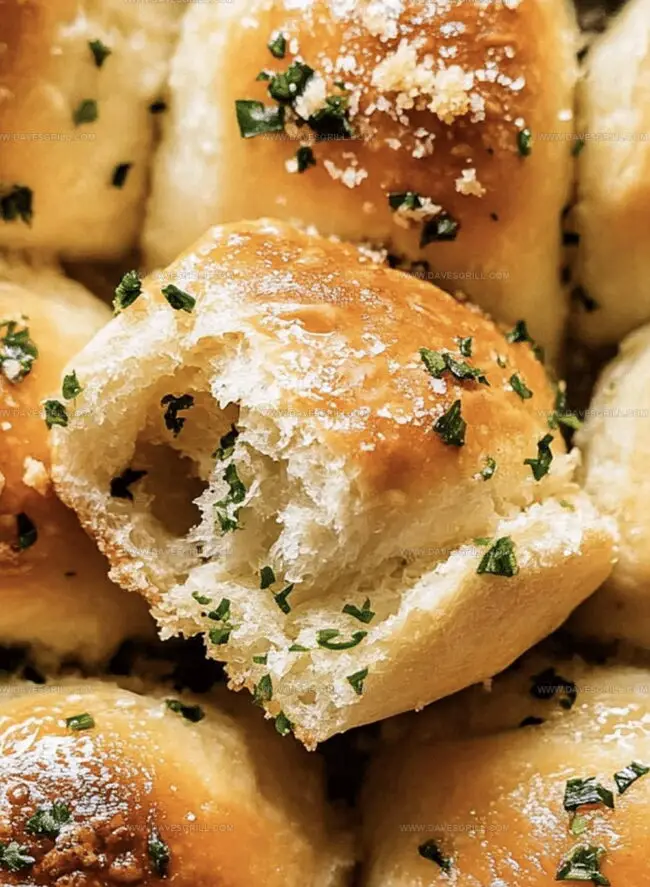
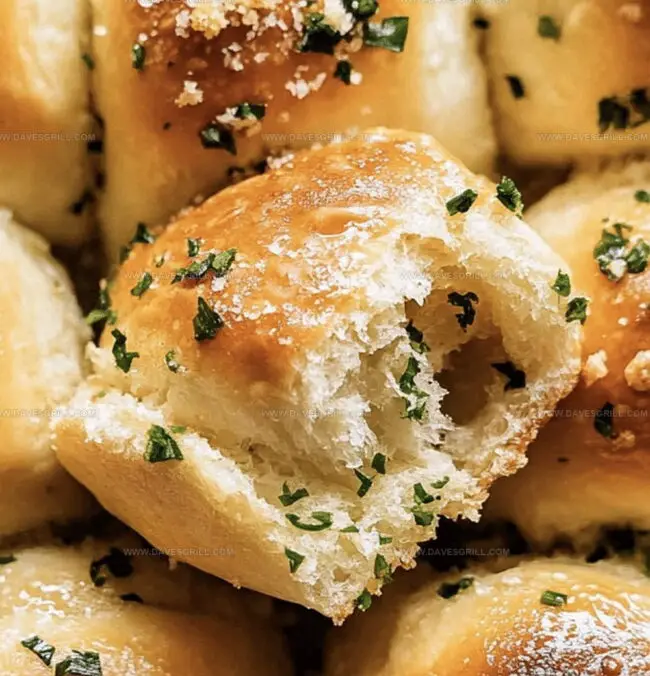
These delectable bread rolls packed with garlic invite you to savor each crispy, buttery bite.
Crafted with simple ingredients, this recipe promises a delightful side dish that elevates any meal.
Layers of rich garlic and soft bread create a mouthwatering experience that beckons everyone to the table.
Soft inside and perfectly crisp outside, these rolls bring restaurant-quality goodness to your home cooking.
The blend of herbs and garlic transforms ordinary bread into an extraordinary treat.
Prepare to fall in love with every delicious, golden-brown morsel.
Quick Recipe Overview
Inside the Pantry for Garlic Bread Rolls
For Activating Yeast:For Dough Base:For Finishing:Cooking Equipment for Garlic Bread Rolls
Let’s Cook for Garlic Bread Rolls
Mix warm water, sugar, and yeast in a small bowl. Wait 5-10 minutes until the mixture becomes bubbly and fragrant.
Blend flour and salt in a large mixing bowl. Pour in the yeast mixture, warm milk, softened butter, and beaten egg. Combine until a smooth dough forms.
Work the dough on a lightly dusted surface for 8-10 minutes, ensuring it becomes silky and elastic. You can also use a stand mixer with a dough hook for about 5 minutes.
Transfer the dough to a greased bowl and cover with a clean kitchen towel. Let it rest in a cozy, warm spot for 1-1.5 hours until it doubles in volume.
Helpful Notes for Garlic Bread Rolls
Plate It Right for Garlic Bread Rolls
Fridge Tips for Garlic Bread Rolls
Print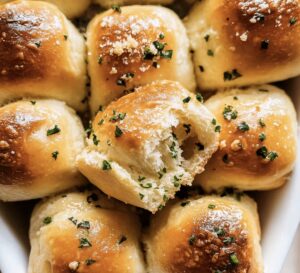
Crispy Garlic Bread Rolls Recipe
- Total Time: 40 minutes
- Yield: 13 1x
Description
Creamy garlic bread rolls showcase Italian-inspired comfort with a golden, crispy exterior. Melted butter and herbs infuse each bite, promising a delightful side dish you’ll crave alongside pasta or as a standalone snack.
Ingredients
- 500 g (4 cups) all-purpose flour
- 1 packet (7 g or 2 ¼ tsps) active dry yeast
- 250 ml (1 cup) warm milk
- 60 ml (¼ cup) warm water
- 120 g (8 tbsps) unsalted butter, softened and melted
- 1 egg, lightly beaten
- 3 cloves garlic, minced
- 1 tbsp fresh parsley, chopped
- 1 tbsp sugar
- 1 tsp salt
- ¼ cup Parmesan cheese (optional, for sprinkling)
Instructions
- Yeast Activation: Combine warm water, sugar, and yeast in a small bowl, allowing the mixture to foam and activate for 5-10 minutes until bubbly and fragrant.
- Dough Preparation: In a large mixing bowl, blend flour and salt, then integrate the activated yeast, milk, softened butter, and egg. Mix until a unified, smooth dough forms, ensuring all ingredients are thoroughly incorporated.
- Kneading and First Rise: Transfer the dough to a floured surface and knead vigorously for 8-10 minutes, developing a elastic and smooth consistency. Alternatively, use a stand mixer with a dough hook. Place the kneaded dough in a lightly oiled bowl, cover with a clean kitchen towel, and let rise in a warm, draft-free location until doubled in size (approximately 1-1.5 hours).
- Shaping and Garlic Infusion: Punch down the risen dough and roll out into a rectangular shape. Spread minced garlic, herbs, and butter evenly across the surface. Roll the dough tightly, creating a log, then slice into individual rolls.
- Second Rise and Baking: Arrange the rolls on a prepared baking sheet, allowing space for expansion. Cover and let rise for an additional 30-45 minutes. Preheat the oven to 375°F (190°C). Brush the rolls with an egg wash and sprinkle with additional herbs. Bake for 15-20 minutes until golden brown and fragrant.
- Finishing Touch: Remove from the oven and brush with melted garlic butter immediately. Allow to cool slightly before serving warm.
Notes
- Yeast Activation Precision: Ensure water temperature is between 100-110°F (37-43°C) for optimal yeast blooming; too hot kills yeast, too cold prevents activation.
- Kneading Technique Master: Develop gluten by kneading until dough becomes smooth and elastic, with a windowpane test showing thin, translucent membrane when stretched.
- Proofing Environment Control: Select a consistently warm, draft-free spot around 80-85°F (26-29°C) for ideal dough rising, using oven with light on or warm kitchen counter.
- Moisture Management: Cover dough with damp cloth during rising to prevent surface from drying out, maintaining soft and supple texture for final bread rolls.
- Prep Time: 20 minutes
- Cook Time: 20 minutes
- Category: Appetizer, Snacks
- Method: Baking
- Cuisine: Italian
Nutrition
- Serving Size: 13
- Calories: 180
- Sugar: 2 g
- Sodium: 210 mg
- Fat: 8 g
- Saturated Fat: 5 g
- Unsaturated Fat: 3 g
- Trans Fat: 0 g
- Carbohydrates: 24 g
- Fiber: 1 g
- Protein: 4 g
- Cholesterol: 25 mg
Emily Lawson
Content Creator & Culinary Specialist
Expertise
Education
Oregon Culinary Institute
Diploma in Culinary Arts
Focus: Emphasis on farm-to-table cooking, sustainable practices, and the fusion of global flavors with traditional grilling methods.
Emily Lawson is the content creator at Daves Grill, turning tasty ideas into clear, easy recipes. Based in Portland, she trained at the Oregon Culinary Institute and loves cooking with fresh, seasonal ingredients, especially grilled veggies and global flavors.
Emily mixes food writing with hands-on cooking to bring you recipes that feel fun, not stressful. Her goal is to make every dish simple, flavorful, and worth coming back to. Together, she and Dave serve up real food, one recipe at a time.