Golden Crispy Garlic Butter Cheese Bombs Recipe – Irresistible Joy!
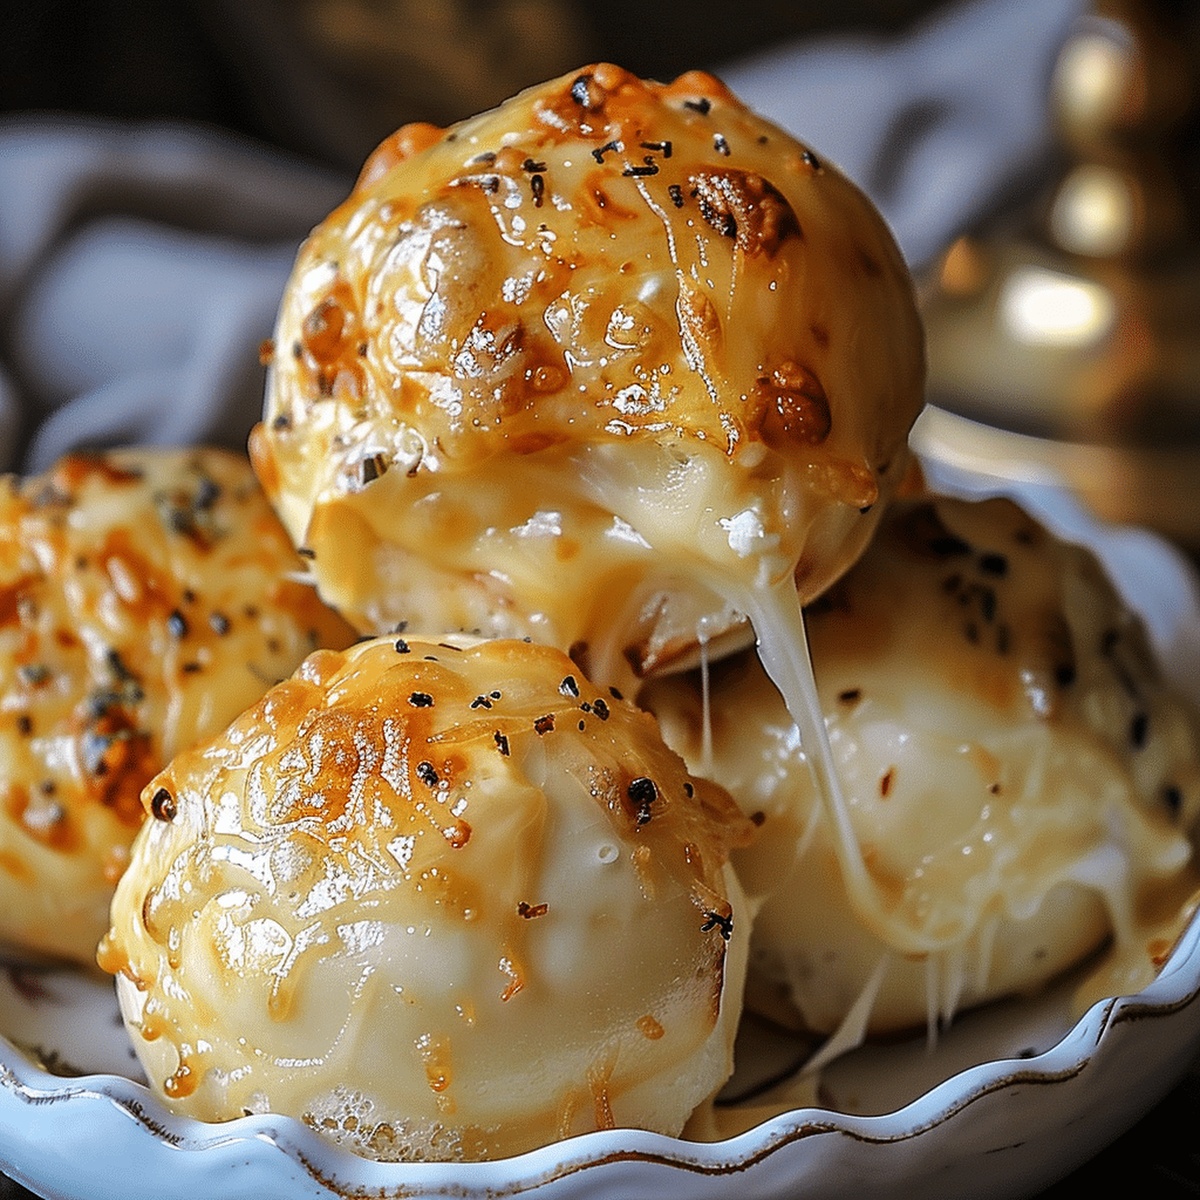
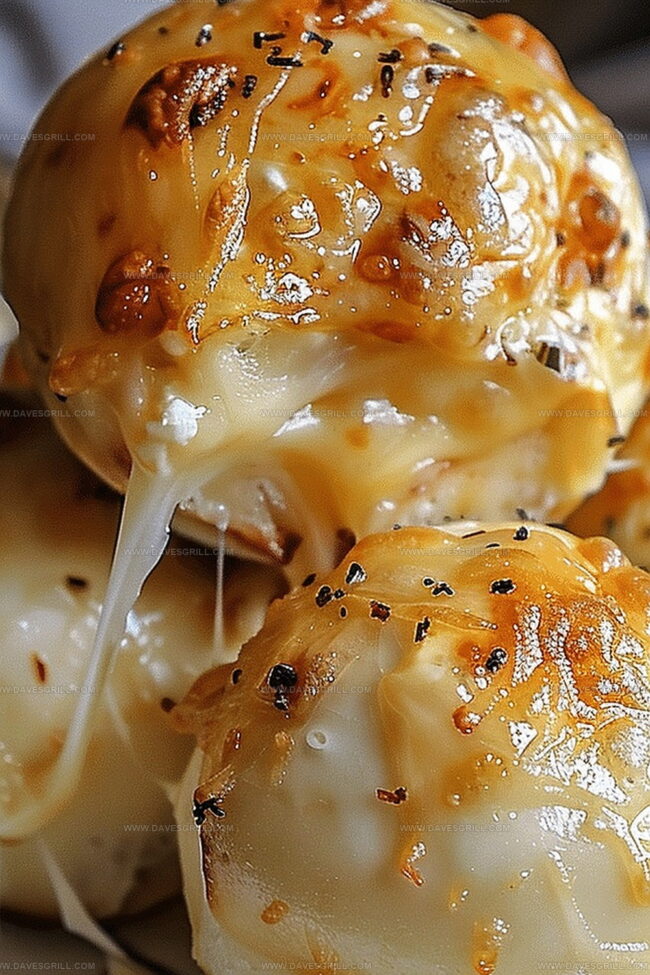
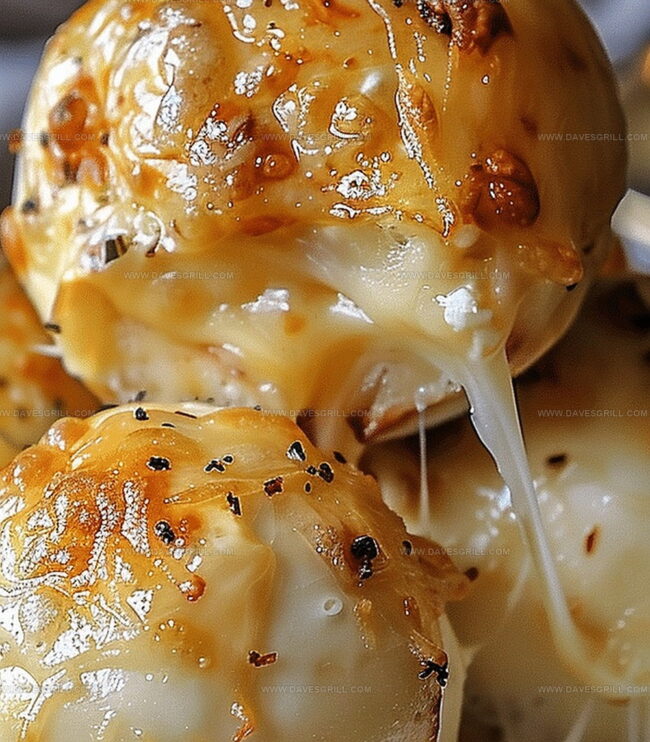
Warm, golden-brown cheese bombs bursting with garlic butter promise an irresistible appetizer that will make taste buds dance.
These delectable crispy garlic butter cheese bombs deliver a mouthwatering explosion of flavor in every single bite.
Soft dough wrapped around melted cheese creates a perfect golden exterior that crackles with each delightful munch.
Comfort food enthusiasts adore how simple ingredients come together in this crowd-pleasing recipe.
Each bomb packs a rich, savory punch that transforms ordinary bread into an extraordinary treat.
Quick to prepare and even faster to disappear, these cheese-filled delights will have everyone asking for seconds.
Serve these hot and watch as friends and family devour them with pure culinary joy.
Quick Recipe Overview
Cheese Bomb Ingredient Rundown
For Dough Base:For Flavor Enhancers:For Coating and Finishing:Tools for Baking Stuffed Garlic Bombs
How to Roll and Bake Cheese Bombs at Home
Crank the oven to a toasty 375F and grab a baking sheet lined with parchment paper.
Gently pull apart each biscuit and flatten them into soft circles with your fingertips.
Tuck a chunk of mozzarella right in the center of each dough circle. Carefully wrap and squeeze the edges closed, creating perfect little cheese-filled orbs.
Arrange the dough balls with their sealed side down on the baking sheet. Pop them in the oven and bake until they turn a gorgeous golden brown, about 10-12 minutes.
While the bombs are sizzling, mix melted butter with minced garlic and a sprinkle of Italian seasoning in a small bowl.
The moment the cheese bombs emerge from the oven, lavish them with the fragrant garlic butter. Sprinkle some fresh parsley on top for an extra touch of.
Serve these hot and watch the incredible cheese stretch when you pull them apart. Grab some marinara sauce on the side for dipping if you’re feeling extra adventurous.
Tips for Cheesy Garlic Bites That Pop
Serve Cheese Bombs Fresh and Warm
Save Cheese Bombs Without Losing Stretch
FAQs
Yes, you can experiment with cheddar, pepper jack, or even blue cheese for unique flavor combinations.
Prepare the cheese bombs up to the point of sealing the dough, then refrigerate for up to 24 hours before baking. Just add an extra minute or two to the baking time.
Ensure you pinch the dough edges tightly and completely seal the cheese inside. Use cold cheese and avoid overstuffing the biscuits.
While premade biscuit dough works best, you can use homemade pizza dough or crescent roll dough as alternatives.
Print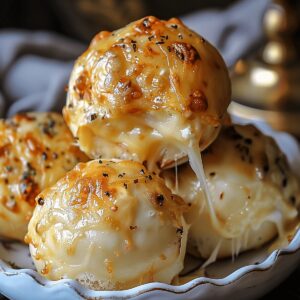
Crispy Garlic Butter Cheese Bombs
- Total Time: 22 minutes
- Yield: 9 1x
Description
Garlic butter cheese bombs infuse warm, pillowy dough with melted cheddar and aromatic garlic. Simple ingredients and quick preparation make these irresistible appetizers perfect for gatherings. You will savor each cheesy, buttery bite.
Ingredients
- 1 can (16 oz/454 g) refrigerated biscuit dough (8 biscuits)
- 4 oz (113 g) mozzarella cheese, cut into 8 cubes
- 4 tbsps (60 mL) unsalted butter, melted
- 2 cloves garlic, minced
- 1 tbsp (15 mL) fresh parsley, chopped (or 1 tsp/5 mL dried parsley)
- ½ tsp (2.5 mL) Italian seasoning
Instructions
- Oven Preparation: Ignite the oven to 375F (190C) and line a baking sheet with parchment paper, creating an optimal cooking environment for golden-brown perfection.
- Dough Transformation: Separate and delicately flatten biscuit dough into uniform circular foundations, preparing the canvas for cheese-filled magic.
- Cheese Encapsulation: Center a mozzarella cube on each dough circle, then meticulously fold and seal the edges into compact spherical parcels, ensuring the cheese remains securely imprisoned within.
- Baking Arrangement: Position the sealed dough spheres on the prepared sheet with seam-side down, spacing them evenly to promote consistent and uniform browning.
- Culinary Alchemy: Bake for 10-12 minutes, watching the bombs evolve into golden, puffy treasures that promise molten cheese revelation.
- Garlic Butter Infusion: Whisk melted butter with minced garlic and Italian seasoning, creating a fragrant elixir of flavor that will elevate the cheese bombs.
- Final Flourish: Immediately after removing from the oven, generously brush each bomb with the aromatic garlic butter, ensuring complete flavor saturation.
- Garnish and Serve: Sprinkle with fresh parsley and present piping hot, optionally accompanied by marinara sauce for an indulgent dipping experience.
Notes
- Seal Edges Carefully: Pinch dough edges tightly to prevent cheese leakage during baking, ensuring each bomb remains a perfect cheese-filled sphere.
- Control Butter Moisture: Mince garlic finely and pat dry to avoid excess liquid that could make garlic butter watery and compromise the coating’s texture.
- Monitor Oven Browning: Watch cheese bombs closely during last 2-3 minutes of baking to achieve golden-brown color without burning the delicate dough surface.
- Customize Cheese Options: Swap mozzarella with cheddar, pepper jack, or blue cheese to create unique flavor variations and accommodate different taste preferences.
- Prep Time: 10 minutes
- Cook Time: 12 minutes
- Category: Appetizer, Snacks
- Method: Baking
- Cuisine: American
Nutrition
- Serving Size: 9
- Calories: 210
- Sugar: 1 g
- Sodium: 480 mg
- Fat: 14 g
- Saturated Fat: 8 g
- Unsaturated Fat: 6 g
- Trans Fat: 0 g
- Carbohydrates: 18 g
- Fiber: 0 g
- Protein: 5 g
- Cholesterol: 30 mg
Emily Lawson
Content Creator & Culinary Specialist
Expertise
Education
Oregon Culinary Institute
Diploma in Culinary Arts
Focus: Emphasis on farm-to-table cooking, sustainable practices, and the fusion of global flavors with traditional grilling methods.
Emily Lawson is the content creator at Daves Grill, turning tasty ideas into clear, easy recipes. Based in Portland, she trained at the Oregon Culinary Institute and loves cooking with fresh, seasonal ingredients, especially grilled veggies and global flavors.
Emily mixes food writing with hands-on cooking to bring you recipes that feel fun, not stressful. Her goal is to make every dish simple, flavorful, and worth coming back to. Together, she and Dave serve up real food, one recipe at a time.