
Simple Joy: Crispy Mini Butter Cookies Recipe That Delights!
Buttery aromas fill the kitchen when these delectable mini butter cookies dance across the baking sheet.
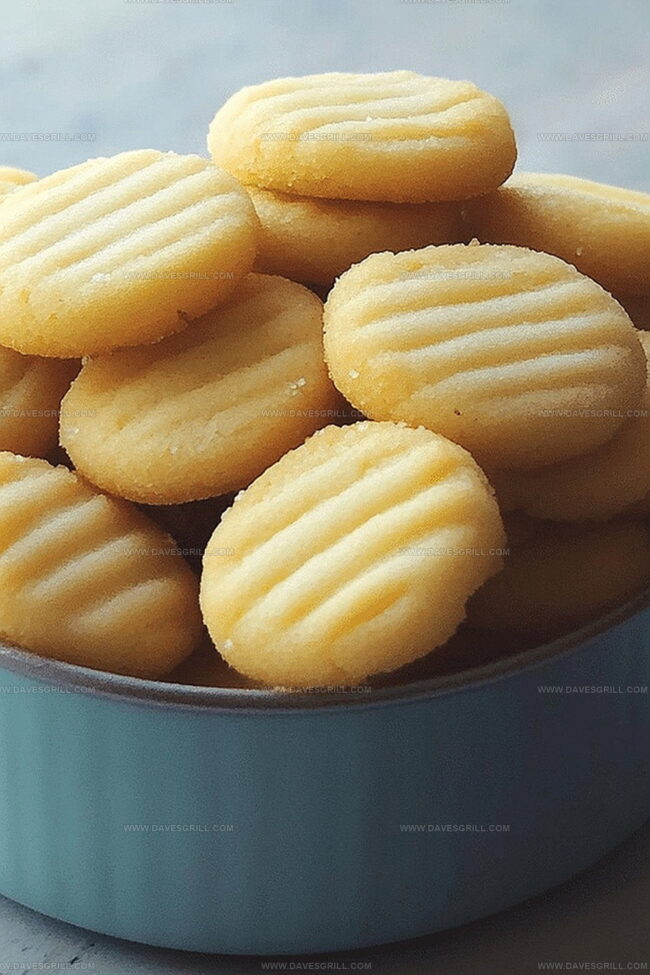
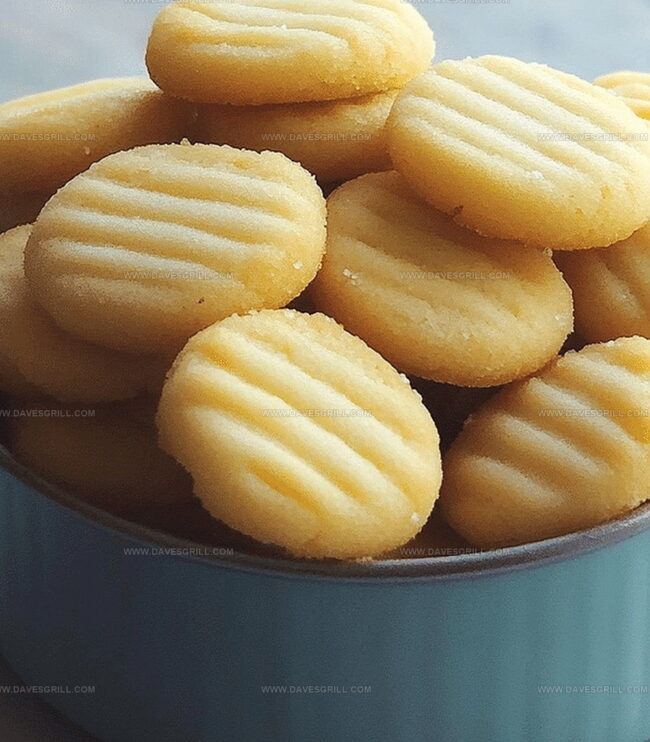
Soft, golden-edged butter cookies promise a delightful sweet treat that melts in your mouth.
The classic recipe brings comfort and warmth with its simple yet irresistible ingredients.
Delicate and crisp, these tiny morsels crumble perfectly with each gentle bite.
Baking these cookies connects generations through a shared love of homemade goodness.
Every batch tells a story of tradition and love, inviting you to savor each delightful moment.
Create memories and spread joy with these irresistible mini butter cookies that will have everyone asking for seconds.
Quick Recipe Overview
What Goes Into Mini Butter Cookies with Big Flavor
For Base Ingredients:For Dry Ingredients:For Optional Finishing Touches:Equipment That Keeps Mini Butter Cookies Uniform
How to Bake Mini Butter Cookies to Perfection
Warm your kitchen to a toasty 350F and grab some parchment paper to protect your baking sheets.
Grab your mixing bowl and blend butter and sugar until they’re creamy and cloud-like. Splash in vanilla for extra flavor. Softly fold in flour and salt, creating a tender dough that just barely holds together.
Roll small dough nuggets between your palms, creating adorable bite-sized balls. Arrange these little rounds on your prepared baking sheet, leaving a bit of breathing room between each one. Use a fork or glass bottom to gently press each cookie, creating charming texture.
Slide your cookie tray into the oven and watch closely. In about 10-12 minutes, the edges will transform into a gorgeous golden hue. Avoid over-browning by keeping a watchful eye.
Let your cookies rest on the baking sheet for a quick five minutes. Transfer to a cooling rack and let them chill completely. Feel free to jazz them up with a dusting of powdered sugar or a drizzle of melted chocolate if you’re feeling fancy.
Tips for Crisp and Buttery Mini Butter Cookies
Serving Mini Butter Cookies at Events or Tea Time
Best Storage Methods for Mini Butter Cookies
FAQs
Yes, you can prepare the dough up to 3 days in advance. Wrap the dough tightly in plastic wrap and store in the refrigerator. When ready to bake, let the dough sit at room temperature for 15-20 minutes to soften slightly.
This usually happens if the butter is too soft or warm. Make sure your butter is just softened, not melted, and chill the dough for 15-20 minutes before baking if the room is warm.
All-purpose flour is perfect for these mini butter cookies. Avoid using cake flour or bread flour, as they will change the texture and consistency of the cookies.
Use a small cookie scoop or measuring spoon to ensure uniform size. Gently roll the dough between your palms to create smooth, even balls before flattening with a fork or glass.
Print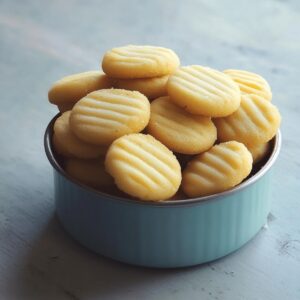
Crispy Mini Butter Cookies Recipe
- Total Time: 27 minutes
- Yield: 25 1x
Description
Delicate mini butter cookies from Denmark emerge as a sweet, buttery delight. Crisp edges and melt-in-mouth texture invite you to savor each delectable bite of traditional Scandinavian goodness.
Ingredients
- 1 cup (227 grams / 8 oz) unsalted butter, softened
- ½ cup (100 grams / 3.53 oz) granulated sugar
- 2 cups (250 grams / 8.82 oz) all-purpose flour
- ¼ teaspoon salt
- 1 teaspoon vanilla extract
- powdered sugar for dusting
- chocolate for drizzling or dipping
- sprinkles for decoration
Instructions
- Preparation: Preheat oven to 350F (175C) and line baking sheets with parchment paper for easy cookie removal.
- Mixing: Cream butter and sugar until fluffy using an electric mixer, blending in vanilla extract. Gently incorporate flour and salt, mixing until dough forms a consistent texture without overworking.
- Shaping and Decorating: Roll dough into small, uniform balls using a teaspoon measure. Place on prepared trays with adequate spacing. Create distinctive patterns by pressing gently with a fork or glass-bottomed implement to flatten each cookie.
- Baking: Transfer trays to preheated oven, baking for 10-12 minutes until edges turn a delicate golden hue. Monitor carefully to prevent excessive browning while maintaining the cookies’ tender profile.
- Finishing: Rest cookies on baking sheet for 5 minutes, then transfer to a wire rack for complete cooling. Enhance presentation by sprinkling powdered sugar, drizzling chocolate, or adding decorative garnishes once cookies reach room temperature.
Notes
- Prevent Overmixing: Stop mixing flour the moment dough comes together to maintain tender, melt-in-your-mouth cookie texture.
- Temperature Control: Use room-temperature butter for smoother creaming and more consistent cookie spreading during baking.
- Uniform Size Matters: Use a consistent teaspoon measure and gentle rolling technique to ensure even baking and professional-looking cookies.
- Cooling Technique: Let cookies rest on baking sheet before transferring to wire rack, preventing potential crumbling and helping them set perfectly.
- Prep Time: 15 minutes
- Cook Time: 12 minutes
- Category: Snacks, Desserts
- Method: Baking
- Cuisine: American
Nutrition
- Serving Size: 25
- Calories: 134
- Sugar: 4 g
- Sodium: 1 mg
- Fat: 9 g
- Saturated Fat: 5 g
- Unsaturated Fat: 4 g
- Trans Fat: 0 g
- Carbohydrates: 12 g
- Fiber: 0 g
- Protein: 1 g
- Cholesterol: 30 mg
Emily Lawson
Content Creator & Culinary Specialist
Expertise
Education
Oregon Culinary Institute
Diploma in Culinary Arts
Focus: Emphasis on farm-to-table cooking, sustainable practices, and the fusion of global flavors with traditional grilling methods.
Emily Lawson is the content creator at Daves Grill, turning tasty ideas into clear, easy recipes. Based in Portland, she trained at the Oregon Culinary Institute and loves cooking with fresh, seasonal ingredients, especially grilled veggies and global flavors.
Emily mixes food writing with hands-on cooking to bring you recipes that feel fun, not stressful. Her goal is to make every dish simple, flavorful, and worth coming back to. Together, she and Dave serve up real food, one recipe at a time.