Crispy Sticky Chicken Rice Bowls Recipe: Irresistible Homemade Joy
Weeknight dinner just got a delicious upgrade with these tantalizing sticky chicken rice bowls that promise bold flavors and satisfying textures.
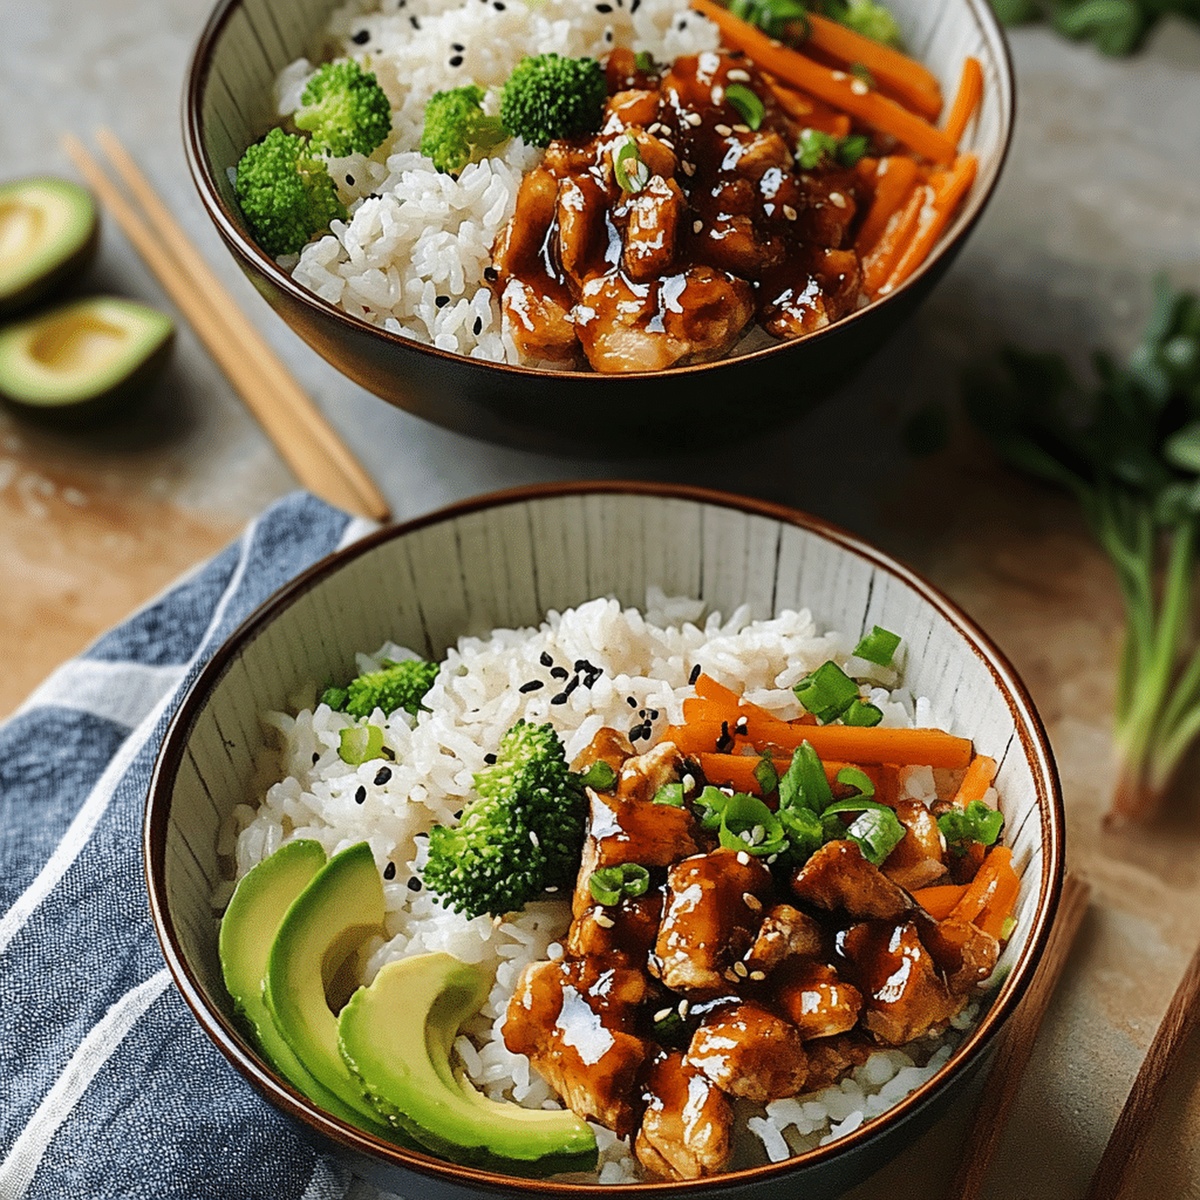
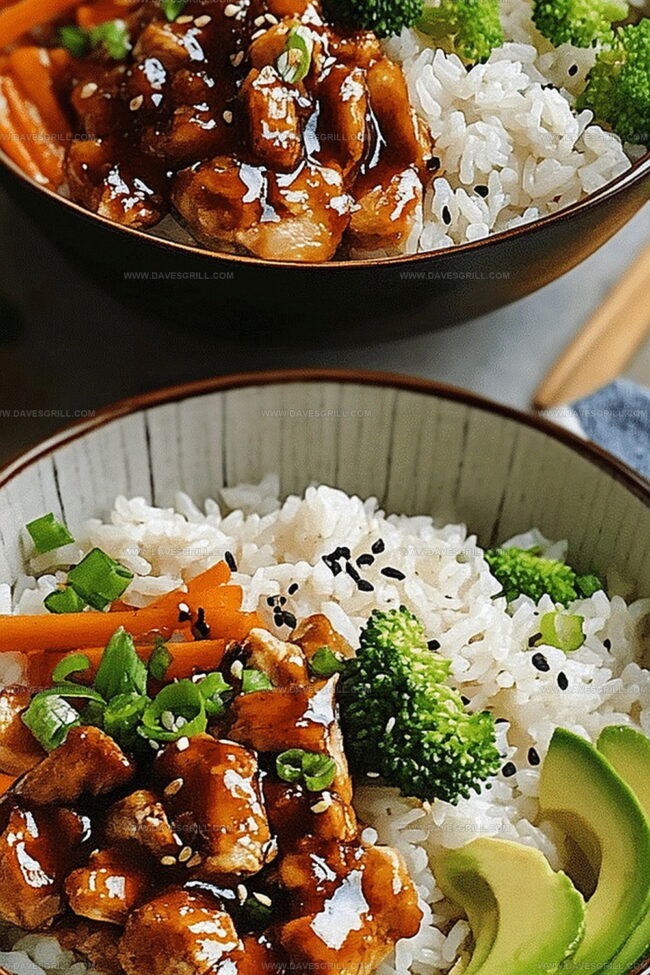
The perfect blend of crispy chicken coated in a rich, glossy sauce creates an irresistible meal that dances between sweet and savory.
Every bite delivers a harmony of tender meat and fluffy rice, bringing restaurant-quality comfort directly to your plate.
Marinating the chicken beforehand unlocks deep, complex flavors that elevate this simple dish.
Weeknight cooking becomes exciting when you can whip up something this delectable in under an hour.
Fresh ingredients and a few smart techniques transform ordinary chicken into a crave-worthy meal that will have everyone asking for seconds.
Prepare to be the culinary hero of your household with this crowd-pleasing recipe.
Quick Recipe Overview
Sticky Chicken Bowl Ingredient List
For Protein:For Sauce and Flavor Enhancers:For Serving and Garnish:What to Use for That Glossy, Flavorful Sauce
Make Sticky Chicken Rice Bowls That Pop
Dice the chicken and dust it with cornstarch, ensuring each piece gets a light, even covering.
Fire up a skillet with vegetable oil and cook chicken until it turns a gorgeous golden brown, about 5-7 minutes. Pull the chicken out and set it aside.
In the same skillet, lower the heat and splash in soy sauce, honey, rice vinegar, sesame oil, minced garlic, grated ginger, and optional red pepper flakes. Stir and let the mixture bubble gently.
Cook the sauce for 2-3 minutes, stirring constantly until it transforms into a glossy, slightly thickened liquid.
Return the cooked chicken to the skillet, coating each piece in the luscious sauce. Let it dance in the pan for another 1-2 minutes to soak up all those incredible flavors.
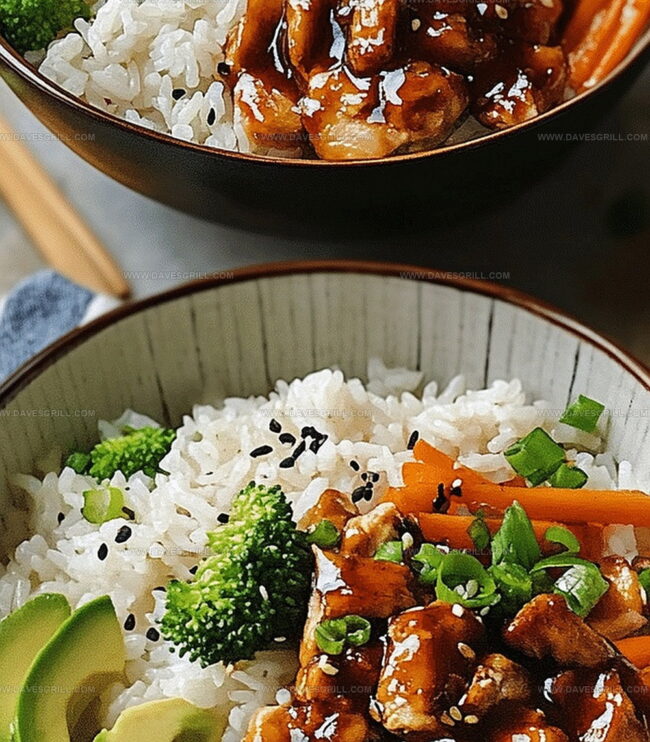
Scoop rice into serving bowls, crown with the sticky chicken, and add your favorite steamed or roasted veggies.
Sprinkle sliced green onions and sesame seeds on top for a burst of freshness and crunch.
Tips for Sauce That’s Sweet and Savory
Serve in Bowls with Green Onions or Sesame Seeds
Store Chicken Bowls for Quick Dinners
FAQs
Cornstarch helps create a crispy exterior on the chicken and thickens the sauce, ensuring the chicken gets a golden brown color and the sauce sticks perfectly to the meat.
While rice vinegar provides a subtle tangy flavor, you can substitute with apple cider vinegar or white wine vinegar if needed, though the taste profile will slightly change.
Red pepper flakes add a mild to moderate heat depending on the amount used. You can adjust the quantity to make the dish more or less spicy according to your preference.
The recipe contains soy sauce, which traditionally has gluten. To make it gluten-free, use tamari or gluten-free soy sauce as a direct replacement.
Print
Crispy Sticky Chicken Rice Bowls Recipe
- Total Time: 30 minutes
- Yield: 5 1x
Description
Korean-inspired Sticky Chicken Rice Bowls deliver a perfect balance of sweet and savory flavors. Marinated chicken thighs rest on fluffy rice, garnished with crisp vegetables and sesame seeds for a satisfying meal you’ll crave again and again.
Ingredients
- 2 cups cooked white or brown rice
- 1 cup (150 grams) steamed or roasted vegetables (e.g., broccoli, carrots, or snap peas)
- 1 lb (450 g) chicken thighs or breasts, diced
- ¼ cup (60 mL) soy sauce
- ¼ cup (60 mL) honey
- 2 tbsps rice vinegar or apple cider vinegar
- 2 tbsps vegetable oil
- 1 tbsp sesame oil
- 2 tbsps cornstarch
- 2 cloves garlic, minced
- 1 tsp ginger, grated
- ¼ tsp red pepper flakes (optional, for spice)
- 2 green onions, sliced (for garnish)
- 1 tbsp sesame seeds (for garnish)
Instructions
- Preparation: Thoroughly coat diced chicken with a delicate layer of cornstarch, ensuring each piece is evenly covered for maximum crispiness.
- Searing: Heat vegetable oil in a skillet over medium-high temperature, carefully sear chicken pieces until they develop a golden-brown crust and cook through completely, about 5-7 minutes.
- Sauce Creation: Lower skillet temperature and craft a glossy sauce by whisking together soy sauce, honey, rice vinegar, sesame oil, minced garlic, grated ginger, and optional red pepper flakes until the mixture thickens and becomes rich and lustrous.
- Flavor Infusion: Return chicken to the skillet, gently tossing to coat thoroughly and allow flavors to harmonize for 1-2 minutes.
- Plating: Spread freshly cooked rice in serving bowls as a foundation, artfully arrange sticky chicken on top, and complement with steamed or roasted seasonal vegetables.
- Finishing Touch: Garnish with a sprinkle of sliced green onions and toasted sesame seeds to elevate the dish’s visual appeal and add a final layer of flavor complexity.
Notes
- Ensure Cornstarch Coverage: Completely and evenly coat chicken pieces with cornstarch, shaking off excess to prevent clumping and achieve a crispy, light texture.
- Control Cooking Temperature: Use medium-high heat for searing chicken, watching carefully to prevent burning while creating a golden-brown exterior and maintaining juicy interior.
- Balance Sauce Consistency: Stir sauce ingredients constantly during simmering, allowing it to thicken naturally without becoming too sticky or reducing too quickly.
- Customize for Dietary Needs: Swap soy sauce with tamari for gluten-free option, use coconut aminos for lower sodium, or add extra red pepper flakes for increased heat and flavor complexity.
- Prep Time: 10 minutes
- Cook Time: 20 minutes
- Category: Lunch, Dinner
- Method: Sautéing
- Cuisine: Asian
Nutrition
- Serving Size: 5
- Calories: 540
- Sugar: 14 g
- Sodium: 830 mg
- Fat: 22 g
- Saturated Fat: 4 g
- Unsaturated Fat: 16 g
- Trans Fat: 0 g
- Carbohydrates: 64 g
- Fiber: 3 g
- Protein: 28 g
- Cholesterol: 90 mg
Emily Lawson
Content Creator & Culinary Specialist
Expertise
Education
Oregon Culinary Institute
Diploma in Culinary Arts
Focus: Emphasis on farm-to-table cooking, sustainable practices, and the fusion of global flavors with traditional grilling methods.
Emily Lawson is the content creator at Daves Grill, turning tasty ideas into clear, easy recipes. Based in Portland, she trained at the Oregon Culinary Institute and loves cooking with fresh, seasonal ingredients, especially grilled veggies and global flavors.
Emily mixes food writing with hands-on cooking to bring you recipes that feel fun, not stressful. Her goal is to make every dish simple, flavorful, and worth coming back to. Together, she and Dave serve up real food, one recipe at a time.