
Zesty Crispy Taco-Stuffed Cheesy Pockets Recipe for Fun Dinners
Warm, golden pockets of pure comfort emerge from the kitchen when you make these irresistible taco-stuffed cheesy pockets.
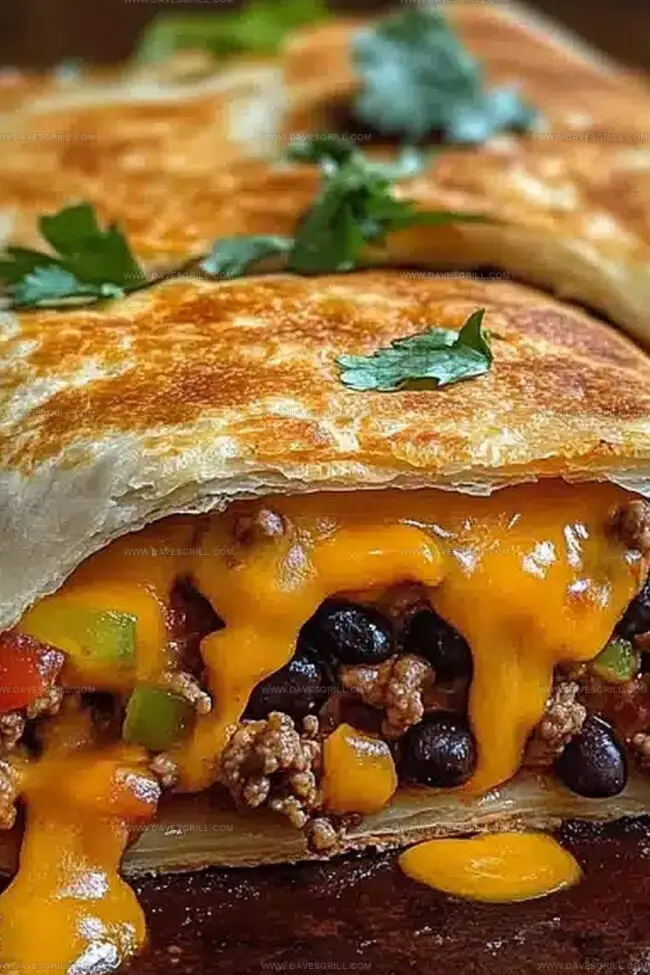
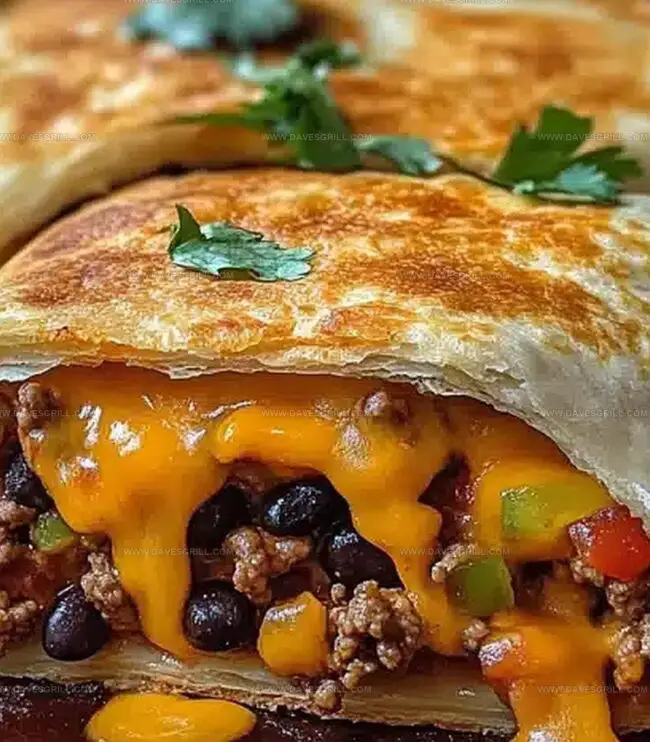
Savory ground beef mingles with melted cheese inside a crisp, flaky exterior that beckons hungry diners.
Spices dance through each bite, promising a flavor explosion that tantalizes taste buds.
This crowd-pleasing recipe brings a twist to traditional taco night with its handheld, portable deliciousness.
The combination of crispy pastry and zesty filling creates a perfect balance of textures and tastes.
Teens and adults alike will devour these pockets faster than you can plate them.
Prepare to become the culinary hero at your next gathering with this mouthwatering creation.
Quick Recipe Overview
What’s Inside Loaded Taco-Stuffed Cheesy Pockets
For Meat and Protein Base:For Dough and Wrapper:For Flavor Enhancers:Tools to Fold and Fill Cheesy Taco Pockets
How to Bake Loaded Taco-Stuffed Cheesy Pockets
Crank your oven to a toasty 375°F, getting ready for some serious flavor.
Sizzle ground beef in a hot skillet until it’s beautifully caramelized. Splash in taco seasoning and let those spices dance. Toss in black beans and corn for extra excitement.
Gently roll out your pizza or crescent dough, creating a canvas for your tasty creation. Slice into perfect pocket-sized shapes.
Spoon the zesty meat mixture into the center of each dough piece. Sprinkle generously with melty cheddar cheese. Fold and pinch the edges, sealing in all that deliciousness.
Slide your pockets onto a parchment-lined baking sheet. Let them transform in the oven until they turn a gorgeous golden brown, about 12-15 minutes.
Give them a moment to cool, then serve these flavor-packed pockets. Grab some sour cream and salsa for an extra flavor punch if you’re feeling adventurous.
Tips for Perfect Filling in Every Cheesy Pocket
Serve Taco Pockets for a Crowd-Pleasing Dinner
Store Taco-Stuffed Pockets for On-the-Go Meals
FAQs
Make sure to seal the edges tightly by pinching them firmly or using a fork to crimp. This prevents the filling from spilling out and keeps the pockets intact while baking.
Yes, you can prepare the pockets and refrigerate them before baking. Just cover them and store in the fridge for up to 24 hours. When ready to cook, bake directly from the refrigerator, adding a few extra minutes to the baking time.
Ground turkey, shredded chicken, or plant-based meat alternatives work great. Just make sure to season them well and cook thoroughly before filling the pockets.
Add diced jalapeños to the filling, use a hot taco seasoning, or include some cayenne pepper. You can also serve with a spicy salsa or hot sauce on the side for extra heat.
Print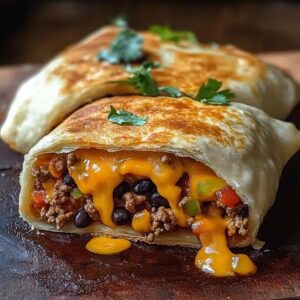
Crispy Taco-Stuffed Cheesy Pockets Recipe
- Total Time: 35 minutes
- Yield: 13 1x
Description
This delectable Loaded Taco-Stuffed Cheesy Pockets recipe blends Mexican and American flavors in one irresistible dish. Crispy pastry shells packed with seasoned beef, melted cheese, and zesty toppings promise a mouthwatering meal you’ll crave again and again.
Ingredients
- 1 lb (450g) ground beef
- 12 small (6-inch) flour tortillas
- 1 cup shredded cheddar cheese
- 8 oz (225g) cream cheese, softened
- 1 packet taco seasoning mix
- ½ cup salsa
- 2 tbsps melted butter
Instructions
- Preparation: Preheat the oven to 375F (190C), ensuring a perfect golden-brown environment for the taco pockets.
- Meat Mixture: Brown ground beef in a skillet, drain excess fat, and incorporate taco seasoning, water, black beans, and corn until thoroughly heated and well-combined.
- Dough Preparation: Roll out pizza or crescent dough on a floured surface, cutting into uniform squares or circles to create a robust base for the filling.
- Filling Assembly: Center a hearty scoop of seasoned beef mixture on each dough piece, generously topping with sharp cheddar cheese to create a molten core.
- Pocket Formation: Carefully fold and seal the dough edges, using pinching or crimping techniques to secure the filling and prevent leakage during baking.
- Baking Process: Position pockets on a parchment-lined baking sheet, maintaining space between each pocket. Bake until the exterior transforms into a crisp, golden-brown shell with a delightfully crunchy texture.
- Serving: Rest the pockets briefly after removing from the oven. Plate with accompaniments of sour cream and salsa, allowing for personalized flavor exploration.
Notes
Manage Meat Moisture: Drain excess fat from ground beef thoroughly to prevent soggy pockets and ensure a crispy, well-textured filling.
Seal Edges Securely: Use fork crimps or careful pinching techniques to completely seal dough edges, preventing filling leakage and maintaining pocket integrity during baking.
Customize Dietary Needs: Swap ground beef for ground turkey, plant-based crumbles, or shredded chicken to accommodate different dietary preferences without compromising flavor profile.
Prevent Dough Sticking: Lightly dust work surface with flour and use parchment paper on baking sheet to ensure easy dough handling and prevent sticking during preparation.
- Prep Time: 20 minutes
- Cook Time: 15 minutes
- Category: Lunch, Dinner, Snacks
- Method: Baking
- Cuisine: Mexican
Nutrition
- Serving Size: 13
- Calories: 250
- Sugar: 2g
- Sodium: 550mg
- Fat: 15g
- Saturated Fat: 7g
- Unsaturated Fat: 6g
- Trans Fat: 0g
- Carbohydrates: 20g
- Fiber: 1g
- Protein: 10g
- Cholesterol: 40mg
Emily Lawson
Content Creator & Culinary Specialist
Expertise
Education
Oregon Culinary Institute
Diploma in Culinary Arts
Focus: Emphasis on farm-to-table cooking, sustainable practices, and the fusion of global flavors with traditional grilling methods.
Emily Lawson is the content creator at Daves Grill, turning tasty ideas into clear, easy recipes. Based in Portland, she trained at the Oregon Culinary Institute and loves cooking with fresh, seasonal ingredients, especially grilled veggies and global flavors.
Emily mixes food writing with hands-on cooking to bring you recipes that feel fun, not stressful. Her goal is to make every dish simple, flavorful, and worth coming back to. Together, she and Dave serve up real food, one recipe at a time.