Quick Crispy Garlic Parmesan Chicken Recipe: Flavor Magic!
Weeknight dinners demand something special, and this crispy garlic parmesan chicken recipe brings pure magic to your plate.
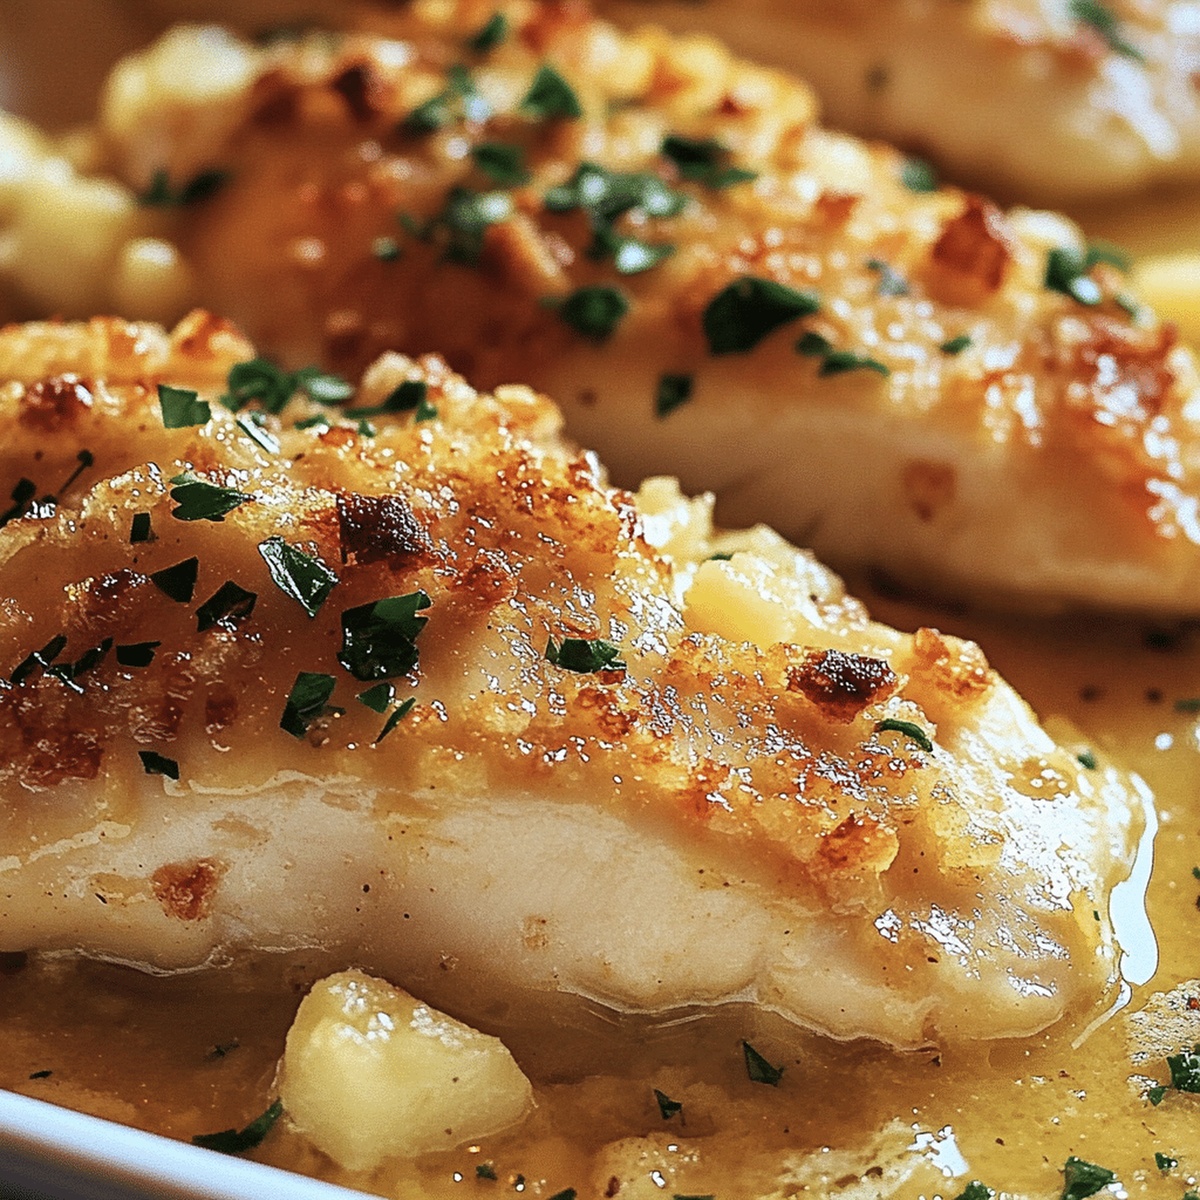
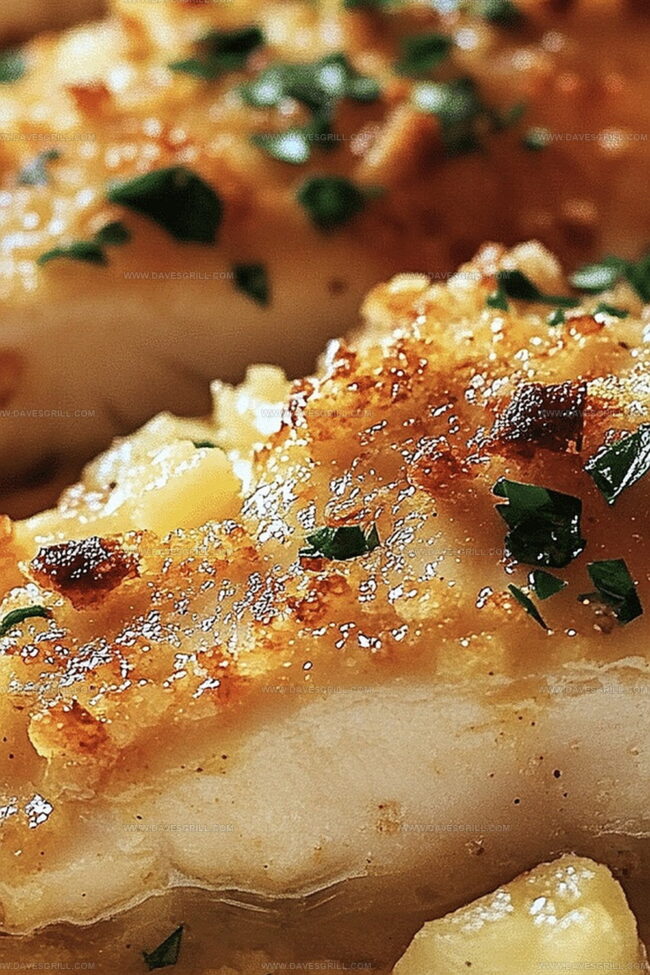
Tender chicken breasts coated in a golden, crunchy parmesan crust will make taste buds dance with delight.
The combination of garlic and parmesan creates an irresistible flavor profile that elevates a simple protein into a restaurant-worthy meal.
Each bite promises a satisfying crunch that gives way to juicy, perfectly seasoned meat.
Preparing this dish requires minimal effort but delivers maximum flavor and satisfaction.
Simple ingredients come together quickly, making this recipe a weeknight warrior’s dream.
You’ll want to savor every single crispy, cheesy morsel from the first bite to the last.
Quick Recipe Overview
Ingredients for Garlic Parmesan Baked Chicken
For Protein:For Coating and Flavor Enhancement:For Moisture and Binding:Optional Garnish:Tools That Help You Bake Chicken
Bake Juicy Garlic Parmesan Chicken with Ease

Crank your oven to a toasty 375F and get a baking dish ready with a quick spray of cooking oil.
Mix together a zesty blend of Parmesan, breadcrumbs, and spices that’ll make your taste buds dance.
Massage each chicken piece with olive oil, then roll it through the spice mixture until it’s completely covered in deliciousness.
Drizzle melted butter over the chicken to help it turn gloriously golden and crispy.
Pop the chicken in the oven and let it sizzle for 25-30 minutes. When it’s golden brown and the inside hits 165F, you’re almost ready to feast.
Pull out your masterpiece, sprinkle some fresh parsley if you’re feeling fancy, and get ready to enjoy a meal that’ll make everyone at the table cheer.
Flavor Boosters for a Crisp, Golden Finish
Serve Garlic Chicken with Sides That Shine
Store Baked Chicken to Stay Moist
FAQs
Yes, you can substitute Parmesan with Romano or Asiago cheese for a similar flavor profile. Grated pecorino works well too if you want a slightly sharper taste.
Use a meat thermometer to check that the internal temperature reaches 165F/74C. The chicken should look golden brown and have no pink in the center when you cut into it.
No, the breadcrumbs contain gluten. To make it gluten-free, replace regular breadcrumbs with gluten-free breadcrumbs or crushed almond flour for a similar crispy coating.
You can coat the chicken with the Parmesan mixture up to 24 hours in advance and store it covered in the refrigerator. Just add a few extra minutes to the cooking time if you’re starting with cold chicken.
Print
Crispy Garlic Parmesan Chicken Recipe
- Total Time: 40 minutes
- Yield: 5 1x
Description
Garlic Parmesan Chicken emerges as a classic comfort dish from Italian-American kitchens. Crispy herb-coated chicken breasts deliver rich flavors you’ll savor with simple side dishes like roasted vegetables or creamy pasta.
Ingredients
- 4 boneless, skinless chicken breasts
- ½ cup (50 g / 1.76 oz) Parmesan cheese, grated
- ½ cup (60 g / 2.12 oz) breadcrumbs (Panko or regular)
- 2 tsps garlic powder
- 1 tsp Italian seasoning
- 2 tbsps olive oil
- 2 tbsps unsalted butter, melted
- ½ tsp paprika
- ½ tsp salt
- ¼ tsp black pepper
- Chopped fresh parsley (for garnish, optional)
Instructions
- Oven Preparation: Preheat oven to 375F (190C) and line a baking dish with parchment paper or lightly grease to prevent sticking.
- Seasoning Blend: Combine Parmesan cheese, breadcrumbs, garlic powder, Italian seasoning, paprika, salt, and pepper in a shallow dish, mixing thoroughly to create a uniform coating.
- Chicken Coating: Brush chicken breasts with olive oil, then press firmly into the seasoned mixture, ensuring complete and even coverage of the entire surface.
- Pre-Baking Enhancement: Drizzle melted butter over the coated chicken to promote a crispy, golden exterior during roasting.
- Baking Process: Roast in the preheated oven for 25-30 minutes, monitoring until the chicken achieves a rich golden-brown color and reaches an internal temperature of 165F/74C.
- Final Crisp: Activate the broiler for a quick 2-3 minute finish, carefully watching to prevent burning while creating an extra-crispy surface.
- Serving Presentation: Garnish with freshly chopped parsley and serve immediately with complementary sides like roasted vegetables, crisp salad, or al dente pasta.
Notes
Optimize Chicken Coating: Press seasoning mixture firmly and evenly onto chicken to create a thick, consistent layer that guarantees maximum flavor and crunch in every bite.
Temperature Precision: Use a meat thermometer to check internal chicken temperature, ensuring 165F/74C for safe and perfectly cooked meat without drying out the protein.
Broiler Caution: Watch chicken closely during final 2-3 minute broiling stage, as golden-brown can quickly transform into burnt – position rack in middle to prevent uneven browning.
Moisture Preservation: Let chicken rest 3-5 minutes after baking to redistribute juices, preventing dry meat and maintaining tender, succulent texture throughout the meat.
- Prep Time: 10 minutes
- Cook Time: 30 minutes
- Category: Dinner, Lunch
- Method: Baking
- Cuisine: Italian
Nutrition
- Serving Size: 5
- Calories: 310
- Sugar: 1 g
- Sodium: 550 mg
- Fat: 18 g
- Saturated Fat: 7 g
- Unsaturated Fat: 9 g
- Trans Fat: 0 g
- Carbohydrates: 10 g
- Fiber: 1 g
- Protein: 30 g
- Cholesterol: 90 mg
Emily Lawson
Content Creator & Culinary Specialist
Expertise
Education
Oregon Culinary Institute
Diploma in Culinary Arts
Focus: Emphasis on farm-to-table cooking, sustainable practices, and the fusion of global flavors with traditional grilling methods.
Emily Lawson is the content creator at Daves Grill, turning tasty ideas into clear, easy recipes. Based in Portland, she trained at the Oregon Culinary Institute and loves cooking with fresh, seasonal ingredients, especially grilled veggies and global flavors.
Emily mixes food writing with hands-on cooking to bring you recipes that feel fun, not stressful. Her goal is to make every dish simple, flavorful, and worth coming back to. Together, she and Dave serve up real food, one recipe at a time.