Fruity 7-Layer Fruit Cake Bars Recipe You’ll Keep Making
Sweet layers of nostalgia and pure indulgence converge in these delectable 7-layer fruit cake bars that promise a symphony of textures and flavors.
Each bar combines rich, buttery graham cracker crust with luscious fruit and creamy chocolate chips.
Condensed milk cascades through the layers, binding every delightful ingredient with silky sweetness.
Nuts add a satisfying crunch that complements the soft, gooey elements perfectly.
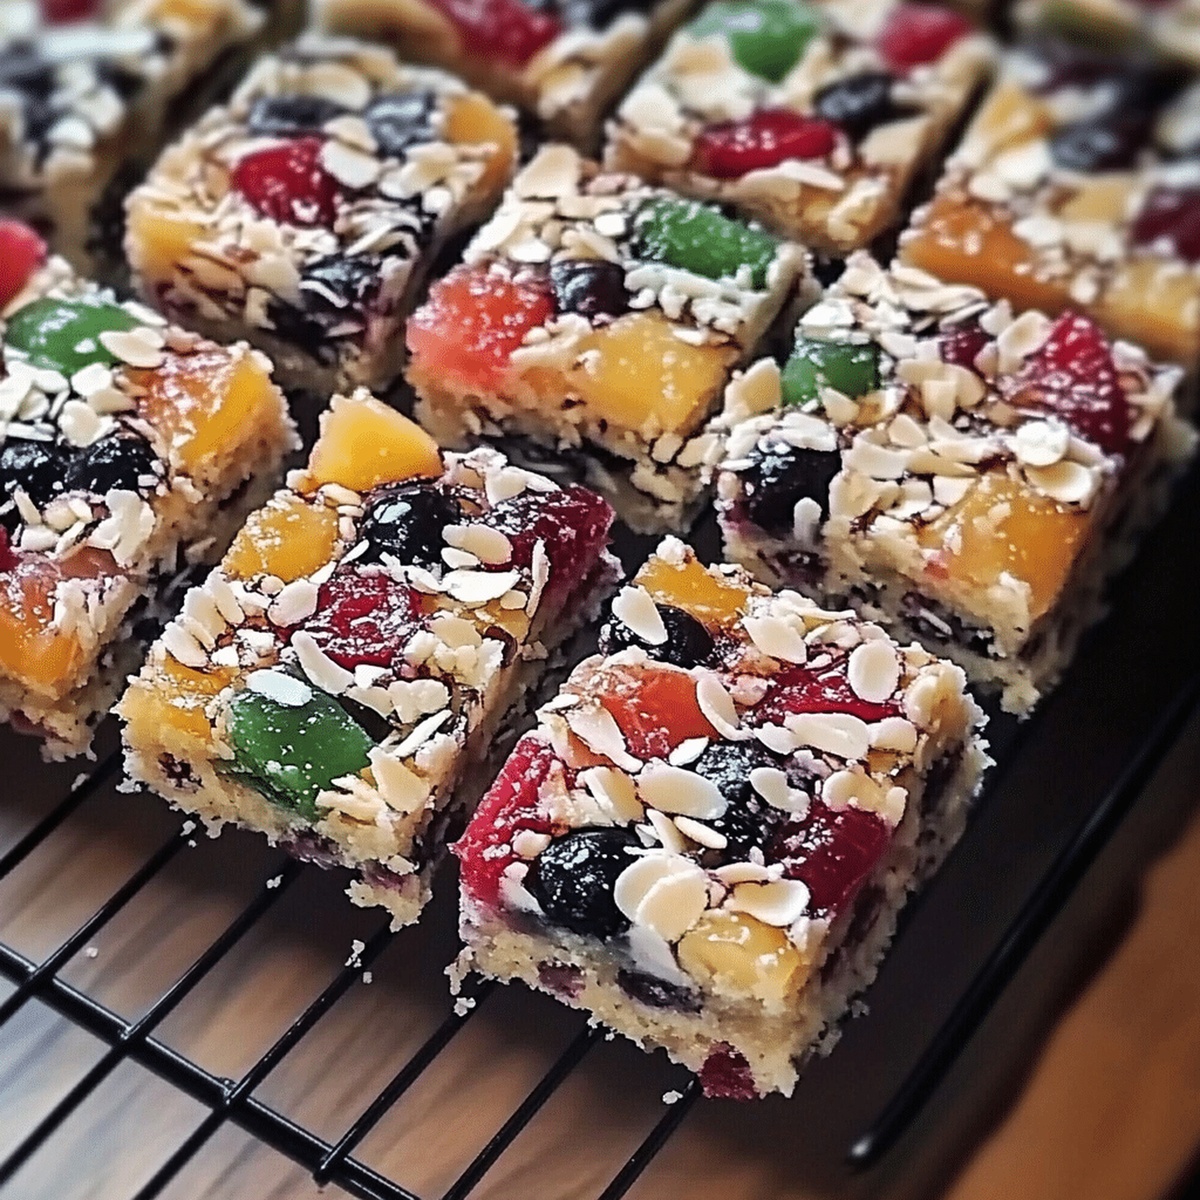
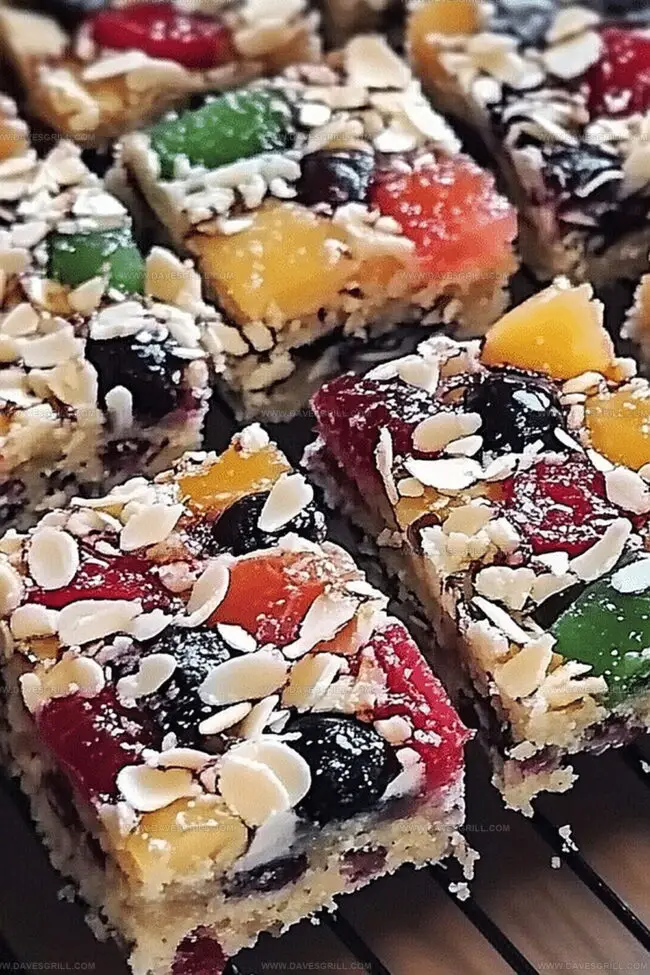
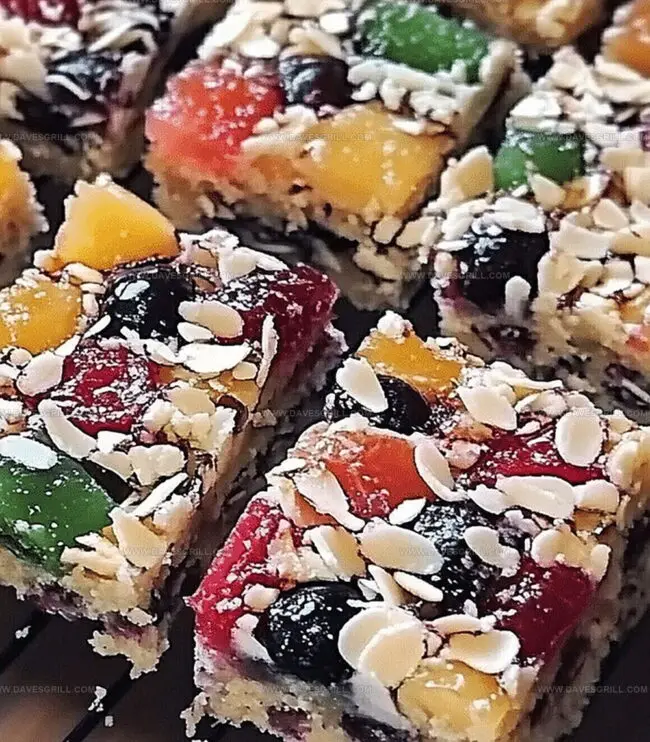
Colorful dried fruits peek through the layers, creating a visual feast that matches the incredible taste.
The recipe transforms simple ingredients into an extraordinary dessert that will have everyone asking for seconds.
You won’t be able to resist these irresistible bars that blend comfort and luxury in every single bite.
Quick Recipe Overview
What Goes Into Fruit Cake 7-Layer Bars
For Crust:For Fruit and Nut Layer:For Binding and Finishing:Tools That Help Layer Fruit Cake Bars Easily
Assemble and Bake Fruit Cake 7-Layer Bars
Crank the oven to a toasty 350F and grab a 9×13-inch baking dish. Line it with parchment paper or give it a quick spray of cooking oil to keep things from sticking.
Zap the butter until it’s melted and mix it thoroughly with graham cracker crumbs. Press this mixture firmly into the bottom of the pan, creating a solid foundation for your delicious treat.
Start layering your goodies: sprinkle coconut across the crust, then shower it with a colorful mix of dried fruits and crunchy nuts. If you’re feeling indulgent, toss some chocolate chips into the mix. Pour sweetened condensed milk over everything, letting it seep into all the delicious nooks and crannies.
Slide the pan into the oven and let it bake for 25-30 minutes. You’re looking for a beautiful golden top and layers that have settled into a mouth-watering masterpiece.
Once cooled completely, cut your creation into squares. The waiting is the hardest part, but it ensures your layers hold together perfectly for a stunning presentation.
Tips That Keep These Bars Sweet and Balanced
Serve Fruit Cake Bars for Holiday Dessert Trays
Store the Bars in an Airtight Container
FAQs
The key ingredients include graham cracker crumbs, butter, shredded coconut, dried fruits, nuts, chocolate chips, and sweetened condensed milk.
Absolutely! You can mix and match dried fruits like raisins, cranberries, apricots, and cherries based on your preference or what you have available.
These bars contain nuts and dairy, so they may not be ideal for those with nut allergies or lactose intolerance. For a dairy-free version, you could try using coconut condensed milk.
When stored in an airtight container at room temperature, these fruit cake 7-layer bars will stay fresh for about 3-5 days. For longer storage, you can refrigerate them for up to a week.
Print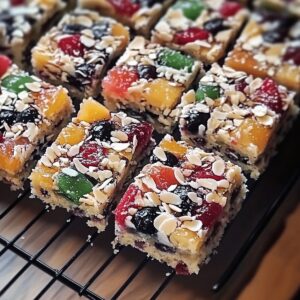
Decadent Fruit Cake 7-Layer Bars
- Total Time: 45 minutes
- Yield: 17 1x
Description
Layered fruit cake bars blend nostalgic family recipes with modern baking techniques. Rich chocolate, nuts, and dried fruits create a delectable dessert that connects generations through sweet memories.
Ingredients
- 1 cup (175g) semi-sweet chocolate chips
- 1 cup (150g) mixed dried fruits (chopped candied cherries, raisins, apricots, etc.)
- 1 cup (120g) chopped nuts (pecans, walnuts, or almonds)
- 1 cup (120g) shredded coconut
- 1 ½ cups (150g) graham cracker crumbs
- ½ cup (115g) unsalted butter, melted
- ½ cup (125 mL) sweetened condensed milk
- 1 tsp vanilla extract
Instructions
- Preparation: Activate oven to 350F (175C) and line a 9×13-inch baking dish with parchment paper or apply light grease.
- Crust Formation: Merge melted butter with graham cracker crumbs, pressing the mixture firmly and evenly across the baking dish bottom to create a solid foundation.
- Layer Construction: Systematically arrange layers by sprinkling shredded coconut, followed by an even distribution of dried fruits, mixed nuts, and chocolate chips across the entire surface.
- Binding Process: Cascade sweetened condensed milk over the layered ingredients, ensuring complete coverage and penetration between components.
- Baking Technique: Position the assembled dish in the preheated oven, monitoring for 25-30 minutes until the top transforms into a rich golden-brown color and layers appear fully set.
- Cooling and Serving: Allow the baked creation to cool completely within the pan, enabling layers to solidify and facilitating precise, clean cutting into uniform square or rectangular portions.
Notes
- Prevent Sticking Smartly: Use parchment paper overhang for easy removal and clean slicing of bars without breaking layers.
- Distribute Ingredients Evenly: Gently spread coconut, fruits, and nuts uniformly to ensure consistent texture and flavor in every bite.
- Monitor Baking Carefully: Watch closely during last 5 minutes to achieve perfect golden-brown color without burning delicate ingredients.
- Cool Completely Before Cutting: Allow bars to set at room temperature for at least 1 hour to help layers bind and make cutting cleaner and more precise.
- Prep Time: 15 minutes
- Cook Time: 30 minutes
- Category: Desserts, Snacks
- Method: Baking
- Cuisine: American
Nutrition
- Serving Size: 17
- Calories: 300
- Sugar: 20g
- Sodium: 50mg
- Fat: 18g
- Saturated Fat: 10g
- Unsaturated Fat: 6g
- Trans Fat: 0g
- Carbohydrates: 35g
- Fiber: 2g
- Protein: 3g
- Cholesterol: 30mg
Emily Lawson
Content Creator & Culinary Specialist
Expertise
Education
Oregon Culinary Institute
Diploma in Culinary Arts
Focus: Emphasis on farm-to-table cooking, sustainable practices, and the fusion of global flavors with traditional grilling methods.
Emily Lawson is the content creator at Daves Grill, turning tasty ideas into clear, easy recipes. Based in Portland, she trained at the Oregon Culinary Institute and loves cooking with fresh, seasonal ingredients, especially grilled veggies and global flavors.
Emily mixes food writing with hands-on cooking to bring you recipes that feel fun, not stressful. Her goal is to make every dish simple, flavorful, and worth coming back to. Together, she and Dave serve up real food, one recipe at a time.