Golden Divine Yeast Doughnuts Recipe: Fluffy Bites of Heaven
Weekends call for something special, and these heavenly yeast doughnuts promise pure culinary bliss.
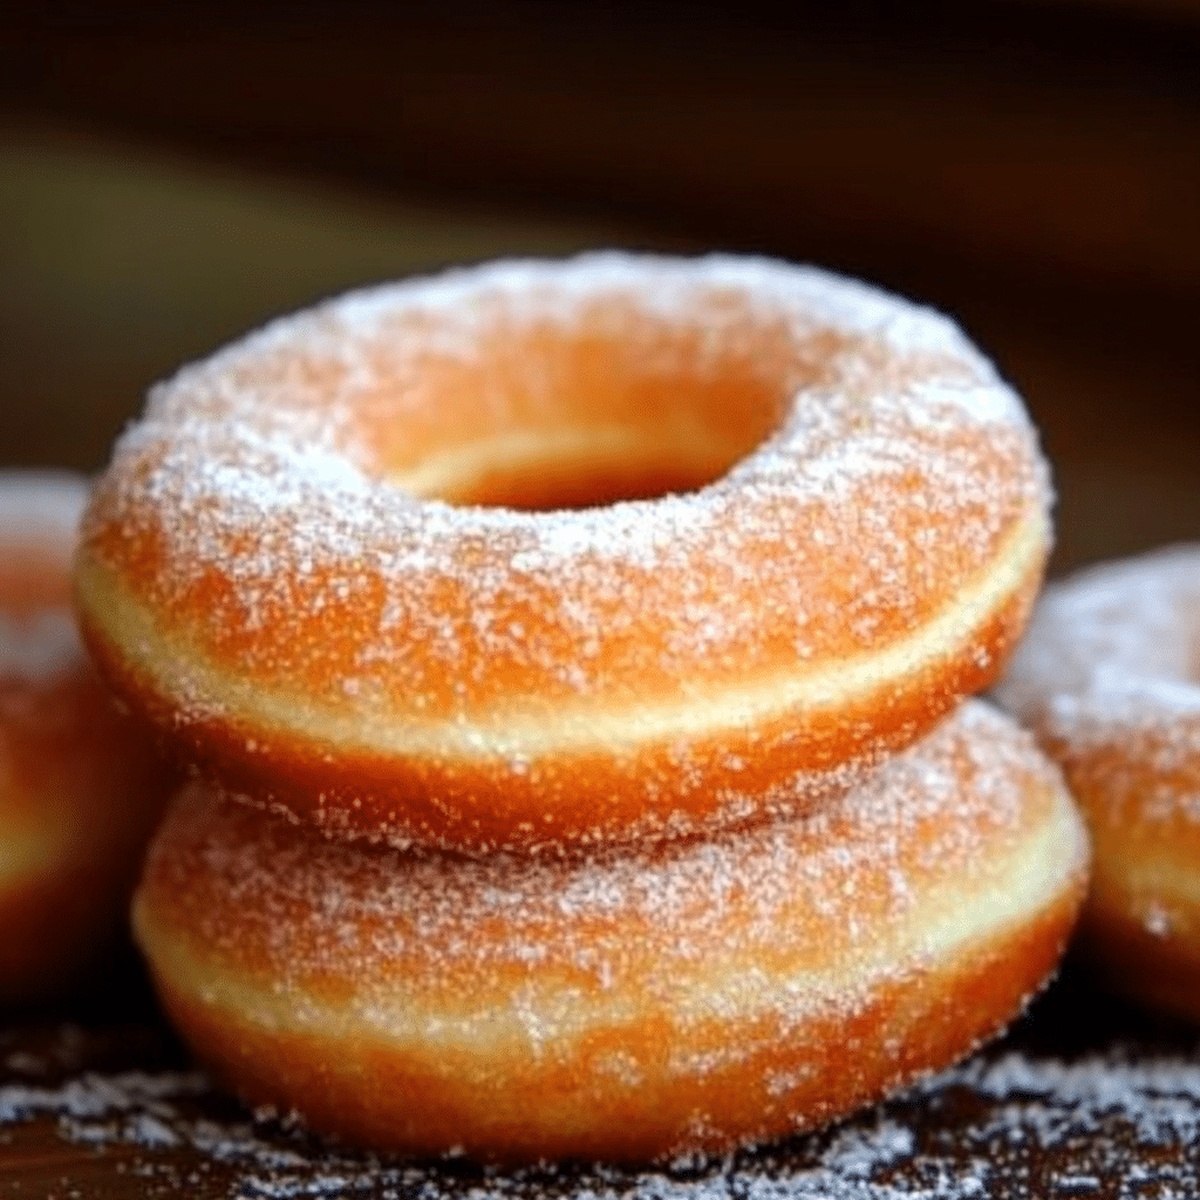
Golden, pillowy soft doughnuts dance with delicate sweetness that melts in your mouth.
Each bite carries the rich tradition of homemade comfort.
The airy texture comes from carefully proofed dough that rises with gentle perfection.
Warm kitchen aromas will tempt everyone around you with their irresistible charm.
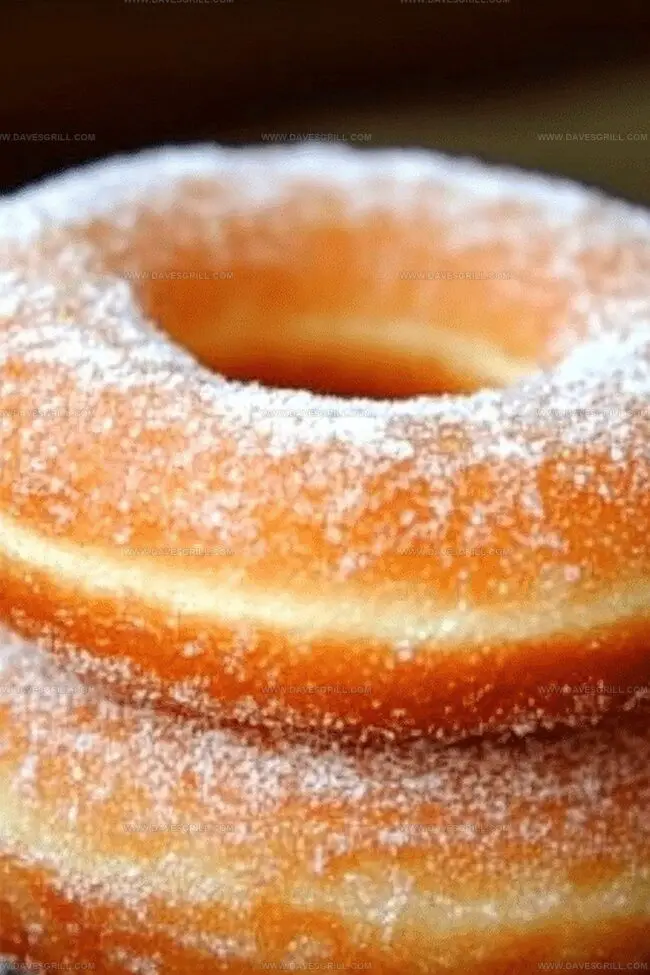
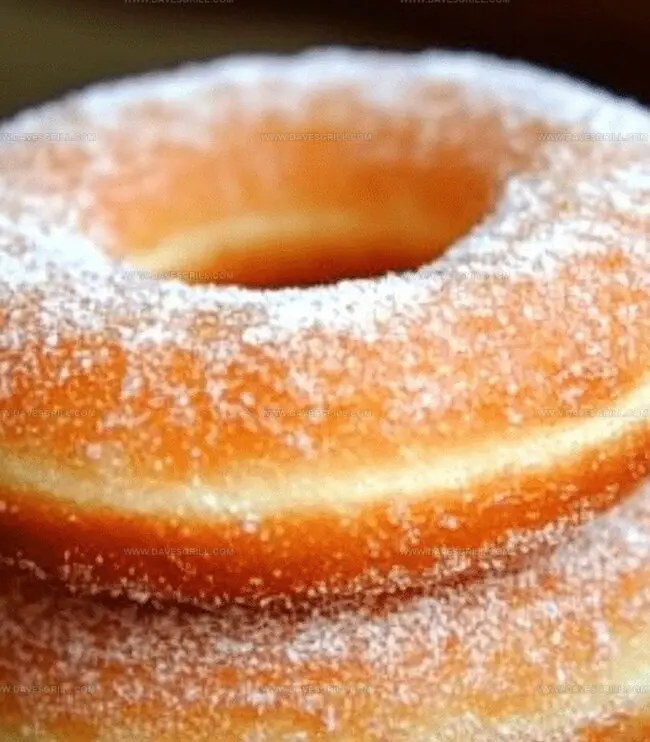
Sugar-dusted and light as clouds, these doughnuts transform an ordinary morning into a delectable celebration.
Prepare to fall in love with a recipe that turns simple ingredients into extraordinary magic.
Quick Recipe Overview
Ingredient Lineup for Perfect Yeast Doughnuts
For Dough Base:For Dough Activation:For Finishing and Coating:For Optional Filling:Kitchen Tools for Yeast Doughnut Success
Frying Instructions for Yeast Doughnuts
Mix warm milk, yeast, and a touch of sugar in a small bowl. Wait until the mixture becomes bubbly and fragrant, signaling the yeast is ready to work its.
Blend flour, remaining sugar, and salt in a large mixing bowl. Pour in the activated yeast, crack in eggs, and add softened butter. Knead until the dough transforms into a silky, smooth texture that springs back when touched.
Transfer dough to a greased bowl, cover, and let it rest in a cozy spot. Watch as the dough doubles in size, developing rich flavor and airy structure.
Roll out dough on a lightly floured surface. Cut circular shapes and delicate centers using round cutters. Arrange doughnuts on parchment-lined trays.
Cover doughnuts with a light towel, letting them puff up and become irresistibly soft for about 30 minutes.
Heat oil to a precise 350F. Carefully lower doughnuts into the hot oil, cooking until they turn a beautiful golden brown. Drain on paper towels to remove excess oil.
Dip warm doughnuts in smooth glaze or roll in sparkling sugar. For an extra treat, fill centers with luscious jam or creamy custard using a piping bag.
Flavor Tips for the Best Yeast Doughnuts
How to Serve Fresh Yeast Doughnuts
How to Keep Doughnuts Soft After Frying
FAQs
Proofing ensures the yeast is alive and active. If the mixture doesn’t become frothy within 5-10 minutes, the yeast might be old or inactive, which could prevent your doughnuts from rising properly.
Yes, you can use all-purpose flour, but bread flour has higher protein content that helps create a chewier, more elastic texture in doughnuts. The result might be slightly less fluffy with all-purpose flour.
The dough should become smooth, elastic, and slightly tacky but not sticky. When you gently stretch a piece, it should form a thin, translucent “windowpane” without tearing easily.
Use a digital thermometer to ensure the oil stays consistently at 350°F. If the oil is too cool, doughnuts will absorb too much oil; if too hot, they’ll burn on the outside before cooking inside.
Print
Divine Yeast Doughnuts Recipe
- Total Time: 1 hour
- Yield: 13 1x
Description
Homemade Perfect Yeast Doughnuts offer a delightful journey through pillowy pastry textures and classic comfort. Crisp exterior and tender crumb reward bakers who master this traditional treat with careful technique and patient proofing.
Ingredients
- 2 ¼ tsps (1 packet) active dry yeast
- 2 large eggs, room temperature
- 3 ¼ cups (410 g) all-purpose flour
- ¼ cup (50 g) granulated sugar
- ¾ cup (180 ml / 6 fl oz) warm milk (110°F/45°C)
- ¼ cup (60 g) unsalted butter, softened
- 1 tsp salt
- Vegetable oil, for frying
- 2 cups (240 g) powdered sugar
- ¼ cup (60 ml / 2 fl oz) milk or water
- ½ tsp vanilla extract
- Granulated sugar or cinnamon sugar
- Jam, custard, or Nutella for filling
Instructions
- Yeast Activation: Whisk yeast with warm milk and sugar until foamy, signaling live yeast culture.
- Dry Ingredient Preparation: Blend flour, salt, and remaining sugar in a large mixing bowl, ensuring uniform distribution.
- Dough Formation: Merge yeast mixture, eggs, and butter into dry ingredients, kneading until a smooth, slightly sticky dough develops with consistent texture.
- Primary Fermentation: Place dough in a greased bowl, cover with a damp cloth, and let rise in a warm environment until volume doubles, approximately 1-1.5 hours.
- Dough Shaping: Roll out dough to 1/2-inch thickness on a floured surface, using circular cutters to create doughnut rings and holes. Transfer cut pieces to parchment-lined baking sheets.
- Secondary Proofing: Allow shaped doughnuts to rise again, becoming puffy and expanded, roughly 30-45 minutes.
- Oil Preparation: Heat vegetable oil in a deep pot to exactly 350°F, monitoring temperature with a cooking thermometer for consistent frying.
- Frying Process: Carefully lower doughnuts into hot oil in small batches, cooking until achieving a rich golden-brown color, approximately 1-2 minutes per side.
- Draining and Finishing: Remove fried doughnuts with a slotted spoon, drain excess oil on paper towels, then glaze or coat with sugar.
- Decoration Options: Dip warm doughnuts in vanilla glaze, roll in granulated or cinnamon sugar, or fill with jam, custard, or Nutella using a piping bag for varied presentations.
Notes
- Yeast Activation Trick: Ensure milk is warm (not hot) between 100-110°F to prevent killing yeast microorganisms.
- Dough Hydration Technique: Maintain slightly tacky dough consistency for softer, lighter doughnuts by adding flour gradually during kneading.
- Temperature Control Hack: Use a proofing environment around 80-85°F for optimal yeast development and consistent rising.
- Oil Management Strategy: Maintain steady 350°F oil temperature to prevent greasy, undercooked doughnuts and ensure even golden-brown exterior.
- Prep Time: 30 minutes
- Cook Time: 30 minutes
- Category: Desserts, Snacks
- Method: Frying
- Cuisine: American
Nutrition
- Serving Size: 13
- Calories: 220
- Sugar: 12 g
- Sodium: 150 mg
- Fat: 10 g
- Saturated Fat: 5 g
- Unsaturated Fat: 4 g
- Trans Fat: 0 g
- Carbohydrates: 30 g
- Fiber: 1 g
- Protein: 3 g
- Cholesterol: 40 mg
Emily Lawson
Content Creator & Culinary Specialist
Expertise
Education
Oregon Culinary Institute
Diploma in Culinary Arts
Focus: Emphasis on farm-to-table cooking, sustainable practices, and the fusion of global flavors with traditional grilling methods.
Emily Lawson is the content creator at Daves Grill, turning tasty ideas into clear, easy recipes. Based in Portland, she trained at the Oregon Culinary Institute and loves cooking with fresh, seasonal ingredients, especially grilled veggies and global flavors.
Emily mixes food writing with hands-on cooking to bring you recipes that feel fun, not stressful. Her goal is to make every dish simple, flavorful, and worth coming back to. Together, she and Dave serve up real food, one recipe at a time.