Fluffy Dreamy Banana Pudding Recipe for Sweet Cloud-Like Joy
Creamy desserts always hit the spot, especially when they feature a classic banana pudding that melts hearts.
Southern charm shines through this simple yet delectable banana pudding recipe that promises pure comfort.
Layers of smooth custard, ripe bananas, and crisp vanilla wafers create a heavenly combination.
Each spoonful brings back memories of grandma’s kitchen and sweet summer afternoons.
The rich, velvety texture promises to delight even the most discerning dessert lovers.
No gathering feels complete without this crowd-pleasing treat that transforms ordinary ingredients into something extraordinary.
Prepare to savor every delicious bite of this timeless southern classic.
Quick Recipe Overview
Ingredients Behind the Best Banana Pudding Ever
For Creamy Base:For Fresh Layers:For Topping and Finishing:Tools to Assemble the Best Banana Pudding Ever
How to Make the Best Banana Pudding Ever at Home
Mix pudding ingredients until silky smooth, creating a luscious base that’ll make taste buds dance. Let the mixture rest and thicken for a few minutes while you prep your other goodies.
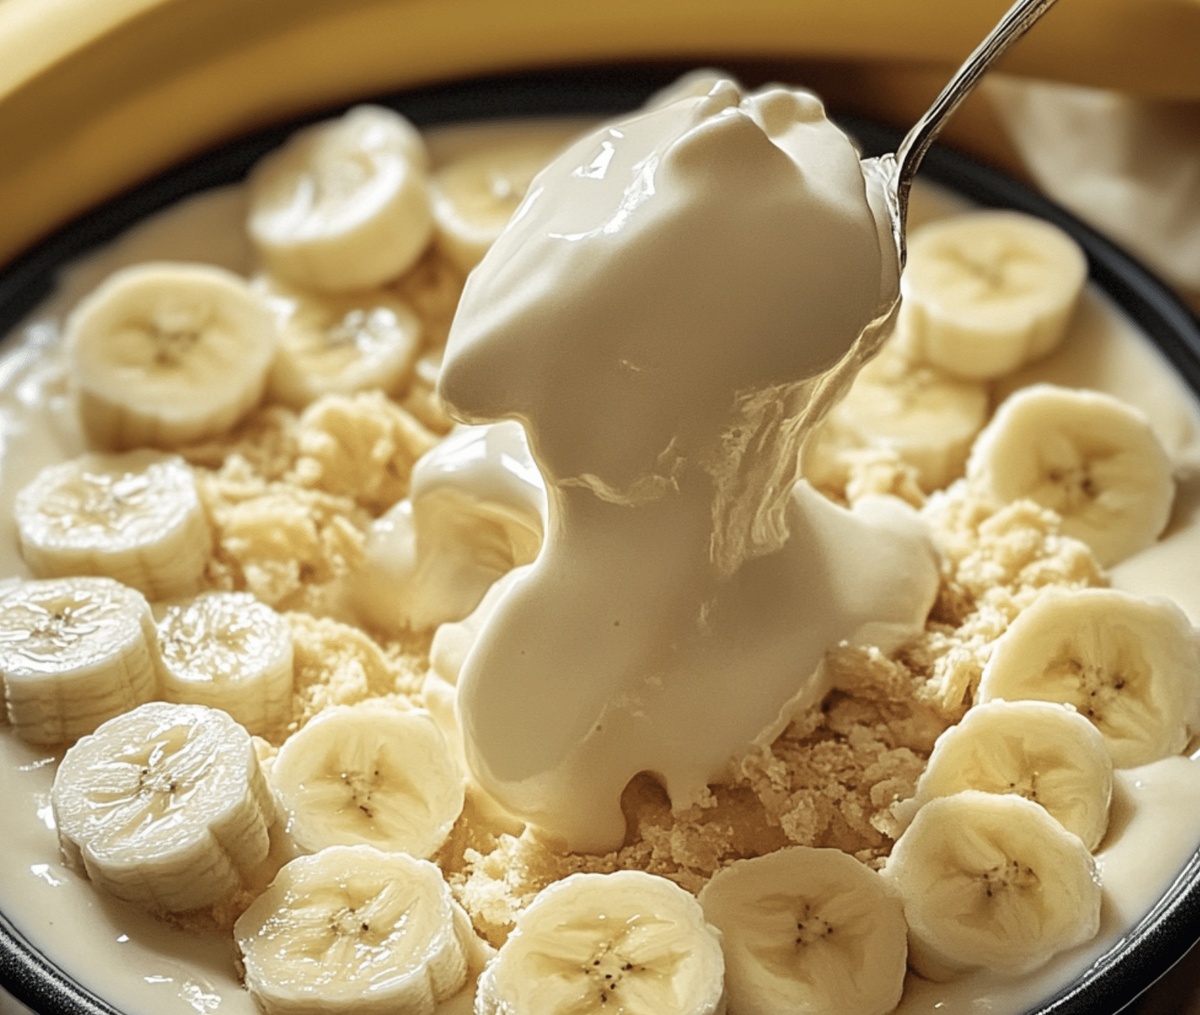
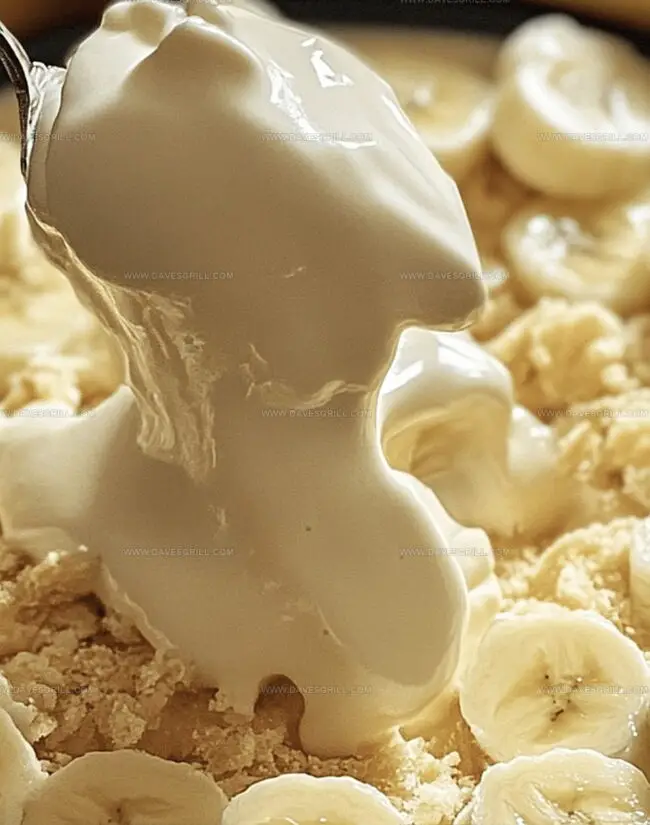
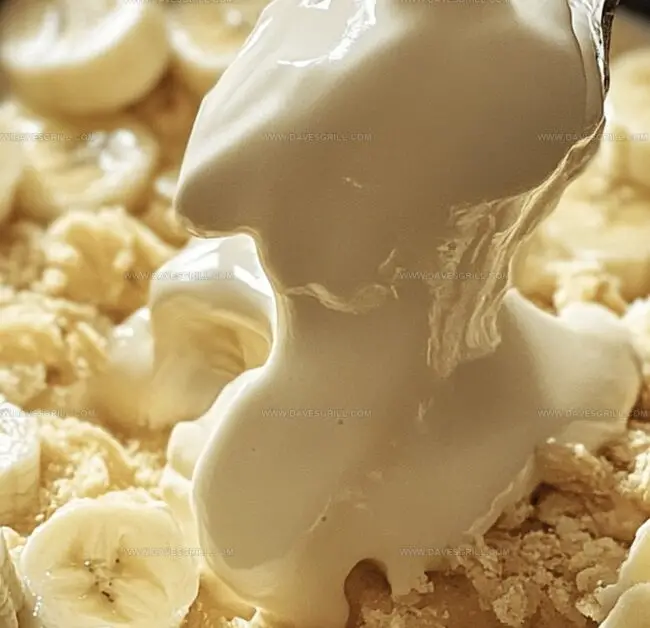
Grab your favorite serving dish and start building your masterpiece. Begin with a foundation of crispy vanilla cookies, then add a blanket of fresh banana slices. Generously pour your dreamy pudding mixture over the top, making sure every bite will be a flavor explosion.
Continue layering your ingredients like an edible work of art. Alternate between cookies, bananas, and that heavenly pudding until you’ve used everything up. Your final layer should be a luxurious pudding blanket that promises pure deliciousness.
Spread a fluffy cloud of whipped topping across the surface, making it look like a dessert dream. Crush some extra cookies and sprinkle them on top for a crunchy, decorative finish that’ll make everyone’s eyes pop.
Tuck your creation into the refrigerator for at least four hours. Overnight is even better, allowing all those incredible flavors to mingle and create a dessert that’ll have everyone asking for seconds.
Tips for Elevating Your Banana Pudding Game
Serve the Best Banana Pudding Ever to Impress
Store Banana Pudding for Chilled, Ready-to-Eat Bites
FAQs
Yes, instant pudding mix works perfectly and saves time. Just follow the package instructions for mixing with milk.
Toss banana slices in a bit of lemon juice before layering. This helps prevent oxidation and keeps them looking fresh.
No problem! You can use any clear glass dish or a regular baking pan. The key is to see the beautiful layers.
Absolutely! It’s sweet, creamy, and has simple ingredients that children love. Kids can even help with layering the pudding.
Print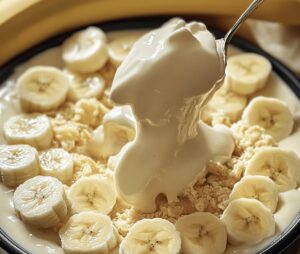
Dreamy Banana Pudding Recipe
- Total Time: 4 hours 35 minutes
- Yield: 11 1x
Description
Southern-style banana pudding combines creamy layers of vanilla custard, ripe bananas, and crisp vanilla wafers. Homemade comfort dessert delights with rich flavors you’ll savor down to the last sweet spoonful.
Ingredients
- 4–5 ripe bananas, sliced
- 3 cups (750 ml) whole milk
- 1 box (12 oz / 340 g) vanilla wafers
- ¾ cup (150 g) granulated sugar
- ¼ cup (30 g) cornstarch
- 4 large egg yolks
- 2 tbsps unsalted butter
- ¼ tsp salt
- 2 tsps vanilla extract
- 1 cup (240 ml) heavy whipping cream
- 2 tbsps powdered sugar
- 1 tsp vanilla extract
Instructions
- Pudding Preparation: Whisk pudding mix, chilled dairy, and sweetened condensed milk until smooth and silky. Let the mixture rest to thicken and develop a creamy consistency.
- Layering Foundation: In a clear serving dish, create the first layer with crisp vanilla wafers, establishing a crunchy base for the dessert.
- Banana Distribution: Slice ripe bananas into uniform rounds, positioning them evenly over the wafer layer to ensure consistent fruity flavor throughout the pudding.
- Pudding Coating: Pour the prepared pudding mixture over the banana layer, completely covering the fruit and filling all available spaces with creamy goodness.
- Strategic Layering: Continue building layers of wafers, banana slices, and pudding, alternating methodically until all ingredients are incorporated. Finish with a final pudding surface for a smooth top.
- Topping Finesse: Spread a generous layer of whipped topping across the surface, creating a light, airy crown for the dessert.
- Decorative Finish: Crush additional vanilla wafers and delicately sprinkle the crumbs over the top, adding textural complexity and visual interest.
- Flavor Melding: Refrigerate the pudding for a minimum of four hours, preferably overnight, allowing the flavors to blend and intensify for an ultimate taste experience.
Notes
- Banana Ripeness Check: Choose bananas with golden-yellow skin and minimal brown spots for optimal sweetness and texture without mushiness.
- Prevent Browning Trick: Toss banana slices in a touch of lemon juice to prevent discoloration and maintain fresh appearance during layering.
- Pudding Consistency Control: Whisk pudding mixture thoroughly to eliminate lumps and achieve a smooth, creamy base that sets perfectly.
- Chilling Optimization: Allow dessert to rest in refrigerator for at least 4 hours, preferably overnight, to develop rich, harmonious flavors and allow layers to meld together.
- Prep Time: 35 minutes
- Cook Time: 4 hours
- Category: Desserts, Snacks
- Method: Blending
- Cuisine: American
Nutrition
- Serving Size: 11
- Calories: 150
- Sugar: 12 g
- Sodium: 50 mg
- Fat: 7 g
- Saturated Fat: 4 g
- Unsaturated Fat: 2 g
- Trans Fat: 0 g
- Carbohydrates: 20 g
- Fiber: 1 g
- Protein: 3 g
- Cholesterol: 80 mg
Emily Lawson
Content Creator & Culinary Specialist
Expertise
Education
Oregon Culinary Institute
Diploma in Culinary Arts
Focus: Emphasis on farm-to-table cooking, sustainable practices, and the fusion of global flavors with traditional grilling methods.
Emily Lawson is the content creator at Daves Grill, turning tasty ideas into clear, easy recipes. Based in Portland, she trained at the Oregon Culinary Institute and loves cooking with fresh, seasonal ingredients, especially grilled veggies and global flavors.
Emily mixes food writing with hands-on cooking to bring you recipes that feel fun, not stressful. Her goal is to make every dish simple, flavorful, and worth coming back to. Together, she and Dave serve up real food, one recipe at a time.