
Enchanting Dreamy Cream Cheese Squares Recipe For Sweet Moments
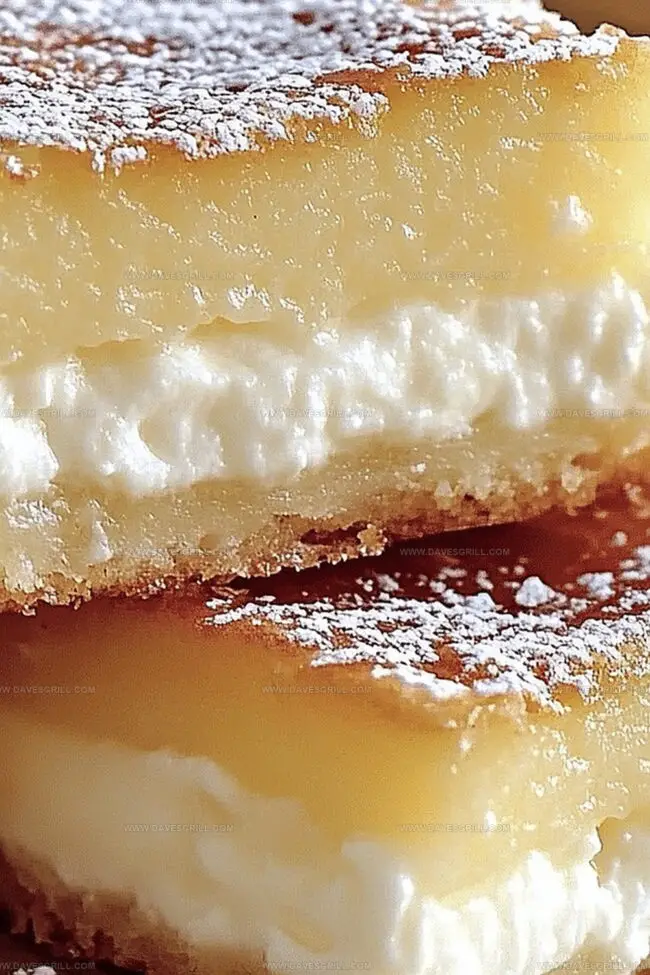
Indulgent cream cheese squares dance on the palate with their velvety texture and rich, decadent flavor.
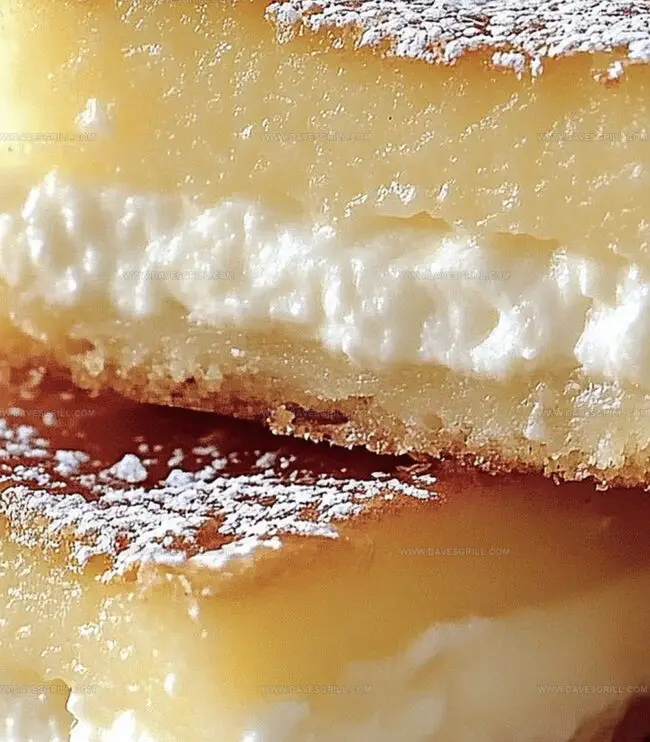
Butter-soft pastry melts seamlessly with a creamy cheese filling that promises pure comfort.
Each bite whispers sweet promises of culinary delight.
A classic dessert that weaves magic through simple ingredients, these squares offer a delectable escape from ordinary treats.
The cream cheese squares blend creamy smoothness with a buttery crust that crumbles perfectly.
Bakers of all skill levels can craft this irresistible dessert with ease.
Prepare to surrender to a delightful symphony of taste that beckons you closer with every single square.
Quick Recipe Overview
Cream Cheese Squares Ingredient Rundown
For Crust Base:For Filling:For Serving:Tools That Help Cut and Chill Cream Cheese Squares
How to Layer and Bake Cream Cheese Squares
Warm up your oven to a cozy 350F. Grab a baking pan and give it a quick spray or line with parchment paper. Mix flour and powdered sugar in a bowl, then fold in soft butter until the dough feels just right. Press this buttery mixture into the pan, creating a smooth base. Bake until the edges turn a delicate golden color, about 12-15 minutes. Let it rest and cool down.
Grab your mixer and beat cream cheese with sugar until it becomes silky smooth. Crack in an egg and splash of vanilla, blending until the mixture looks perfectly combined. Pour this luscious cream over your cooled crust, spreading it evenly with a gentle touch.
Slide the pan back into the oven. Let it bake for around 20-25 minutes until the filling sets and edges start to turn a beautiful light golden. The aroma will be absolutely irresistible.
Once completely cooled, cut into delightful squares. These creamy treats are best enjoyed chilled, offering a melt-in-your-mouth experience that’ll make everyone smile.
Tips for Creamy Filling and Crisp Edges
Serve These Squares for Dessert or Potlucks
Keep Cream Cheese Squares Covered and Chilled
FAQs
The secret is using softened butter and mixing it thoroughly with flour and powdered sugar. Press the mixture evenly into the pan to create a uniform base that bakes into a crisp, golden foundation for the cream cheese topping.
Look for the edges to turn slightly golden and the center to set without being wobbly. The filling should look smooth and firm when gently shaken, which typically takes about 20-25 minutes in the oven.
Absolutely! These squares actually taste better when chilled, so they’re perfect for preparing in advance. You can make them a day before serving, which allows the flavors to meld and the texture to become more compact.
Use full-fat, brick-style cream cheese at room temperature. Avoid whipped or low-fat varieties, as they can affect the texture and richness of the filling. Let the cream cheese soften naturally on the counter for the smoothest results.
Print
Dreamy Cream Cheese Squares Recipe
- Total Time: 45 minutes
- Yield: 13 1x
Description
Delightful cream cheese squares offer a perfect blend of creamy texture and sweet indulgence from Southern kitchens. Rich layers of graham cracker crust and smooth filling create a classic dessert that brings comfort to the table.
Ingredients
- 2 cans (8 oz/226 g each) refrigerated crescent roll dough
- 16 oz (453 g) cream cheese, softened
- ½ cup (1 stick) (113 g) unsalted butter, melted
- 1 cup (200 g) granulated sugar
- ¼ cup (50 g) granulated sugar (for topping)
- 1 tsp vanilla extract
- 1 tsp ground cinnamon
Instructions
- Dough Preparation: Combine flour, powdered sugar, and softened butter to form a cohesive, crumbly base mixture.
- Crust Formation: Press the prepared dough evenly into a greased 8×8-inch baking pan, creating a uniform foundation.
- Initial Baking: Roast the crust in a preheated 350F (175C) oven for 12-15 minutes until achieving a light golden color.
- Filling Creation: Whisk cream cheese and granulated sugar until smooth, then blend in egg and vanilla extract to develop a velvety cream cheese mixture.
- Assembly and Baking: Pour the cream cheese filling over the slightly cooled crust, spreading evenly and returning to the oven for 20-25 minutes until the edges turn golden and the center sets firmly.
- Cooling and Serving: Allow the baked dessert to cool completely in the pan, then refrigerate before cutting into 16 precise squares, ensuring a clean, professional presentation.
Notes
Maintain Butter Temperature: Ensure butter is softened but not melted to create a perfectly crumbly, tender crust that holds together beautifully.
Prevent Crust Burning: Watch the crust carefully during initial baking to achieve a light golden color without over-browning, which can make the base tough and bitter.
Smooth Cream Cheese Technique: Beat cream cheese at room temperature to eliminate lumps, creating a silky-smooth filling that spreads evenly without cracks or air pockets.
Cooling is Crucial: Allow squares to cool completely at room temperature before refrigerating, preventing condensation and maintaining the dessert’s pristine texture and appearance.
- Prep Time: 15 minutes
- Cook Time: 30 minutes
- Category: Snacks, Desserts
- Method: Baking
- Cuisine: American
Nutrition
- Serving Size: 13
- Calories: 295
- Sugar: 18 g
- Sodium: 230 mg
- Fat: 18 g
- Saturated Fat: 11 g
- Unsaturated Fat: 7 g
- Trans Fat: 0 g
- Carbohydrates: 33 g
- Fiber: 0 g
- Protein: 3 g
- Cholesterol: 45 mg
Emily Lawson
Content Creator & Culinary Specialist
Expertise
Education
Oregon Culinary Institute
Diploma in Culinary Arts
Focus: Emphasis on farm-to-table cooking, sustainable practices, and the fusion of global flavors with traditional grilling methods.
Emily Lawson is the content creator at Daves Grill, turning tasty ideas into clear, easy recipes. Based in Portland, she trained at the Oregon Culinary Institute and loves cooking with fresh, seasonal ingredients, especially grilled veggies and global flavors.
Emily mixes food writing with hands-on cooking to bring you recipes that feel fun, not stressful. Her goal is to make every dish simple, flavorful, and worth coming back to. Together, she and Dave serve up real food, one recipe at a time.