Enchanting Samoa Truffles Recipe: Island-Inspired Sweet Magic
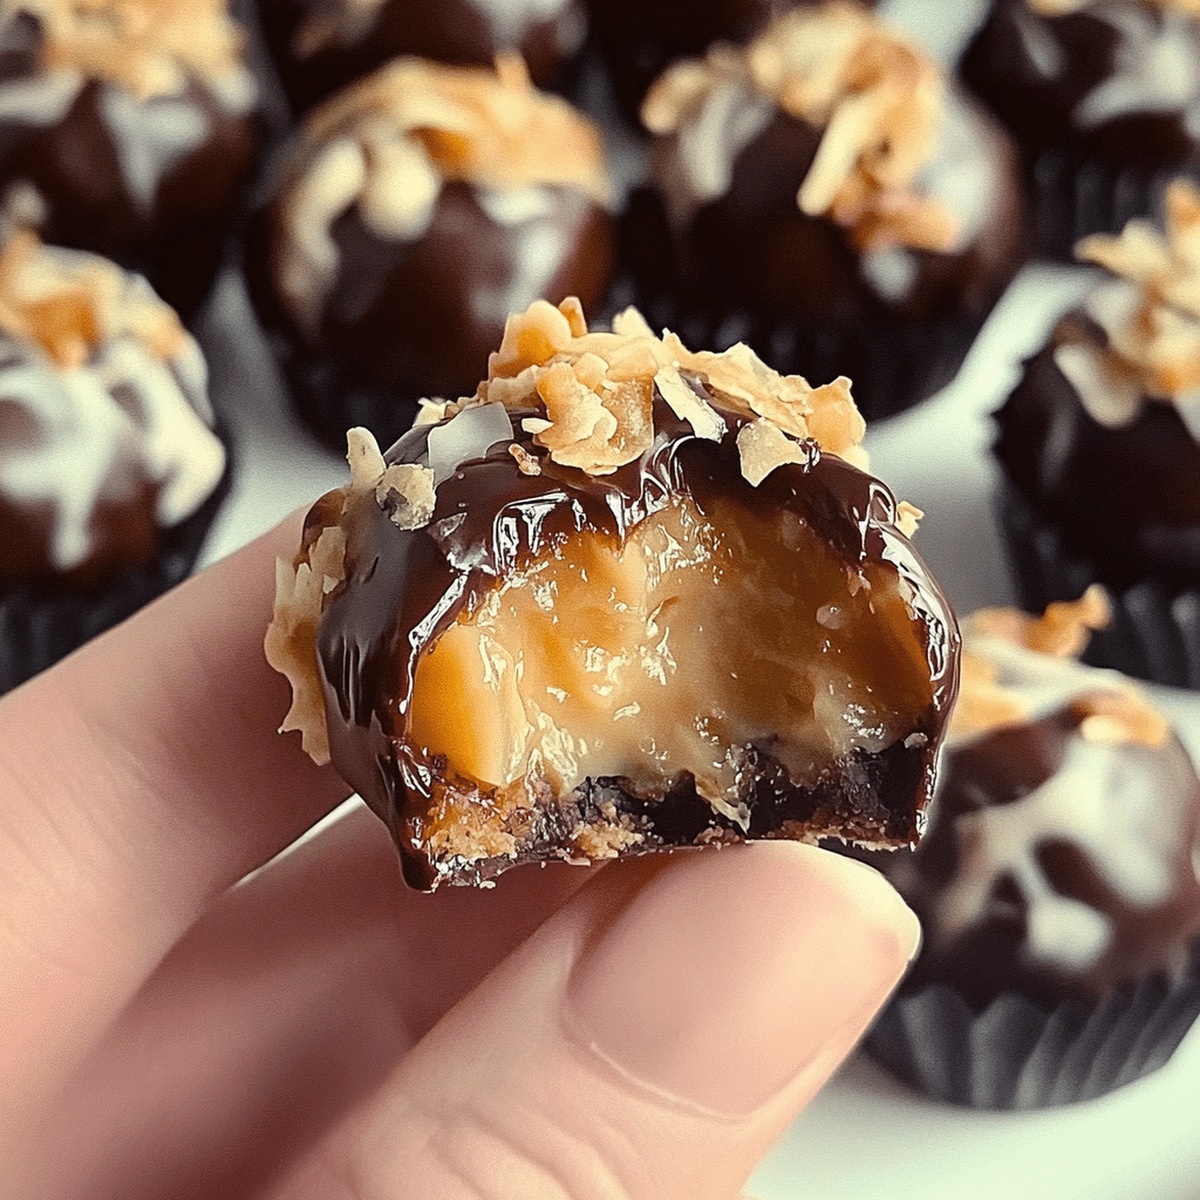
Chocolate lovers swoon over these delectable samoa truffles that blend caramel, coconut, and rich chocolate in every decadent bite.
The classic Girl Scout cookie inspires this irresistible homemade treat that melts in your mouth.
Sweet shredded coconut adds delightful texture to each truffle.
Caramel drizzles create a luxurious coating that makes these truffles impossible to resist.
Dark chocolate provides a deep, complex base that complements the tropical coconut notes.
Each truffle delivers a perfect balance of flavors and textures.
You’ll want to savor every single morsel of these indulgent little gems.
Quick Recipe Overview
Samoa Truffle Ingredient List
For Base and Flavor:For Texture and Crunch:For Coating and Finishing:Tools to Shape and Dip Your Samoa Truffles
Make Rich, Coconut-Caramel Truffles at Home
Spread coconut on a baking sheet and roast in the oven at 350F until golden brown, stirring occasionally to prevent burning. Let cool completely.
Blend cream cheese, caramel sauce, butter, and vanilla in a large bowl until smooth. Gently fold in the toasted coconut to create a rich, creamy base.
Scoop mixture and roll into small balls using your hands. Place on a lined baking sheet and chill in the refrigerator for half an hour to set.
Melt chocolate in the microwave, stirring every 30 seconds until silky. Carefully dunk each chilled truffle, letting excess chocolate drip off before placing back on the sheet.
Before chocolate hardens, drizzle extra melted chocolate over truffles in playful patterns. Sprinkle with additional coconut and a touch of sea salt for extra flavor.
Refrigerate truffles until chocolate completely sets, about 1-2 hours. Serve these decadent bites and watch everyone’s eyes light up with delight.
Flavor Tips to Match the Classic Cookie Combo
Serve Truffles at Your Next Dessert Spread
Keep These Treats Cool and Perfectly Firm
FAQs
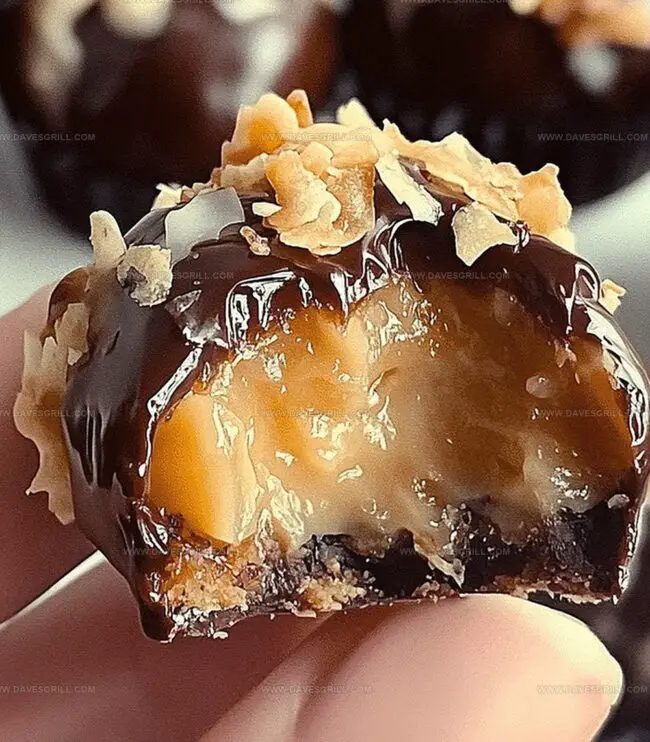
These truffles capture the classic Samoa cookie flavor with toasted coconut, caramel, and chocolate, but are a creamy truffle version instead of a crisp cookie.
Cream cheese provides the creamy base, so substituting it might change the texture and consistency. If needed, mascarpone could work as a potential alternative.
When stored in an airtight container in the refrigerator, Samoa Truffles will remain delicious for up to 5-7 days. Always keep them chilled to maintain their shape and flavor.
You’ll just need basic kitchen tools like a baking sheet, mixing bowl, cookie scoop or spoon, and a microwave-safe bowl for melting chocolate. No fancy equipment required.
Print
Dreamy Samoa Truffles Recipe
- Total Time: 45 minutes
- Yield: 25 1x
Description
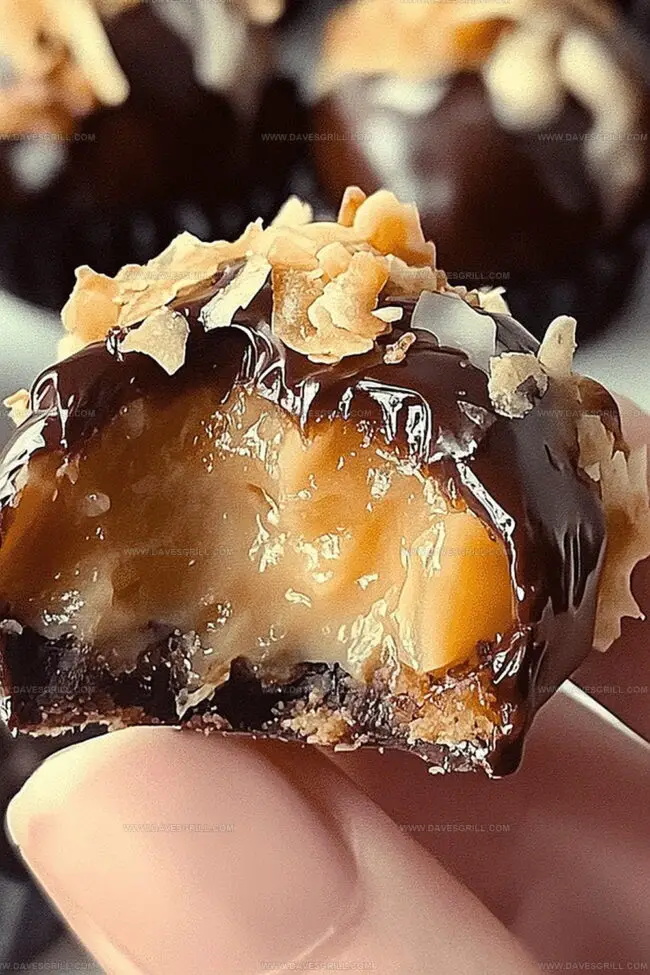
Samoa Truffles blend caramel, chocolate, and coconut in a delightful no-bake dessert inspired by classic Girl Scout cookies. Chocolate lovers will savor these rich, creamy bites that deliver a perfect balance of sweet and indulgent flavors you can enjoy anytime.
Ingredients
- 2 cups (200 grams) graham cracker crumbs
- 1 cup (120 grams) sweetened coconut, toasted
- ½ cup (120 ml/4 fl oz) caramel sauce
- ¼ cup (60 grams/2 oz) unsalted butter, melted
- ½ tsp vanilla extract
- 1 cup (170 grams/6 oz) semi-sweet chocolate chips
- ¼ cup (30 grams/1 oz) toasted coconut
Instructions
- Toasting Coconut: Spread shredded coconut on a baking sheet and roast at 350F (175C) for 5-7 minutes, stirring occasionally until golden brown. Cool completely.
- Truffle Base Preparation: In a mixing bowl, blend cream cheese, caramel sauce, softened butter, and vanilla extract until smooth. Fold in the cooled toasted coconut, ensuring even distribution.
- Forming and Chilling Truffles: Using a cookie scoop, shape the mixture into uniform one-inch balls. Place on a lined baking sheet and refrigerate for 30 minutes to firm up.
- Chocolate Coating: Melt chocolate chips in a microwave-safe bowl using 30-second intervals, stirring between each session. Dip chilled truffles into the melted chocolate, ensuring complete coverage with a fork or dipping tool.
- Finishing Touches: Drizzle additional melted chocolate in a zigzag pattern. Optionally, sprinkle extra toasted coconut and a pinch of sea salt over the truffles.
- Final Chilling: Return truffles to the refrigerator for 1-2 hours until the chocolate coating sets completely. Serve and enjoy these Samoa-inspired treats.
Notes
Maximize Coconut Toasting: Spread coconut evenly and watch carefully to prevent burning, stirring frequently for consistent golden-brown color without scorching.
Prevent Truffle Crumbling: Ensure cream cheese and butter are at room temperature for smooth blending, which helps bind ingredients and maintain structural integrity.
Chocolate Coating Technique: Use a fork or dipping tool for clean, even chocolate coverage, allowing excess to drip off to create a thin, glossy shell without pooling.
Flavor Enhancement Tip: Sprinkle sea salt and extra toasted coconut just before chocolate sets to add textural contrast and intensify the tropical caramel-like flavor profile.
- Prep Time: 20 minutes
- Cook Time: 25 minutes
- Category: Desserts, Snacks
- Method: Baking
- Cuisine: American
Nutrition
- Serving Size: 25
- Calories: 193
- Sugar: 14 g
- Sodium: 45 mg
- Fat: 10 g
- Saturated Fat: 6 g
- Unsaturated Fat: 4 g
- Trans Fat: 0 g
- Carbohydrates: 24 g
- Fiber: 1 g
- Protein: 2 g
- Cholesterol: 12 mg
Emily Lawson
Content Creator & Culinary Specialist
Expertise
Education
Oregon Culinary Institute
Diploma in Culinary Arts
Focus: Emphasis on farm-to-table cooking, sustainable practices, and the fusion of global flavors with traditional grilling methods.
Emily Lawson is the content creator at Daves Grill, turning tasty ideas into clear, easy recipes. Based in Portland, she trained at the Oregon Culinary Institute and loves cooking with fresh, seasonal ingredients, especially grilled veggies and global flavors.
Emily mixes food writing with hands-on cooking to bring you recipes that feel fun, not stressful. Her goal is to make every dish simple, flavorful, and worth coming back to. Together, she and Dave serve up real food, one recipe at a time.