Irresistible Explosive Bacon Cheeseburger Bombs Recipe
Bursting with flavor, these crispy bacon cheeseburger bombs pack an unexpected punch of savory goodness.
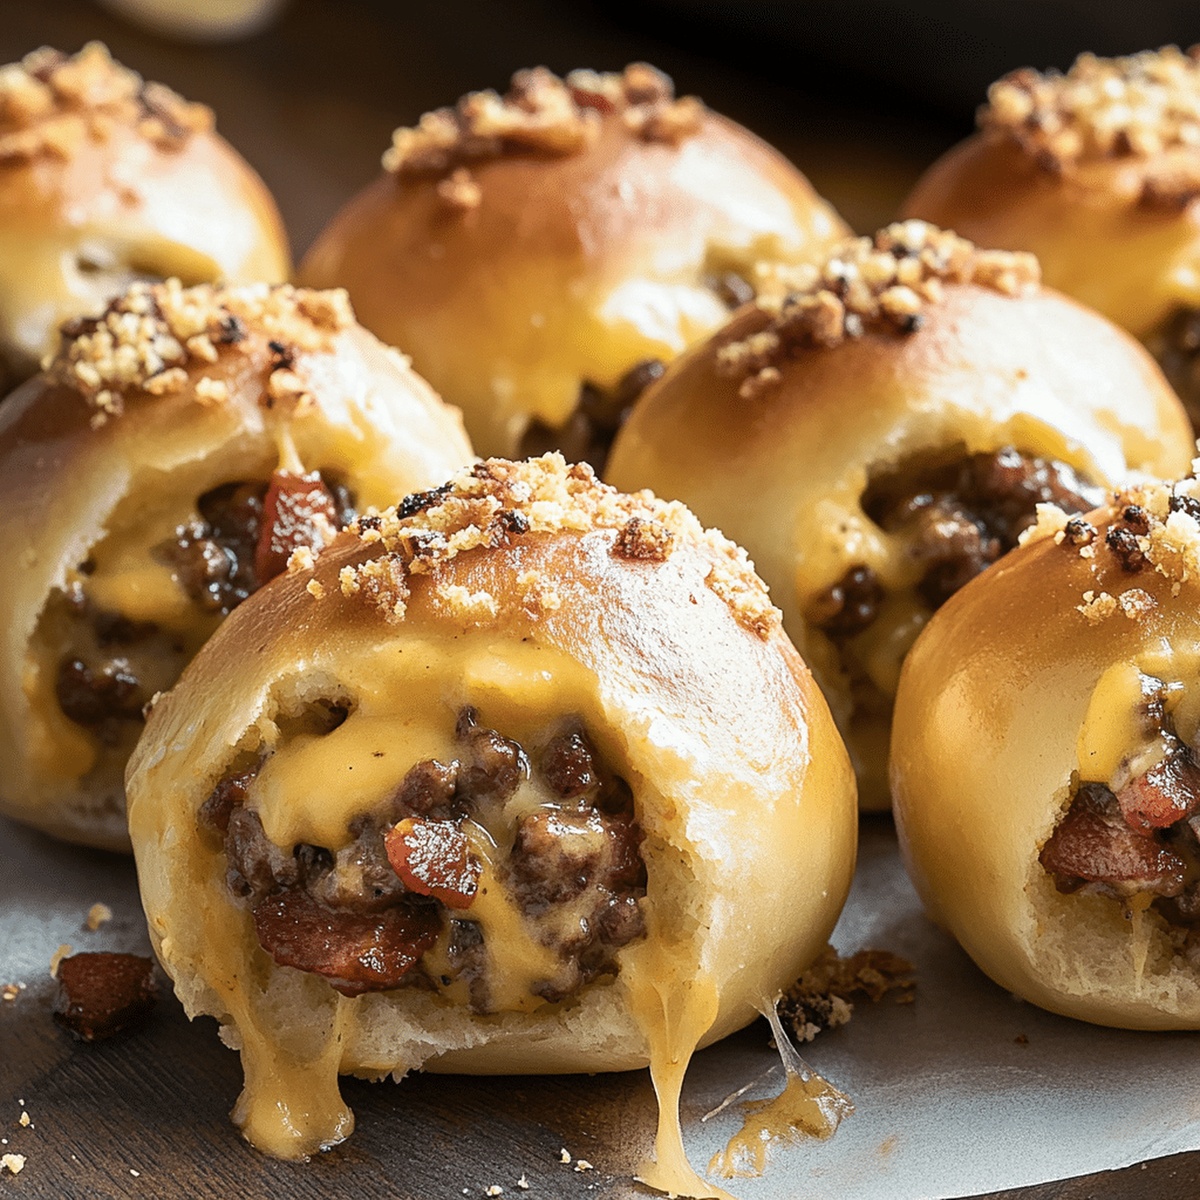
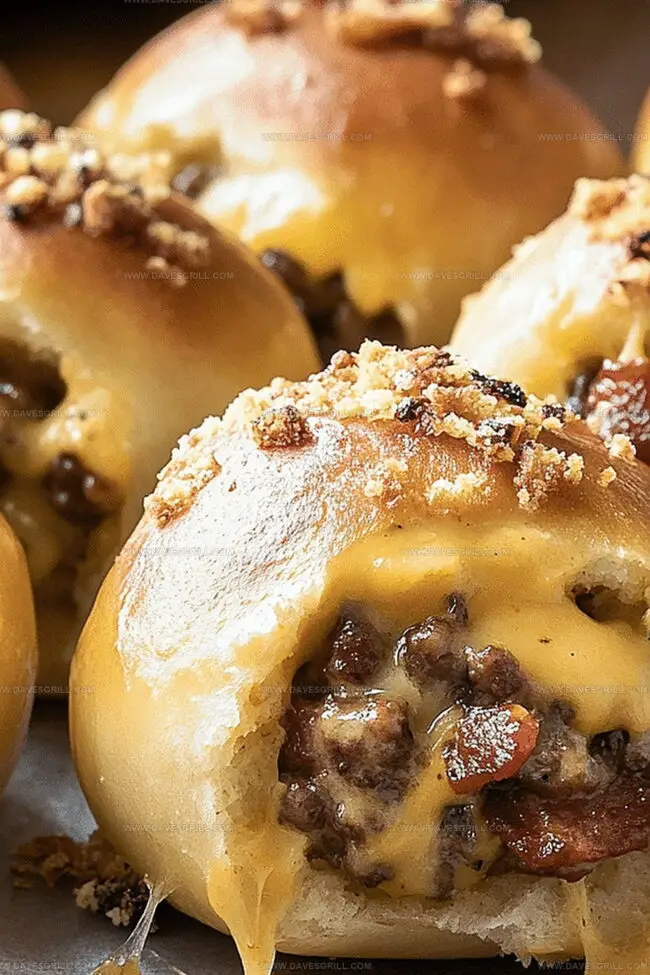
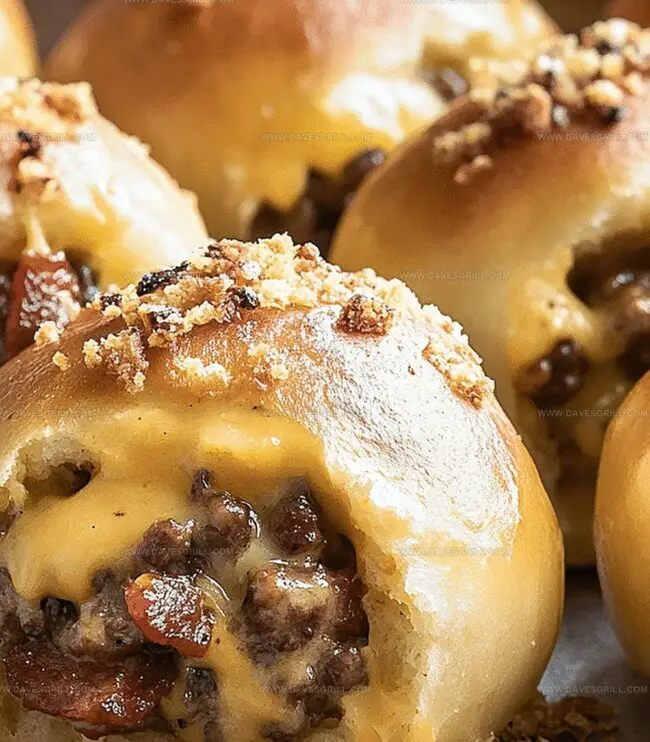
Melted cheese and juicy ground beef nestle inside a golden, crisp exterior that crackles with each delightful bite.
Bacon adds a smoky, irresistible layer of richness to this crowd-pleasing appetizer.
These handheld delights transform classic burger ingredients into an exciting, portable snack that disappears within moments of hitting the table.
Perfect for game day, casual gatherings, or when you crave something seriously delicious, these bombs deliver maximum taste in a single, compact package.
The combination of crispy, cheesy, and meaty elements creates an addictive treat you’ll want to make again and again.
Prepare to be the hero of any gathering with this mouthwatering recipe that guarantees smiles and empty plates.
Quick Recipe Overview
Bacon Cheeseburger Bombs Ingredient Lineup
For Filling Ingredients:For Wrapping Ingredients:For Finishing Ingredients:Tools That Help Make Bacon Cheeseburger Bombs
Bacon Cheeseburger Bombs Made Simple
Brown ground beef and onions in a sizzling skillet, draining any extra grease. Stir in zesty seasonings like ketchup, mustard, garlic powder, and spices, creating a mouthwatering meat mixture.
Stretch out biscuit dough into circular shapes. Layer cheese and beef mixture in the center, then carefully fold and seal the edges, creating delectable little bundles.
Lovingly encase each dough ball in a slice of bacon, securing the meaty treasure inside. Use toothpicks if needed to keep the bacon snug.
Pop these beauties into a preheated oven at 375F. Brush with beaten egg and sprinkle sesame seeds for extra crunch. Bake until the dough turns golden and bacon becomes irresistibly crispy.
Let the bombs cool slightly, then serve with your favorite dipping sauce. Watch as hungry friends and family dive into these flavor-packed treats.
Upgrade Your Cheeseburger Bombs with These Ideas
Serve Bacon Cheeseburger Bombs with Style
Preserve Bacon Cheeseburger Bombs Like a Pro
FAQs
Yes, ground turkey is a great lean alternative that works perfectly in this recipe. Just ensure it’s fully cooked and seasoned well.
Cheddar or American cheese are classic choices, but you can experiment with pepper jack or Swiss for different flavor profiles.
Make sure to partially cook the bacon before wrapping or use thin-cut bacon. This helps the bacon crisp up nicely during baking.
They freeze wonderfully! After assembling, you can freeze them unbaked and cook directly from frozen, adding a few extra minutes to the baking time.
Print
Explosive Bacon Cheeseburger Bombs Recipe
- Total Time: 40 minutes
- Yield: 9 1x
Description
Irresistible bacon cheeseburger bombs combine classic American hamburger flavors in a delightful handheld snack. Melted cheese and crispy bacon create an explosive taste experience that will satisfy hungry guests at any gathering.
Ingredients
- 1 lb (450 g) ground beef
- 8 slices bacon
- 8 slices cheddar cheese (cut into squares)
- 1 can (16 oz / 450 g) refrigerated biscuit dough (8 biscuits)
- ½ cup (75 g) diced onion
- 1 tbsp ketchup
- 1 tbsp mustard
- 1 tsp garlic powder
- 1 tsp smoked paprika
- Salt and pepper, to taste
- 1 large egg (beaten, for egg wash)
- Sesame seeds (optional)
Instructions
- Meat Preparation: Render ground beef and onions in a medium-heat skillet, browning meat and caramelizing onions while draining excess fat, then integrate condiments and seasonings, allowing flavors to intensify for two minutes before cooling slightly.
- Dough Transformation: Gently stretch biscuit dough into delicate circles, creating a canvas for layering cheese slices and seasoned beef mixture, then meticulously fold and seal edges to form compact, spherical parcels.
- Bacon Wrapping: Envelop each dough ball with a crisp bacon slice, securing with toothpicks if necessary, ensuring complete coverage and potential flavor infusion.
- Oven Preparation: Preheat oven to 375F (190C), line baking sheet with parchment paper, and arrange bacon-wrapped bombs with precision, brushing with egg wash and optional sesame seed garnish.
- Baking and Finishing: Roast for 20-25 minutes until dough achieves golden-brown magnificence and bacon reaches a caramelized, crisp texture, then allow brief resting before serving with accompanying dipping sauces for a decadent culinary experience.
Notes
Manage Meat Moisture: Drain excess fat thoroughly after browning beef to prevent soggy, greasy bomb interiors and ensure crisp, clean texture.
Seal Edges Completely: Pinch dough edges meticulously to prevent cheese leakage during baking, creating a tight, secure seal for perfect bomb structure.
Bacon Crispness Technique: Par-cook bacon slightly before wrapping to guarantee ultimate crunchiness and prevent undercooked or soft bacon exterior.
Temperature Control: Let bombs rest 3-5 minutes post-baking to stabilize internal filling and prevent scalding hot cheese from burning your mouth during first bite.
- Prep Time: 15 minutes
- Cook Time: 25 minutes
- Category: Lunch, Dinner, Snacks
- Method: Baking
- Cuisine: American
Nutrition
- Serving Size: 9
- Calories: 360
- Sugar: 1 g
- Sodium: 800 mg
- Fat: 24 g
- Saturated Fat: 10 g
- Unsaturated Fat: 14 g
- Trans Fat: 0 g
- Carbohydrates: 20 g
- Fiber: 1 g
- Protein: 18 g
- Cholesterol: 70 mg
Emily Lawson
Content Creator & Culinary Specialist
Expertise
Education
Oregon Culinary Institute
Diploma in Culinary Arts
Focus: Emphasis on farm-to-table cooking, sustainable practices, and the fusion of global flavors with traditional grilling methods.
Emily Lawson is the content creator at Daves Grill, turning tasty ideas into clear, easy recipes. Based in Portland, she trained at the Oregon Culinary Institute and loves cooking with fresh, seasonal ingredients, especially grilled veggies and global flavors.
Emily mixes food writing with hands-on cooking to bring you recipes that feel fun, not stressful. Her goal is to make every dish simple, flavorful, and worth coming back to. Together, she and Dave serve up real food, one recipe at a time.