Blast Off with These Explosive Cherry Pie Bombs Recipe!
Sweet, golden pastry meets tart cherry filling in these irresistible cherry pie bombs that promise to delight every dessert lover.
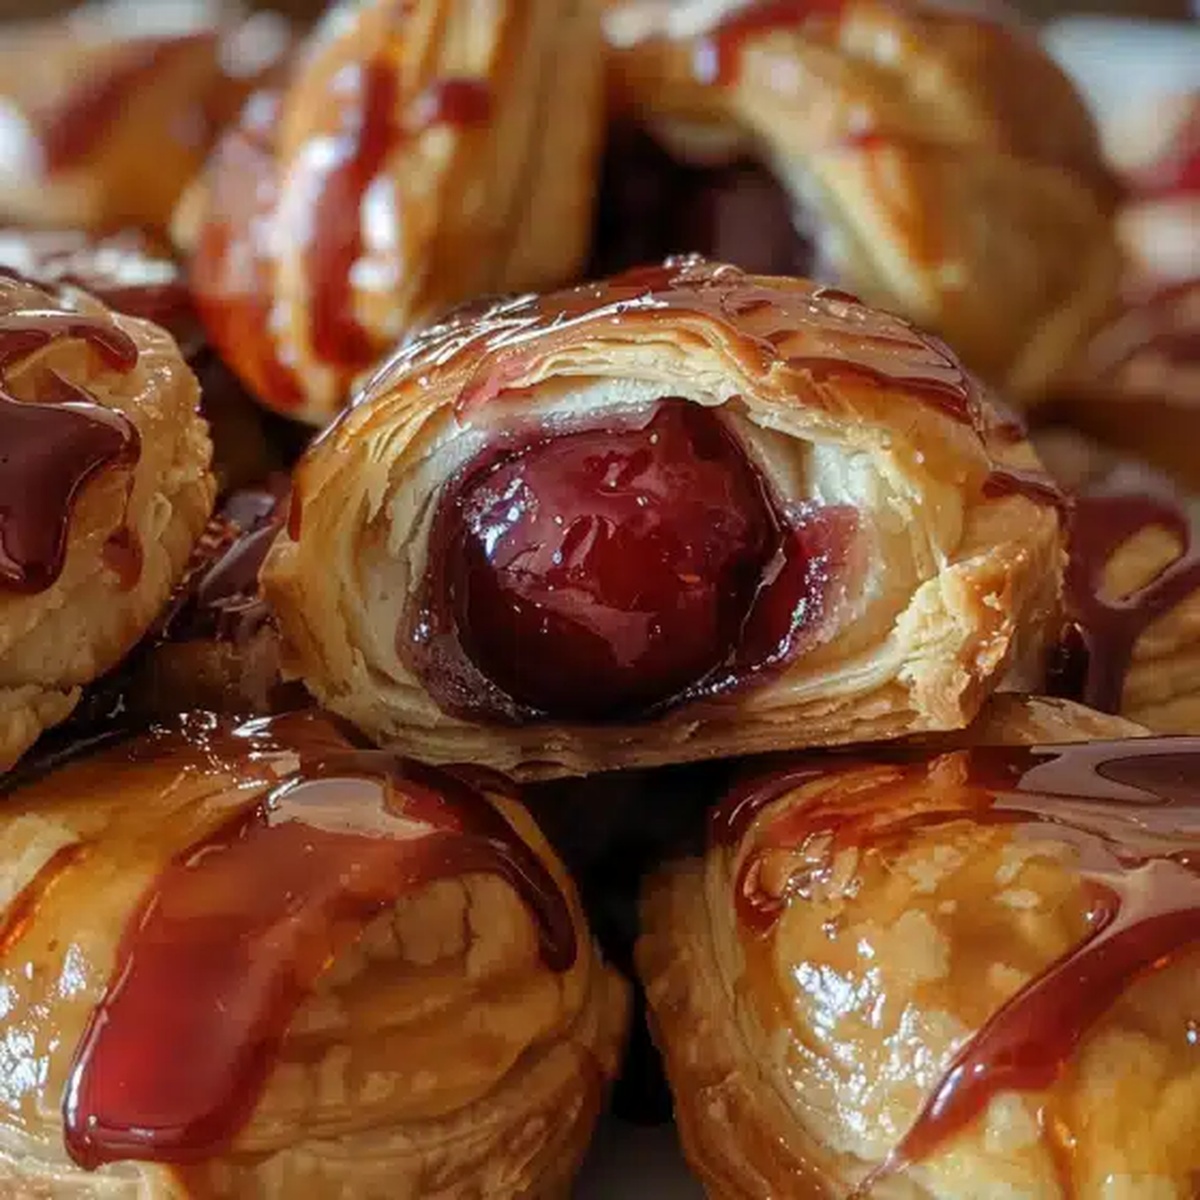
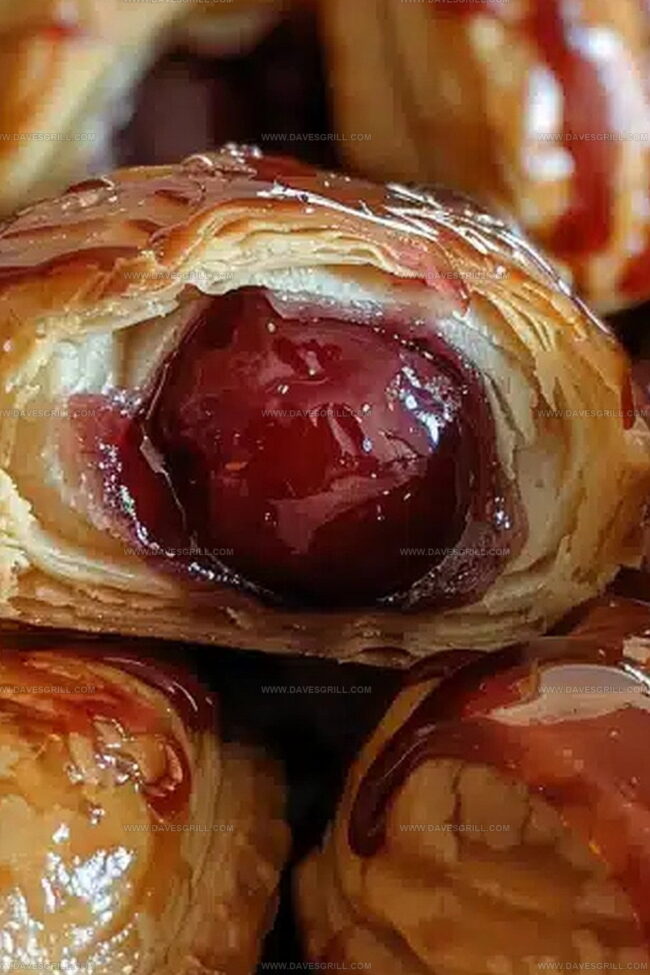
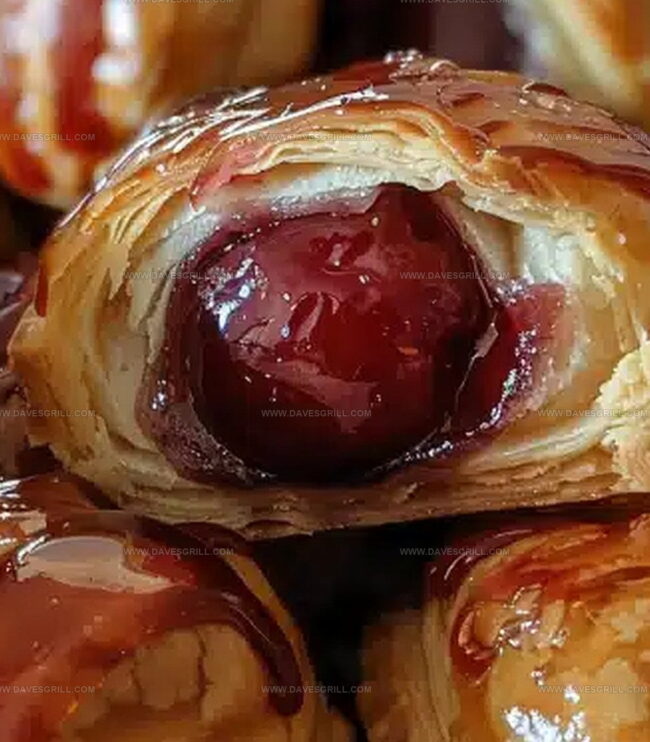
Bursting with vibrant cherry pie filling, these handheld treats create an unexpected culinary adventure.
Each delicate parcel conceals a rich, fruity center waiting to surprise your taste buds.
Warm, crispy edges give way to a molten cherry core that melts in your mouth.
Simple ingredients combine to create something truly magical.
The contrast between the flaky exterior and luscious inner filling makes these little bombs impossible to resist.
You’ll want to savor every single delectable bite of this crowd-pleasing dessert.
Quick Recipe Overview
What You Need for Cherry Pie Bombs
For Dough Base:For Filling:For Glaze and Finish:Tools to Get That Cherry Filling Just Right
Bake Those Pie Bombs with Confidence
Gently separate each biscuit into thin, delicate rounds that will cradle your sweet cherry surprise.
Nestle a generous dollop of cherry pie filling into the center of each dough circle. Carefully fold and pinch the edges, transforming the dough into adorable little pouches.
Lovingly brush the exterior of each pie bomb with melted butter, giving them a golden, glossy finish. Slide them into a preheated air fryer, letting the hot circulating air work its for 7-8 minutes until they turn a gorgeous, sun-kissed brown.
Whisk confectioners sugar and milk together until silky smooth, creating a sweet drizzle that will make these treats irresistible.
Once slightly cooled, dunk each pie bomb into the glaze, letting the excess drip away. Set them on a wire rack to let the glaze set and shine. Serve these delectable morsels warm or at room temperature, ready to delight taste buds with their cherry-filled charm.
Tips to Get the Crust Golden and Flaky
Cherry Pie Bomb Presentation Ideas
Saving Cherry Pie Bombs Without Losing Texture
FAQs
Carefully pinch and seal the edges of the dough completely, ensuring no gaps. Use your fingers to press and smooth the seams, creating a tight seal around the cherry filling.
Yes, you can prepare the unbaked pie bombs and refrigerate them for up to 2 hours before air frying. This can help them hold their shape and make cooking more convenient.
You can bake these pie bombs in a preheated oven at 375F (190C) for 12-15 minutes, or until golden brown. Watch them carefully to prevent overcooking.
Look for a golden brown exterior and ensure the dough is fully cooked through. The surface should be evenly colored and have a crispy, light texture.
Print
Explosive Cherry Pie Bombs Recipe
- Total Time: 23 minutes
- Yield: 9 1x
Description
Crisp pastry encases luscious cherry pie bombs with a golden crunch. Homemade dessert perfection blends sweet fruit and buttery crust for delightful bites you’ll crave and share with friends.
Ingredients
- 1 can (8-count) Pillsbury Grand biscuits, refrigerated
- 1 cup (255 g / 9 oz) cherry pie filling
- ½ cup (113 g / 4 oz) unsalted butter, melted
- 2 cups (250 g / 8.8 oz) confectioners sugar
- 3–4 tbsps whole milk, room temperature
Instructions
- Preparation: Carefully separate refrigerated biscuits into two delicate layers, creating thin, translucent rounds for pastry pockets.
- Filling Placement: Stretch each dough circle to 4-inch diameter, positioning a vibrant cherry pie filling dollop in the center while maintaining sealing margins.
- Shaping: Fold dough edges over the fruity center, pinching and crimping to create sealed spherical shapes that encase the luscious filling completely.
- Surface Preparation: Brush exterior with melted butter to enhance golden-brown coloration and develop rich flavor profile.
- Air Frying Setup: Preheat air fryer to 330F, lightly spray basket with nonstick coating to prevent adhesion, and arrange pie bombs with strategic spacing for optimal air circulation.
- Cooking Process: Air fry for 7-8 minutes, rotating midway to ensure uniform amber-toned crust development and complete cooking.
- Glazing Technique: Whisk confectioners sugar and milk into a smooth, glossy glaze with perfect drizzling consistency.
- Finishing Touch: Remove pie bombs, cool briefly, then generously coat with prepared glaze. Position on a wire rack over a baking sheet to allow excess glaze to drain elegantly.
- Serving: Allow glaze to set completely, then serve at warm or room temperature for maximum gustatory pleasure.
Notes
- Dough Handling Technique: Stretch biscuit rounds gently to maintain thin, even thickness without tearing, ensuring uniform cooking and delicate texture.
- Filling Placement Strategy: Center cherry filling precisely, leaving enough edge space to seal completely and prevent leakage during air frying.
- Sealing Pro Tip: Pinch and crimp edges thoroughly to create tight, secure spheres that lock in filling and prevent bursting during cooking.
- Glaze Application Trick: Drizzle glaze over slightly cooled pie bombs to achieve perfect consistency and prevent immediate absorption into hot pastry.
- Prep Time: 15 minutes
- Cook Time: 8 minutes
- Category: Desserts, Snacks
- Method: Frying
- Cuisine: American
Nutrition
- Serving Size: 9
- Calories: 295
- Sugar: 19 g
- Sodium: 345 mg
- Fat: 18 g
- Saturated Fat: 10 g
- Unsaturated Fat: 7 g
- Trans Fat: 0 g
- Carbohydrates: 32 g
- Fiber: 1 g
- Protein: 3 g
- Cholesterol: 37 mg
Emily Lawson
Content Creator & Culinary Specialist
Expertise
Education
Oregon Culinary Institute
Diploma in Culinary Arts
Focus: Emphasis on farm-to-table cooking, sustainable practices, and the fusion of global flavors with traditional grilling methods.
Emily Lawson is the content creator at Daves Grill, turning tasty ideas into clear, easy recipes. Based in Portland, she trained at the Oregon Culinary Institute and loves cooking with fresh, seasonal ingredients, especially grilled veggies and global flavors.
Emily mixes food writing with hands-on cooking to bring you recipes that feel fun, not stressful. Her goal is to make every dish simple, flavorful, and worth coming back to. Together, she and Dave serve up real food, one recipe at a time.