
Jolly Holiday Candy Cane Pie Recipe: A Sweet Frosty Treat
Sweet holiday desserts often spark joy, and this candy cane pie recipe delivers delightful winter magic straight to your table.
Swirling with festive candy cane flavor, the pie becomes an instant crowd-pleaser at seasonal gatherings.
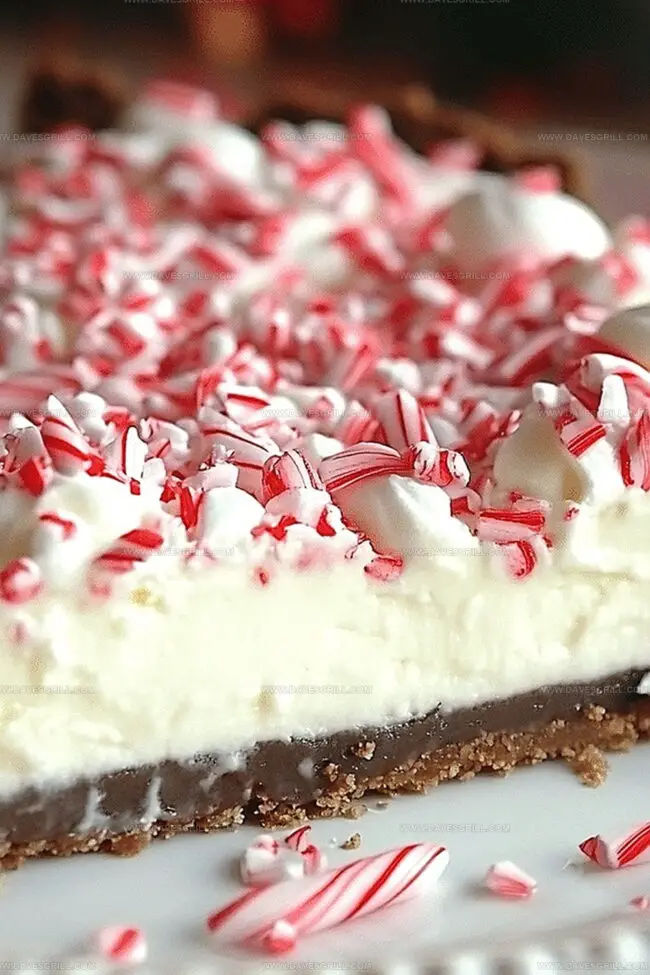
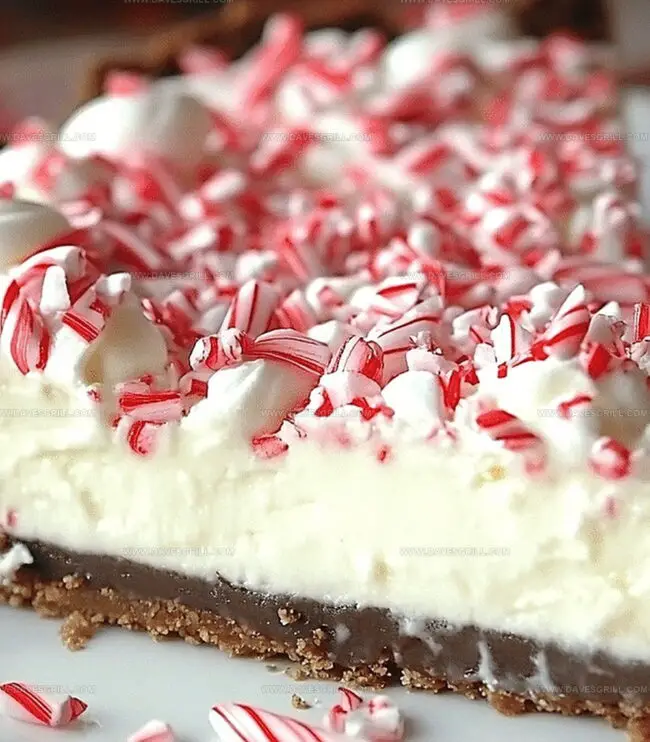
Rich creamy layers blend smooth chocolate and refreshing peppermint into a decadent treat.
Delicate chocolate cookie crust provides the perfect foundation for this elegant dessert.
Cold and silky, each slice promises a delectable journey through classic holiday flavors.
The combination of smooth textures and cool peppermint creates a memorable winter indulgence.
Prepare to wow everyone with this simple yet stunning dessert that celebrates the spirit of the season.
Quick Recipe Overview
Candy Cane Pie Ingredient List
For Crust Ingredients:For Filling Base Ingredients:For Topping and Decoration Ingredients:Tools for Whipping Up This No-Bake Holiday Dessert
Chill a Minty Pie With Creamy Texture
Smash chocolate cookies into fine crumbs and blend with melted butter. Press mixture firmly into pie pan, creating a solid base that hugs the edges. Pop into refrigerator to firm up quickly.
Blend cream cheese and sugar until silky smooth. Fold in zesty peppermint extract and sprinkle crushed candy canes throughout. Gently mix in fluffy whipped topping until perfectly combined.
Pour creamy mixture into chilled crust, spreading evenly with smooth, gentle strokes.
Top pie with swirls of whipped cream. Scatter crushed candy cane pieces across surface for a playful, holiday-inspired look.
Refrigerate pie for at least two hours until filling sets completely. Slice and serve cold, delighting friends and family with this minty sweet treat.
Tips to Keep the Crust from Getting Soft
Serve With Extra Candy Crumble on Top
Store in the Fridge for a Chilled Slice
FAQs
You can substitute chocolate cookie crumbs with graham crackers or oreo cookies for a similar texture and flavor profile.
Place candy canes in a sealed plastic bag and gently crush them using a rolling pin or the back of a spoon to prevent scattering.
Yes, you can prepare the pie up to 2-3 days in advance and keep it refrigerated until ready to serve, which makes it perfect for holiday gatherings.
You can substitute with mint extract or use the natural flavor from crushed candy canes, though the mint intensity will be slightly less pronounced.
Print
Festive Candy Cane Pie Recipe
- Total Time: 2 hours 15 minutes
- Yield: 9 1x
Description
Classic no-bake candy cane pie delights winter dessert enthusiasts with creamy peppermint goodness. Crushed candy canes and silky filling create a festive treat you’ll savor during holiday celebrations.
Ingredients
- 1 (8 oz / 226 g) cream cheese, softened
- 2 cups whipped topping (like Cool Whip)
- 1 ½ cups chocolate cookie crumbs (such as Oreo, finely crushed)
- 1 cup powdered sugar
- ¼ cup crushed candy canes (plus extra for garnish)
- 1 tsp peppermint extract
- ¼ cup unsalted butter, melted
- ½ cup whipped topping (additional, for garnish)
- Crushed candy canes or peppermint pieces
Instructions
- Crust Preparation: Pulverize chocolate cookies and meld with melted butter, creating a cohesive mixture that will form the pie’s foundation.
- Crust Molding: Press the crumb mixture into a 9-inch pie pan, ensuring complete coverage along bottom and sides with consistent pressure, then refrigerate for 10-15 minutes to stabilize.
- Cream Cheese Blend: Whip cream cheese and powdered sugar until achieving a velvety smooth texture, then introduce peppermint extract for a vibrant, refreshing essence.
- Filling Assembly: Fold in whipped topping and crushed candy canes, gently incorporating ingredients to maintain an airy, light consistency without deflating the mixture.
- Pie Construction: Carefully spread the peppermint-infused filling into the chilled chocolate cookie crust, creating an even, elegant surface.
- Decoration and Chilling: Adorn the pie with additional whipped topping and a lavish sprinkle of crushed candy canes, then refrigerate for at least 2 hours to allow flavors to harmonize and filling to set completely.
- Serving: Present the chilled pie, revealing a decadent no-bake dessert that captures the festive spirit of the holiday season.
Notes
Prevent Crumbly Crust: Press cookie crumbs firmly and evenly into the pan, using the back of a spoon or measuring cup to create a compact, stable base that holds together when sliced.
Manage Candy Cane Texture: Crush candy canes into fine, consistent pieces to prevent large, hard chunks disrupting the smooth pie filling and ensure even flavor distribution.
Control Peppermint Intensity: Add peppermint extract gradually, tasting as you go to achieve the perfect balance without overwhelming the delicate cream cheese base.
Achieve Optimal Chilling: Refrigerate the pie for at least 4 hours or overnight for the most stable set and deepest flavor melding, ensuring a firm yet creamy texture that slices cleanly.
- Prep Time: 15 minutes
- Cook Time: 2 hours
- Category: Desserts, Snacks
- Method: None
- Cuisine: American
Nutrition
- Serving Size: 9
- Calories: 330
- Sugar: 22 g
- Sodium: 150 mg
- Fat: 18 g
- Saturated Fat: 10 g
- Unsaturated Fat: 6 g
- Trans Fat: 0 g
- Carbohydrates: 36 g
- Fiber: 1 g
- Protein: 3 g
- Cholesterol: 30 mg
Emily Lawson
Content Creator & Culinary Specialist
Expertise
Education
Oregon Culinary Institute
Diploma in Culinary Arts
Focus: Emphasis on farm-to-table cooking, sustainable practices, and the fusion of global flavors with traditional grilling methods.
Emily Lawson is the content creator at Daves Grill, turning tasty ideas into clear, easy recipes. Based in Portland, she trained at the Oregon Culinary Institute and loves cooking with fresh, seasonal ingredients, especially grilled veggies and global flavors.
Emily mixes food writing with hands-on cooking to bring you recipes that feel fun, not stressful. Her goal is to make every dish simple, flavorful, and worth coming back to. Together, she and Dave serve up real food, one recipe at a time.