
Jolly Holiday Magic: Festive Christmas Oreos Recipe
Deck the halls with a sweet twist on a classic holiday treat—these delightful Christmas Oreos bring festive cheer straight to your dessert table.
Cookie lovers will adore the magical combination of rich chocolate Oreos and bright seasonal decorations.
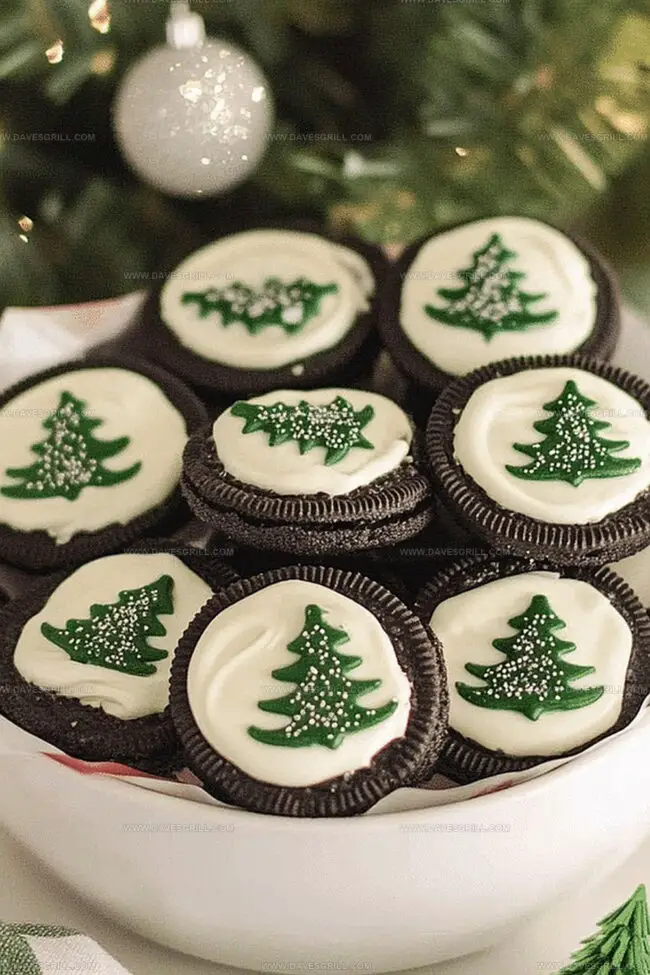
Festive sprinkles and colorful melted chocolate create a whimsical touch that turns ordinary cookies into spectacular celebration bites.
Red and green candy melts dance across the cookie surface, making each bite a merry moment.
The simple technique transforms basic sandwich cookies into dazzling edible ornaments perfect for holiday gatherings.
Kids and adults alike will be charmed by these playful, easy-to-make desserts that sparkle with Christmas spirit.
Grab your apron and get ready to spread some delicious holiday joy!
Quick Recipe Overview
Christmas Oreo Ingredient List
For Chocolate Base:For Oreo Cookies:For Preparation Essentials:What You’ll Need for Festive Oreo Fun
Decorate and Assemble Christmas Oreos Easily
Grab two microwave-safe bowls and your chocolate chips. Break out your melting skills and get ready to transform ordinary Oreos into holiday.
Microwave chocolate in short 30-second bursts, stirring between each interval until silky smooth. For white chocolate, add food coloring to create festive hues that’ll make your treats pop.
Grab a fork and gently submerge each Oreo into the melted chocolate. Let excess chocolate drip off, creating a clean, even coating that’ll make your cookies look professionally crafted.
While chocolate is still wet, sprinkle holiday-themed decorations. Crush candy canes, scatter sparkly sprinkles, or drizzle contrasting chocolate for an eye-catching design that screams Christmas cheer.
Let your decorated Oreos chill at room temperature or speed things up in the refrigerator. Once hardened, arrange on a festive platter or package in cute gift bags for sharing holiday joy with friends and family.
Oreo Decorating Tips for a Holiday Look
Serving Christmas Oreos That Pop
Storing Holiday Oreos Without Losing Crunch
FAQs
Add a small amount of vegetable oil or coconut oil to the chocolate while melting. Stir gently and consistently, using short microwave intervals to maintain smooth consistency.
Yes, white chocolate chips work well. Just be careful to melt them slowly and stir frequently to prevent burning. Some chips might require a bit more careful melting than specialized candy melting wafers.
Use a dipping fork or chocolate dipping tool. Fully submerge the Oreo, tap off excess chocolate gently, and let it drip for a smooth, even coating. Avoid moving the Oreo too much to keep the chocolate layer clean and neat.
Use holiday-themed sprinkles like red and green sugar crystals, mini candy cane pieces, or festive nonpareils. Drizzle contrasting chocolate colors in zigzag patterns for a more decorative touch that screams holiday spirit.
Print
Festive Christmas Oreos Recipe
- Total Time: 1 hour 15 minutes
- Yield: 13 1x
Description
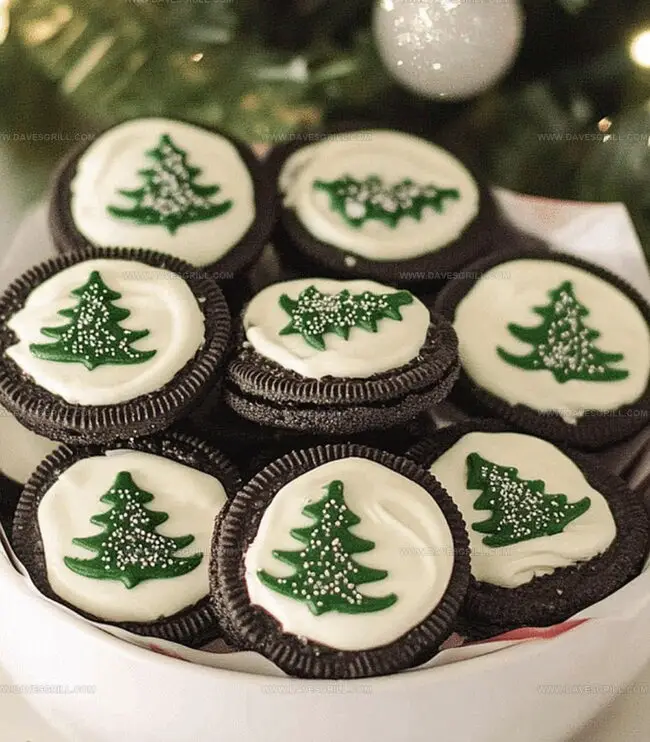
Festive Christmas Oreos bring holiday cheer to classic chocolate sandwich cookies. Peppermint, sprinkles, and white chocolate coating create a merry treat you’ll want to share with family and friends.
Ingredients
- 1 (14.3 oz / 405 g) package Oreo cookies
- 2 cups white chocolate chips or candy melts
- 2 cups milk or dark chocolate chips or candy melts
- Assorted holiday sprinkles
- Crushed candy canes
- Red food coloring
- Green food coloring
Instructions
- Chocolate Preparation: Melt white and milk/dark chocolate chips separately in microwave-safe bowls, stirring every 30 seconds until smooth. Optional: Add food coloring to white chocolate for festive appearance.
- Coating Process: Submerge each Oreo completely in melted chocolate using a fork or dipping tool, tapping off excess chocolate against bowl’s edge to ensure even coverage.
- Decoration & Setting: Immediately adorn chocolate-coated cookies with holiday sprinkles, crushed candy canes, or create decorative chocolate drizzle patterns while coating remains wet. Allow cookies to set at room temperature for 12 hours or refrigerate for 20-30 minutes until fully hardened.
- Presentation: Once chocolate has completely solidified, arrange decorated Oreos on an elegant serving platter or package in festive gift bags for holiday sharing.
Notes
- Choose High-Quality Chocolate: Select premium chocolate chips for smooth, glossy coating that enhances flavor and appearance.
- Control Chocolate Melting: Heat chocolate slowly in microwave, stirring frequently to prevent burning and achieve perfect consistency.
- Master Dipping Technique: Use gentle, smooth motions when coating Oreos to ensure even, professional-looking chocolate coverage without creating air bubbles.
- Decorate Quickly: Add sprinkles or crushed candy canes immediately after dipping while chocolate remains wet to guarantee maximum decoration adherence.
- Prep Time: 15 minutes
- Cook Time: 1 hour
- Category: Desserts, Snacks
- Method: Blending
- Cuisine: American
Nutrition
- Serving Size: 13
- Calories: 160
- Sugar: 12g
- Sodium: 50mg
- Fat: 8g
- Saturated Fat: 4.5g
- Unsaturated Fat: 3.5g
- Trans Fat: 0g
- Carbohydrates: 22g
- Fiber: 1g
- Protein: 1g
- Cholesterol: 0mg
Emily Lawson
Content Creator & Culinary Specialist
Expertise
Education
Oregon Culinary Institute
Diploma in Culinary Arts
Focus: Emphasis on farm-to-table cooking, sustainable practices, and the fusion of global flavors with traditional grilling methods.
Emily Lawson is the content creator at Daves Grill, turning tasty ideas into clear, easy recipes. Based in Portland, she trained at the Oregon Culinary Institute and loves cooking with fresh, seasonal ingredients, especially grilled veggies and global flavors.
Emily mixes food writing with hands-on cooking to bring you recipes that feel fun, not stressful. Her goal is to make every dish simple, flavorful, and worth coming back to. Together, she and Dave serve up real food, one recipe at a time.