Cheerful Easter Chocolate Chip Cookies Recipe for Holiday Joy
Chocolate chip cookies bring pure joy during Easter celebrations with their irresistible charm and delightful sweetness.
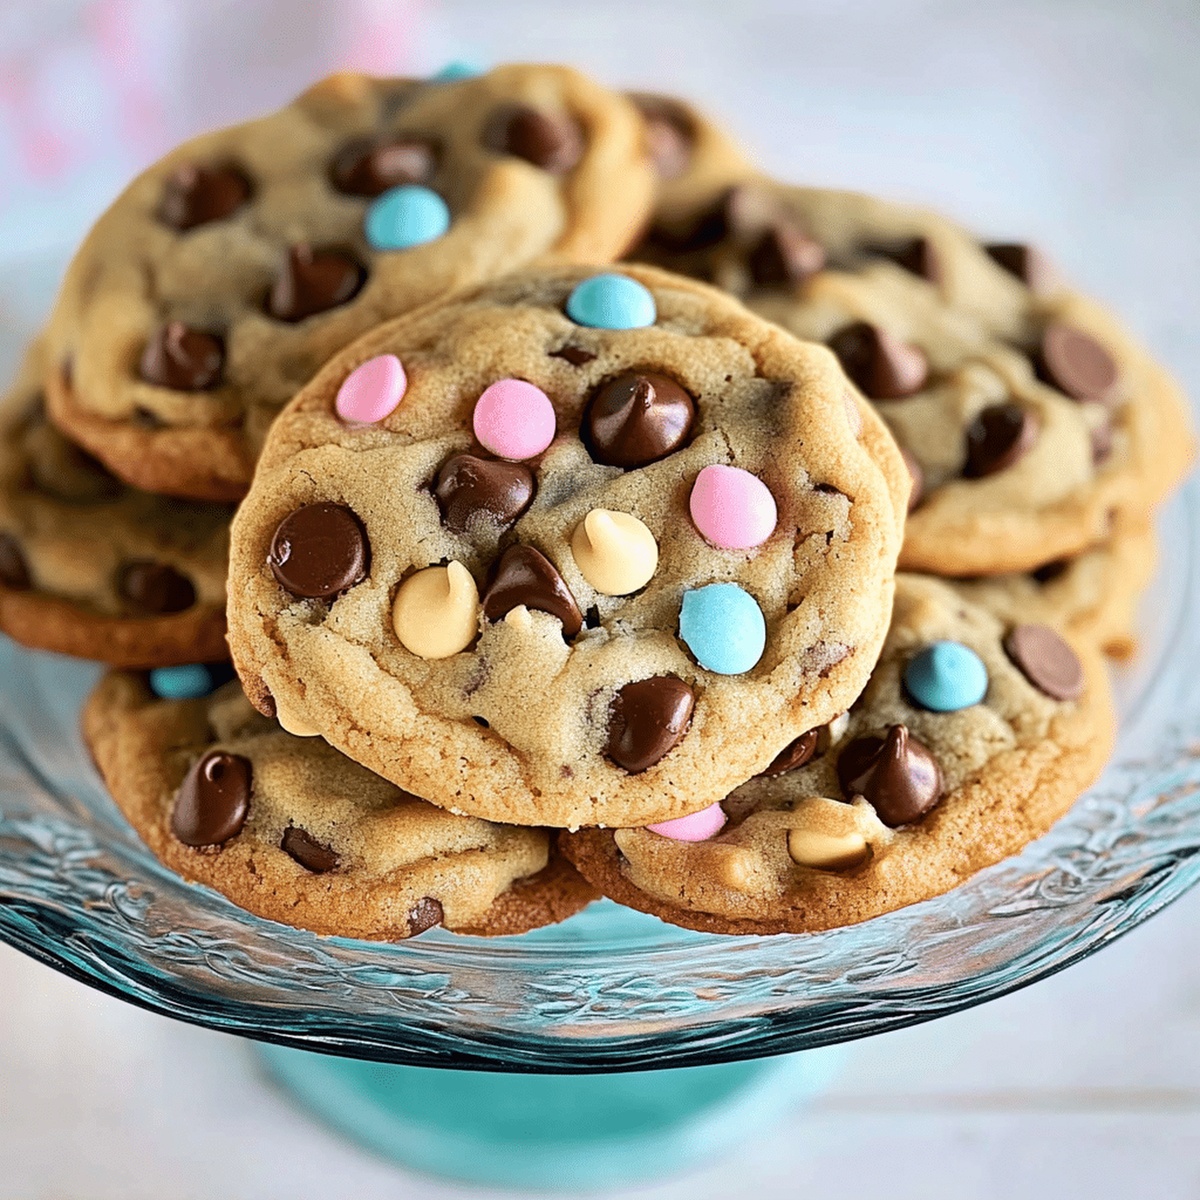
These festive Easter chocolate chip cookies blend classic comfort with seasonal excitement.
Soft, chewy textures mingle with rich chocolate morsels that dance through each bite.
Families gather around the table, eagerly anticipating these delectable treats that sparkle with holiday spirit.
Colorful sprinkles and pastel-hued decorations add a playful touch to the traditional cookie recipe.
Baking these cookies transforms an ordinary afternoon into a memorable Easter moment.
You’ll love how simple ingredients create such extraordinary memories.
Quick Recipe Overview

Easter Chocolate Chip Cookie Essentials
For Cookie Base:For Sweet Binding:For Festive Decoration:Must-Have Tools for Easter Cookie Fun
How to Bake Easter Chocolate Chip Cookies

Fire up your oven to 350F and line baking sheets with parchment paper, creating a cozy stage for your delightful treats.
Grab a big mixing bowl and blend softened butter with sugars until they transform into a fluffy, cloud-like mixture that practically dances.
Welcome eggs one at a time, mixing thoroughly, then splash in vanilla extract for a burst of aromatic charm.
In a separate bowl, mix flour, baking soda, and salt, then gently marry these powdery friends with your wet mixture.
Fold in chocolate chips and colorful candies, creating a playful swirl of sweet potential throughout the dough.
Scoop generous dollops of dough onto baking sheets, giving each cookie room to spread its delicious wings.
Slide the sheets into the oven and bake until edges turn golden and centers remain delightfully soft, about 10-12 minutes.
Let cookies rest briefly on the baking sheet, then transfer to a cooling rack, sprinkling extra candies on top for a festive finale.
Decorating Tips for Spring Cookie Fun
How to Serve Easter Cookies with Cheer
Saving Easter Cookies for Another Day
Print
Festive Easter Chocolate Chip Cookies Recipe
- Total Time: 27 minutes
- Yield: 25 1x
Description
Delightful Easter chocolate chip cookies bring springtime cheer to classic dessert lovers. Sweet morsels and pastel sprinkles create a festive treat you’ll eagerly share with family and friends.
Ingredients
- 1 cup (225 g / 8 oz) unsalted butter, softened
- 2 large eggs
- 2 ¼ cups (280 g) all-purpose flour
- 1 cup (175 g) chocolate chips (semi-sweet or milk chocolate)
- 1 cup (150 g) pastel-colored chocolate candies (such as M&Ms)
- ¾ cup (150 g) granulated sugar
- ¾ cup (165 g) brown sugar, packed
- 1 tsp vanilla extract
- 1 tsp baking soda
- ½ tsp salt
- ½ cup (50 g) white chocolate chips or chopped white chocolate (optional)
Instructions
- Oven Preparation: Ignite the oven to 350F (175C) and strategically line baking sheets with parchment paper to ensure effortless cookie removal.
- Sugar Fusion: Whip softened butter with granulated and brown sugars until the mixture achieves a cloud-like consistency, creating a luxurious base for the cookies.
- Liquid Integration: Blend eggs methodically, introducing them one at a time, then elevate the flavor profile with a splash of vanilla extract for aromatic depth.
- Dry Ingredient Harmony: Sift flour, baking soda, and salt together, then gently incorporate into the wet mixture, stirring until just combined to maintain a tender crumb.
- Festive Embellishment: Generously fold chocolate chips, pastel candies, and white chocolate pieces throughout the dough, ensuring a vibrant and colorful distribution.
- Cookie Formation: Sculpt uniform portions of dough onto prepared sheets, positioning them with strategic spacing to accommodate natural spreading during baking.
- Baking Transformation: Nestle trays into the preheated oven, allowing cookies to metamorphose for 10-12 minutes until edges turn golden and centers remain delicately soft.
- Final Flourish: Adorn the warm cookies with additional pastel candies, creating a whimsical Easter-inspired decoration that celebrates the seasonal spirit.
- Cooling Refinement: Transfer cookies to a cooling rack, allowing them to set and develop a perfect texture that captures the essence of freshly baked delight.
Notes
- Manage Butter Temperature: Ensure butter is softened but not melted for optimal cookie texture, creating a creamy base that helps cookies spread evenly and develop rich flavor.
- Prevent Overmixing: Gently fold ingredients just until combined, stopping when dry ingredients disappear to maintain a tender, soft cookie without developing tough gluten strands.
- Customize Candy Choices: Select pastel-colored candies or chocolates that complement the Easter theme, mixing different sizes and shapes for visual appeal and varied texture.
- Control Baking Time: Watch cookies closely during the final minutes, removing them when edges turn golden but centers remain slightly underbaked for that perfect chewy consistency.
- Prep Time: 15 minutes
- Cook Time: 12 minutes
- Category: Desserts, Snacks
- Method: Baking
- Cuisine: American
Nutrition
- Serving Size: 25
- Calories: 210
- Sugar: 14 g
- Sodium: 120 mg
- Fat: 10 g
- Saturated Fat: 6 g
- Unsaturated Fat: 4 g
- Trans Fat: 0 g
- Carbohydrates: 30 g
- Fiber: 1 g
- Protein: 2 g
- Cholesterol: 30 mg
Emily Lawson
Content Creator & Culinary Specialist
Expertise
Education
Oregon Culinary Institute
Diploma in Culinary Arts
Focus: Emphasis on farm-to-table cooking, sustainable practices, and the fusion of global flavors with traditional grilling methods.
Emily Lawson is the content creator at Daves Grill, turning tasty ideas into clear, easy recipes. Based in Portland, she trained at the Oregon Culinary Institute and loves cooking with fresh, seasonal ingredients, especially grilled veggies and global flavors.
Emily mixes food writing with hands-on cooking to bring you recipes that feel fun, not stressful. Her goal is to make every dish simple, flavorful, and worth coming back to. Together, she and Dave serve up real food, one recipe at a time.