Jolly Festive Eggnog Cookies Recipe: Holiday Baking Magic!
Baking these delightful eggnog cookies during the holiday season fills the kitchen with warm, nostalgic aromas of winter celebrations.
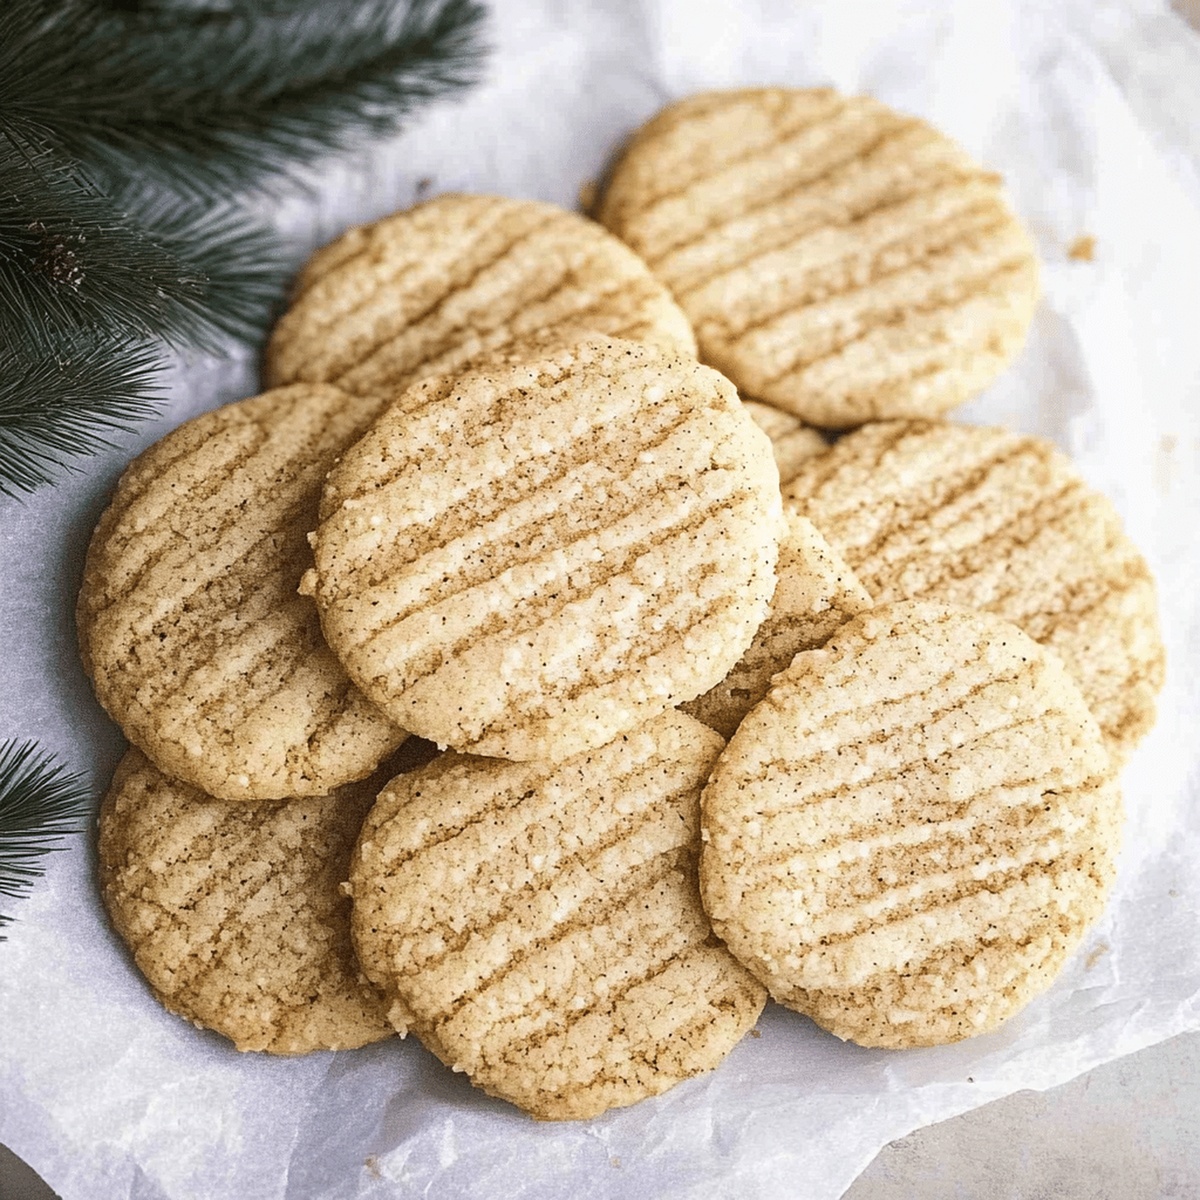
The classic eggnog cookie recipe blends traditional spices with creamy richness that melts in your mouth.
Nutmeg and cinnamon dance together, creating a festive treat that captures the essence of holiday cheer.
Each bite delivers a smooth, buttery texture complemented by subtle hints of vanilla and rum extract.
The cookies come together quickly with simple ingredients you likely have in your pantry.
Sprinkle some powdered sugar on top for a magical, snow-dusted finish that makes these treats irresistible.
Gather your mixing bowl and let’s transform your holiday baking into a memorable experience.
Quick Recipe Overview
Eggnog Cookie Ingredient Essentials
For Base Ingredients:For Creamy Ingredients:Tools for Perfect Eggnog Cookies
How to Bake Eggnog Cookies That Shine
Grab a bowl and toss together flour, baking powder, cinnamon, nutmeg, and salt. Give it a quick whirl with a whisk to blend everything smoothly.
In a separate bowl, beat softened butter and sugar until they transform into a fluffy, cloud-like mixture that looks super creamy and light.
Crack in an egg, splash some eggnog, and add a dash of vanilla. Mix these together until they’re perfectly harmonious and silky smooth.
Slowly fold the dry ingredients into the wet mixture. Stir gently until everything just comes together – no need to go crazy with mixing.
Pop the dough into the fridge and let it hang out for about 30 minutes. This helps the cookies stay perfect when baking and makes the dough easier to handle.
Preheat the oven and scoop out small rounds of chilled dough onto a baking sheet. Bake until the edges turn a gorgeous golden brown, filling your kitchen with an amazing holiday aroma.
Tricks for Richer Eggnog Cookie Flavor
Serving Up Eggnog Cookies, Holiday Style
Store Your Eggnog Cookies the Smart Way
FAQs
Yes, eggnog cookies are perfect for Christmas gatherings and winter celebrations. They capture the festive flavor of traditional eggnog in a delightful cookie form.
Absolutely! You can prepare the dough in advance and refrigerate it for up to 3 days before baking. This makes party preparation much easier.
Look for light golden edges and a slightly set center. They should be soft but not wet when you remove them from the oven. Let them cool on the baking sheet for a few minutes before transferring to a wire rack.
No special equipment is required. You’ll just need basic baking tools like a mixing bowl, whisk, baking sheet, and measuring cups/spoons. A hand mixer or stand mixer helps, but you can also mix by hand.
Print
Festive Eggnog Cookies Recipe
- Total Time: 27 minutes
- Yield: 25 1x
Description
Festive eggnog cookies bring holiday cheer with their rich, creamy flavor profile. Warm spices and buttery texture create a delightful seasonal treat you’ll savor during Christmas celebrations.
Ingredients
- 2 ½ cups (315 g) all-purpose flour
- ¾ cup (170 g) unsalted butter, softened
- 1 cup (200 g) granulated sugar
- ½ cup (120 ml) eggnog
- 1 large egg
- 1 tsp vanilla extract
- 1 tsp baking powder
- ½ tsp ground cinnamon
- ½ tsp ground nutmeg
- ½ tsp salt
- 1 cup (120 g) powdered sugar
- 2 tbsps eggnog
- 1 pinch of nutmeg for garnish
Instructions
- Blend Dry Ingredients: Whisk flour, baking powder, cinnamon, nutmeg, and salt in a mixing bowl, ensuring even distribution of dry components for consistent flavor and texture.
- Cream Butter Mixture: Vigorously beat softened butter and sugar until light and fluffy, creating a smooth, aerated base that will provide rich, delicate cookie structure.
- Incorporate Wet Components: Gently mix egg, eggnog, and vanilla extract into the butter mixture, stirring until a uniform, silky consistency emerges, capturing the quintessential eggnog essence.
- Form Cookie Dough: Delicately fold dry ingredients into wet mixture, mixing minimally to prevent toughening, then refrigerate for 30 minutes to allow flavors to meld and dough to firm up.
- Prepare and Bake: Preheat oven to 350°F, line baking sheets with parchment paper, drop rounded spoonfuls of chilled dough, and bake for 10-12 minutes until edges turn golden brown, creating tender, aromatic eggnog cookies.
Notes
- Chill Dough Strategically: Refrigerate cookie dough for at least 30 minutes to prevent spreading during baking and enhance flavor concentration.
- Measure Spices Precisely: Use freshly grated nutmeg and ground cinnamon for authentic eggnog taste, avoiding stale or pre-ground spices that can diminish flavor complexity.
- Avoid Overmixing Technique: Gently fold dry ingredients into wet mixture just until combined to maintain a tender, soft cookie texture without developing tough gluten structures.
- Customize Dietary Options: Substitute lactose-free eggnog and plant-based butter for dairy-sensitive individuals, ensuring everyone can enjoy these festive treats without compromising taste.
- Prep Time: 15 minutes
- Cook Time: 12 minutes
- Category: Desserts, Snacks
- Method: Baking
- Cuisine: American
Nutrition
- Serving Size: 25
- Calories: 150
- Sugar: 10 g
- Sodium: 100 mg
- Fat: 7 g
- Saturated Fat: 4 g
- Unsaturated Fat: 2 g
- Trans Fat: 0 g
- Carbohydrates: 21 g
- Fiber: 0 g
- Protein: 2 g
- Cholesterol: 20 mg
Emily Lawson
Content Creator & Culinary Specialist
Expertise
Education
Oregon Culinary Institute
Diploma in Culinary Arts
Focus: Emphasis on farm-to-table cooking, sustainable practices, and the fusion of global flavors with traditional grilling methods.
Emily Lawson is the content creator at Daves Grill, turning tasty ideas into clear, easy recipes. Based in Portland, she trained at the Oregon Culinary Institute and loves cooking with fresh, seasonal ingredients, especially grilled veggies and global flavors.
Emily mixes food writing with hands-on cooking to bring you recipes that feel fun, not stressful. Her goal is to make every dish simple, flavorful, and worth coming back to. Together, she and Dave serve up real food, one recipe at a time.