Jolly Green Grinch Snowball Cookies Recipe for Holiday Fun!
Baking delightful grinch snowball cookies during the holiday season brings out the sweetest cheer.
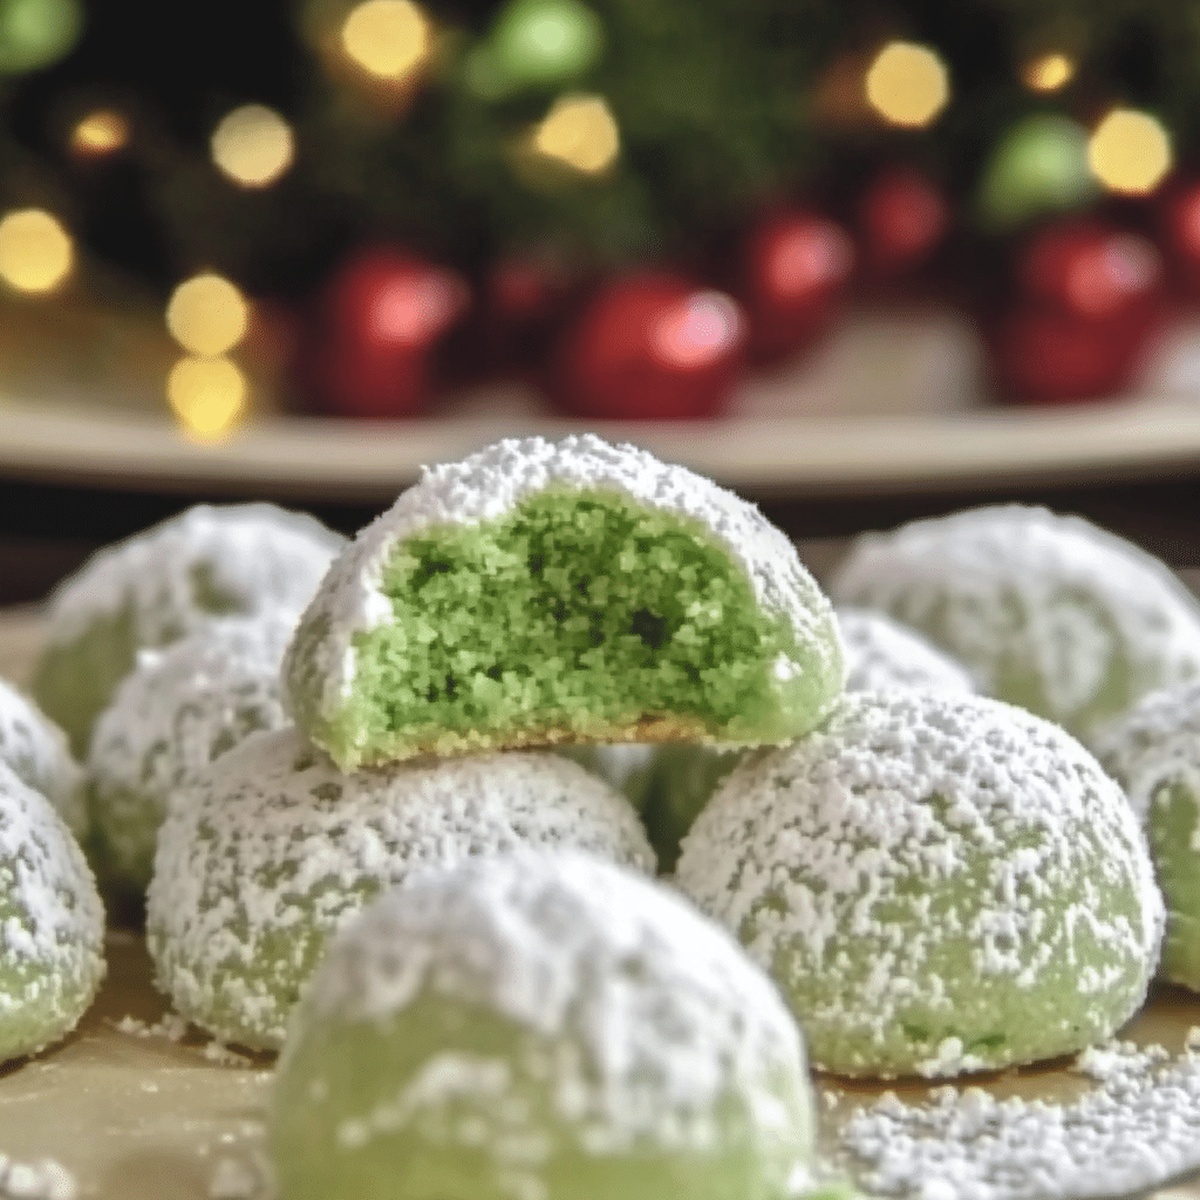
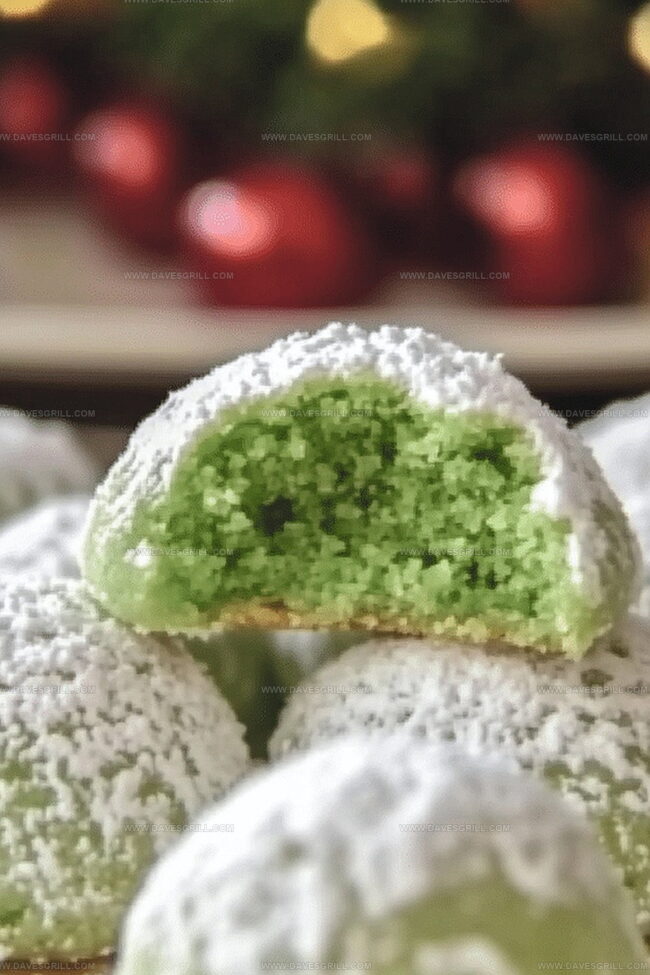
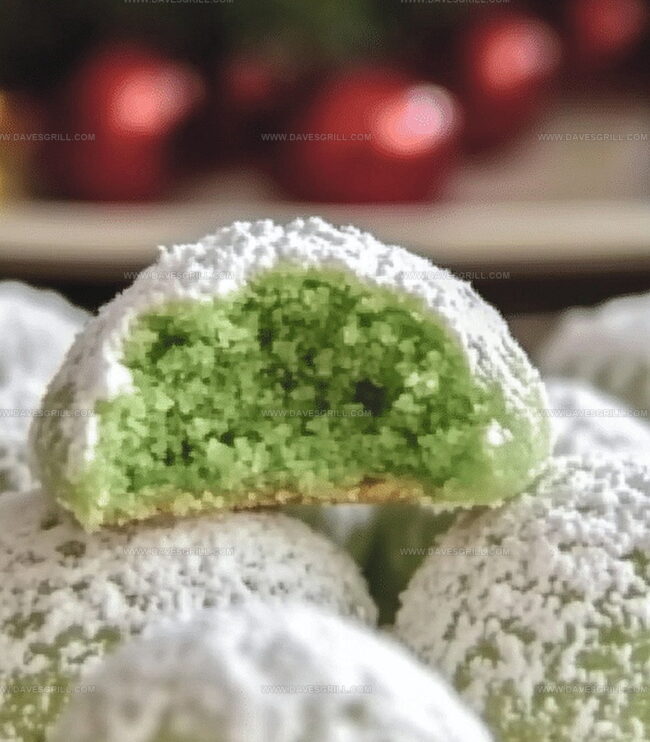
These whimsical treats capture the playful spirit of the beloved green character with their festive green-tinted dough.
Powdered sugar coats each cookie, creating a magical winter wonderland effect that sparks joy.
The recipe combines simple ingredients with a touch of holiday magic, making them perfect for sharing.
Soft, buttery, and delicately spiced, these cookies melt in your mouth and spread happiness.
Gather your baking tools and let the holiday baking adventure begin—these grinch snowball cookies will steal hearts faster than the grinch stole Christmas.
Quick Recipe Overview
Grinch Snowball Cookie Ingredient Breakdown
For Base Ingredients:For Dry Ingredients:For Decorative and Color Elements:Tools for Making Grinch Snowball Cookies at Home
How to Bake Grinch Snowball Cookies with a Twist
Cream butter and sugar until silky smooth. Splash in vanilla and blend thoroughly.
Sift flour, salt, and baking powder together. Slowly fold dry ingredients into butter mixture, creating a luscious green cookie foundation.
Pinch off small chunks of dough and roll into adorable little balls. Arrange them on a baking sheet with plenty of breathing room.
Slide cookies into a toasty 350F oven. Let them transform for 10-12 minutes until edges hint at golden goodness while centers stay tender.
Allow cookies to chill completely. Then lavish them with a snowy powdered sugar coating, transforming them into festive winter treats.
Crown each cookie with a tiny red heart, symbolizing the Grinch’s heart growing with love and holiday spirit.
Tips for Green Color and Flavor in Snowballs
Serve Grinch Snowball Cookies for Holiday Parties
Store Grinch Cookies So They Stay Sweet and Soft
FAQs
The name comes from the iconic green color inspired by the Grinch character from Dr. Seuss’s Christmas story, and the powdered sugar coating that makes them look like snowballs.
You can, but the vibrant green color is what makes these cookies unique and captures the Grinch theme. If you skip the food coloring, they’ll look like traditional snowball cookies.
Gel food coloring is recommended because it provides a more intense color without adding extra liquid to the dough. Liquid food coloring can affect the cookie’s texture.
Chill the dough for 30 minutes before rolling and baking. This helps the cookies maintain their shape and prevents excessive spreading in the oven.
Print
Festive Grinch Snowball Cookies Recipe
- Total Time: 27 minutes
- Yield: 25 1x
Description
Festive Grinch Snowball Cookies bring holiday cheer with their green-tinted charm and delightful almond flavor. Powdered sugar coating and whimsical design make these treats perfect for Christmas celebrations and delighting guests.
Ingredients
- 1 cup (226 g) unsalted butter, softened
- 2 cups (250 g) all-purpose flour
- ½ cup (60 g) powdered sugar
- ½ cup (60 g) finely chopped pecans or walnuts (optional)
- 1 teaspoon (5 ml) vanilla extract
- Green food coloring
- ¼ teaspoon (1.25 ml) salt
- Additional powdered sugar (for coating)
- 20–25 red candy hearts (or red M&Ms as a substitute)
Instructions
- Preheat Setup: Position oven rack in center and warm to 350F (175C), lining baking sheet with parchment paper for optimal cookie release.
- Butter Blend: Cream butter and powdered sugar until silky smooth, infusing vanilla extract to elevate aromatic complexity, creating a luxurious base mixture.
- Dry Element Integration: Sift flour, salt, and baking powder together, then gradually fold into butter mixture. Introduce green food coloring, kneading until dough achieves a vibrant emerald consistency reminiscent of the Grinch’s iconic hue.
- Cookie Formation: Craft uniform spherical clusters approximately 1 inch in diameter, strategically placing each green orb on prepared baking sheet with adequate spacing to ensure even heat distribution.
- Baking Transformation: Roast cookies for 10-12 minutes, watching for subtle golden edges while maintaining tender centers. Rest initially on baking sheet, then transition to wire rack for complete cooling.
- Festive Finishing: Lavishly dust completely cooled cookies with powdered sugar, creating a pristine snow-like exterior. Crown each treat with a whimsical red candy heart, symbolizing the Grinch’s heartwarming character evolution.
Notes
- Control Color Intensity: Add green food coloring gradually to achieve the perfect Grinch-inspired emerald shade without altering dough consistency.
- Prevent Cracking: Ensure butter is softened, not melted, to maintain cookie structure and create smooth, crack-free surfaces during baking.
- Achieve Perfect Texture: Roll cookies into uniform size for consistent baking and allow adequate spacing on the baking sheet to prevent spreading.
- Temperature Matters: Cool cookies completely before powdered sugar coating to prevent sugar from melting and ensure a pristine, snowy appearance.
- Prep Time: 15 minutes
- Cook Time: 12 minutes
- Category: Desserts, Snacks
- Method: Baking
- Cuisine: American
Nutrition
- Serving Size: 25
- Calories: 130
- Sugar: 3g
- Sodium: 30mg
- Fat: 10g
- Saturated Fat: 6g
- Unsaturated Fat: 4g
- Trans Fat: 0g
- Carbohydrates: 12g
- Fiber: 0g
- Protein: 2g
- Cholesterol: 30mg
Emily Lawson
Content Creator & Culinary Specialist
Expertise
Education
Oregon Culinary Institute
Diploma in Culinary Arts
Focus: Emphasis on farm-to-table cooking, sustainable practices, and the fusion of global flavors with traditional grilling methods.
Emily Lawson is the content creator at Daves Grill, turning tasty ideas into clear, easy recipes. Based in Portland, she trained at the Oregon Culinary Institute and loves cooking with fresh, seasonal ingredients, especially grilled veggies and global flavors.
Emily mixes food writing with hands-on cooking to bring you recipes that feel fun, not stressful. Her goal is to make every dish simple, flavorful, and worth coming back to. Together, she and Dave serve up real food, one recipe at a time.