
Jolly Festive Italian Easter Cookies Recipe: Sprinkle Joy!
Sweet memories of childhood spring to life with these delightful italian easter cookies that dance between tradition and pure deliciousness.
Generations have passed down this treasured recipe, creating moments of joy around family tables.
Soft, tender, and elegantly dusted with powdered sugar, these cookies tell a story of love and celebration.
Every bite connects you to generations of Italian baking heritage.
Crisp yet delicate, they blend simple ingredients into something magical.
Each cookie carries the warmth of home-baked comfort and festive cheer.
Prepare to be transported by these irresistible treats that promise to make your Easter celebration truly memorable.
Quick Recipe Overview
Italian Easter Cookie Essentials
For Dry Base:For Creamy Foundation:For Flavor Enhancers:For Glaze and Decoration:Traditional Tools for Italian Easter Baking
Shaping and Baking Italian Easter Cookies
Crank your oven to a toasty 350F and line baking sheets with parchment paper, creating the perfect stage for delicious cookies.
In a mixing bowl, blend softened butter and sugar until they transform into a fluffy cloud of deliciousness, creating a smooth foundation for your treat.
Gently fold in eggs one by one, then splash in vanilla and citrus zest, watching your mixture come alive with vibrant flavors.
Slowly marry dry ingredients with your wet mixture, adding milk to create a soft, tender dough that’s ready to be shaped into delightful rings.
Roll small portions of dough into charming rings or playful knots, placing them carefully on your prepared baking sheets with plenty of breathing room.
Slide your cookies into the oven, letting them dance and turn golden for 10-12 minutes until they’re just barely kissed by color.
Whip up a silky smooth glaze by whisking powdered sugar and milk, creating a sweet coating that’ll make your cookies shine.
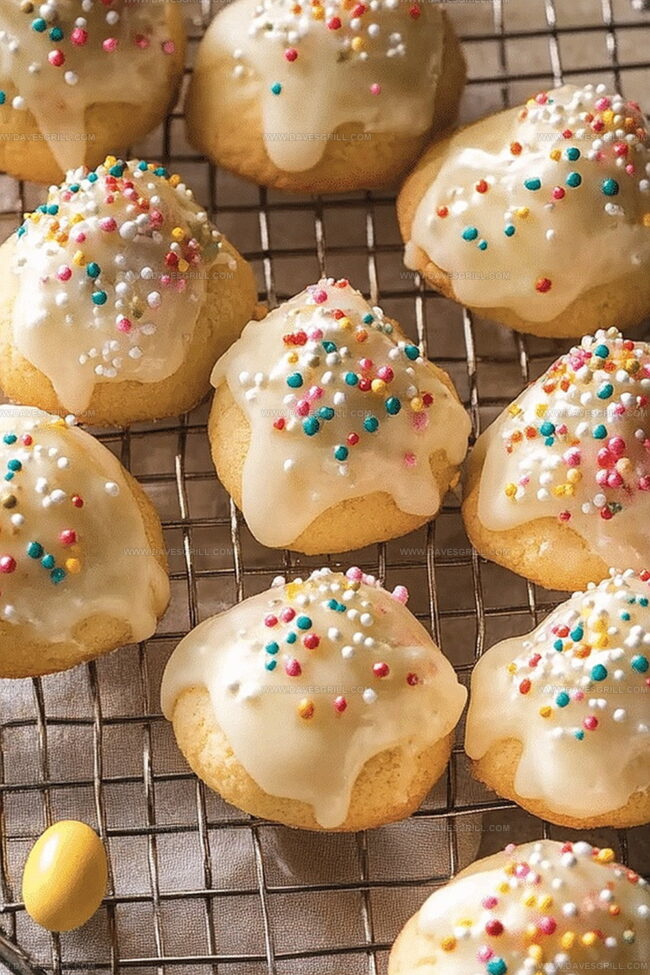
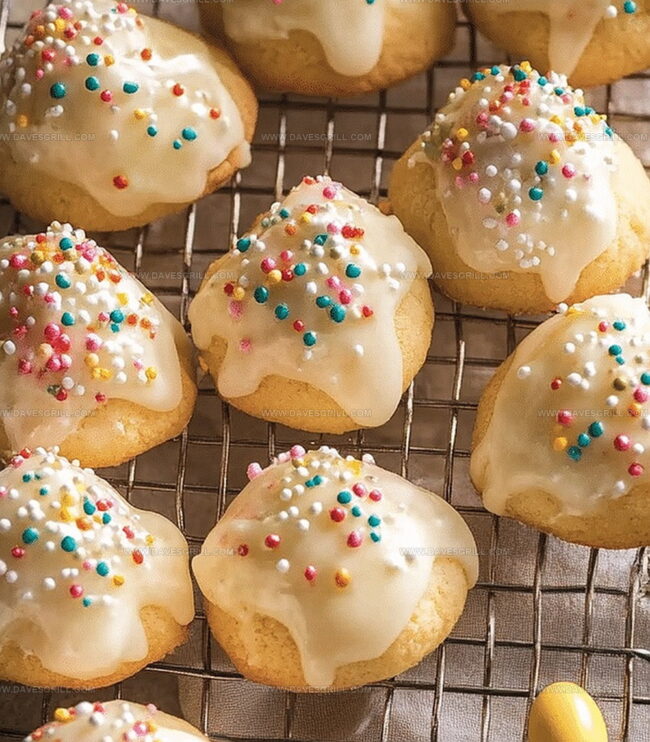
Dunk cookie tops into the glaze, then sprinkle with colorful confetti to add a festive touch that’ll make everyone smile.
Custom Flavor Tips for Easter Cookie Fans
How to Present Italian Easter Cookies Nicely
Saving and Serving Italian Cookies the Right Way
Print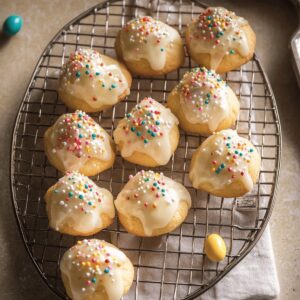
Festive Italian Easter Cookies
- Total Time: 32 minutes
- Yield: 25 1x
Description
Pasticcini di Pasqua, a beloved Italian Easter cookie, delights with delicate almond and citrus notes. Light, crumbly pastries showcase festive traditions from Sicily’s rich culinary heritage, promising a sweet celebration you will savor.
Ingredients
- 3 cups (375 g) all-purpose flour
- 1 tbsp baking powder
- ¼ tsp salt
- 3 large eggs
- ¾ cup (150 g) granulated sugar
- ½ cup (115 g) unsalted butter, softened
- 2 tsp lemon or orange zest
- 2 tbsps milk
- 1 tsp vanilla extract
- ½ tsp almond extract (optional)
- 1 cup (120 g) powdered sugar
- 2–3 tbsps milk
- ½ tsp vanilla or almond extract
- Colorful sprinkles (for decoration)
Instructions
- Preparation: Position oven rack in middle, preheat to 350F (175C). Line baking sheets with parchment or silicone mats.
- Dry Mixture: Whisk flour, baking powder, and salt in a medium bowl until thoroughly combined.
- Creaming: Use electric mixer to blend butter and granulated sugar until light, fluffy, and voluminous.
- Wet Ingredients: Individually incorporate eggs, ensuring complete integration. Mix in vanilla extract, almond extract, and citrus zest until evenly distributed.
- Dough Formation: Gently fold dry ingredients into wet mixture, alternating with milk. Create a soft, cohesive dough without overmixing.
- Shaping: Portion dough into logs, forming elegant rings or delicate knots. Arrange on prepared sheets, spacing two inches apart.
- Baking: Bake 10-12 minutes until edges turn golden and tops remain pale. Cookies should appear slightly tender.
- Cooling and Glazing: Transfer to wire rack. Once cooled, prepare glaze by whisking powdered sugar, milk, and extract until smooth.
- Finishing: Dip cookie tops in glaze, allowing excess to drip. Quickly sprinkle with decorative toppings before glaze sets.
- Storage: Let cookies rest until glaze hardens completely. Store in airtight container for optimal freshness, maintaining quality for up to five days.
Notes
- Prevent Dough Overworking: Gently fold ingredients to maintain a tender, soft texture. Overmixing develops gluten, creating dense, tough cookies.
- Control Moisture Balance: Adjust milk quantity carefully to achieve the right dough consistency. Too much liquid creates sticky dough, while too little results in dry, crumbly cookies.
- Master Baking Precision: Monitor oven temperature and baking time closely. Golden edges indicate doneness while preserving a delicate, soft cookie interior.
- Customize Flavor Profiles: Experiment with different extracts like orange, lemon, or rum to personalize the cookie’s taste. Swap almond extract for vanilla or combine multiple flavor hints for unique variations.
- Prep Time: 20 minutes
- Cook Time: 12 minutes
- Category: Desserts, Snacks
- Method: Baking
- Cuisine: Italian
Nutrition
- Serving Size: 25
- Calories: 166
- Sugar: 10 g
- Sodium: 56 mg
- Fat: 6 g
- Saturated Fat: 4 g
- Unsaturated Fat: 2 g
- Trans Fat: 0 g
- Carbohydrates: 25 g
- Fiber: 1 g
- Protein: 3 g
- Cholesterol: 47 mg
Emily Lawson
Content Creator & Culinary Specialist
Expertise
Education
Oregon Culinary Institute
Diploma in Culinary Arts
Focus: Emphasis on farm-to-table cooking, sustainable practices, and the fusion of global flavors with traditional grilling methods.
Emily Lawson is the content creator at Daves Grill, turning tasty ideas into clear, easy recipes. Based in Portland, she trained at the Oregon Culinary Institute and loves cooking with fresh, seasonal ingredients, especially grilled veggies and global flavors.
Emily mixes food writing with hands-on cooking to bring you recipes that feel fun, not stressful. Her goal is to make every dish simple, flavorful, and worth coming back to. Together, she and Dave serve up real food, one recipe at a time.