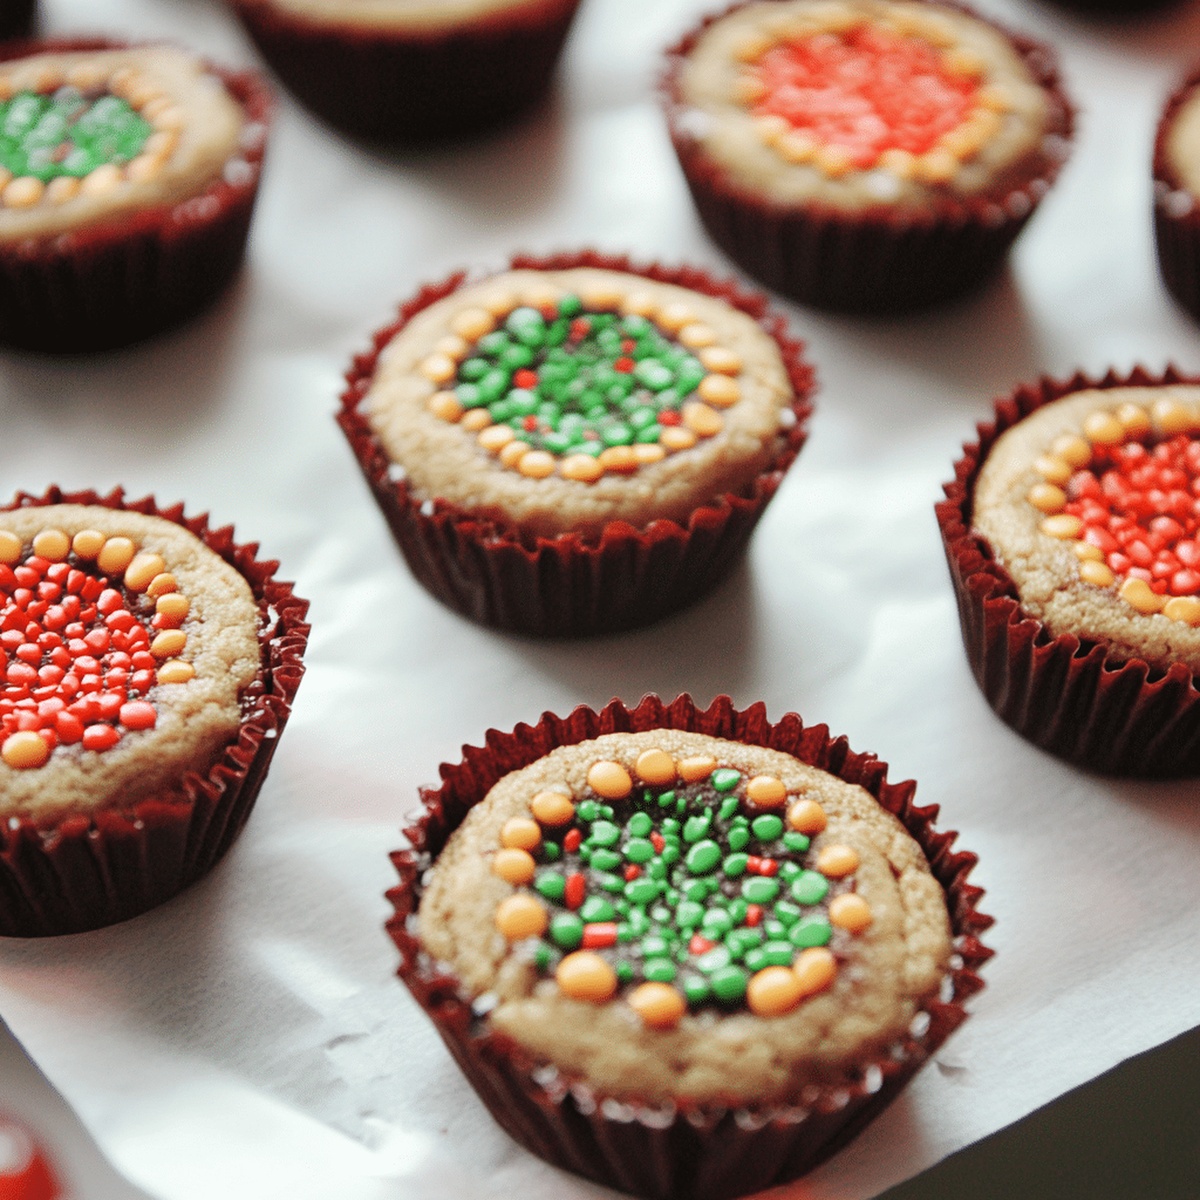
Sweet Holiday Magic: Festive Peanut Butter Cup Christmas Cookies Recipe
Chocolate and peanut butter collide in these delightful peanut butter cup Christmas cookies that will steal the show at any holiday gathering.
Reese’s candy adds a playful twist to the classic cookie recipe.
Soft, chewy edges give way to a rich, decadent center studded with melted chocolate pieces.
Each bite promises a perfect balance of sweet and salty flavors.
The festive sprinkles bring a pop of color that makes these cookies as beautiful as they are delicious.
You’ll love how easily these treats come together with minimal effort.
Serve these crowd-pleasing cookies and watch them disappear in minutes.
Quick Recipe Overview
Ingredients for Peanut Butter Cup Holiday Cookies
For Base Ingredients:For Sweet and Creamy Components:For Finishing and Topping:Kitchen Gear for Christmas Cookie Success
How to Bake Peanut Butter Cup Cookies with Ease
Crank your oven to a toasty 375F and prep a mini muffin tin with a light greasing or paper liners.
Grab a mixing bowl and blend butter, peanut butter, and sugars until they’re super fluffy and dreamy. Toss in the egg and vanilla, mixing until everything looks smooth and happy.
In a separate bowl, mix flour, baking soda, and salt. Slowly fold these dry ingredients into your wet mixture, stirring until a soft, delightful dough comes together.
Roll the dough into adorable little balls and gently place each one into the muffin tin cups.
Pop the tin in the oven and bake for 8-10 minutes until the edges turn a beautiful golden color.
Right after pulling the cookies from the oven, press a mini Reeses peanut butter cup into the center of each warm cookie. Don’t worry if the edges crack – that’s part of their charm!
Let the cookies rest in the pan for 10 minutes, then transfer to a wire rack to cool completely. For extra holiday flair, drizzle with white chocolate or sprinkle with festive decorations.
Flavor Ideas for Holiday Cookie Magic
Serving Suggestions for Peanut Butter Cup Cookies
Save and Store Your Holiday Cookie Batch
FAQs
Use a non-stick mini muffin tin or generously grease the pan with butter or cooking spray. Alternatively, line each cup with paper liners for easy removal.
Stick with traditional creamy peanut butter like Jif or Skippy. Natural peanut butter has different oil content and might make the cookies too dry or spread differently.
Chill the dough in the refrigerator for 15-20 minutes before rolling into balls. This helps the dough firm up and makes it easier to shape the cookies.
Yes! You can prepare the dough in advance and refrigerate it for up to 2 days before baking. Alternatively, baked cookies can be stored in an airtight container at room temperature for 3-4 days.
Print
Festive Peanut Butter Cup Christmas Cookies Recipe
- Total Time: 25 minutes
- Yield: 25 1x
Description
Festive peanut butter cup Christmas cookies blend rich chocolate and creamy peanut butter in a holiday classic. Delightful morsels bring sweet cheer to seasonal gatherings and spread joy with each delectable bite.
Ingredients
- ½ cup (113 g) creamy peanut butter
- ½ cup (113 g) unsalted butter, softened
- 1 ½ cups (180 g) all-purpose flour
- 1 large egg
- ½ cup (100 g) granulated sugar
- ½ cup (110 g) brown sugar, packed
- 1 tsp vanilla extract
- ½ tsp baking soda
- ¼ tsp salt
- 36 mini Reeses peanut butter cups, unwrapped
Instructions
- Prepare Workspace: Ignite the oven to 375F (190C) and position a mini muffin tin with paper liners or light grease to prevent sticking.
- Craft Butter Mixture: Vigorously cream butter, peanut butter, and sugars until achieving a fluffy, light consistency that resembles soft clouds.
- Develop Cookie Foundation: Blend egg and vanilla extract into the creamy mixture, ensuring complete and smooth incorporation, then gently fold in flour, baking soda, and salt to form a tender dough.
- Shape Cookies: Mold uniform dough balls approximately one inch in diameter, carefully positioning each into the mini muffin tin compartments.
- Bake to Perfection: Slide the tin into the preheated oven, baking for 8-10 minutes until edges turn delicately golden, signaling optimal doneness.
- Embellish and Cool: Immediately after removing from oven, press a mini Reeses peanut butter cup into the center of each warm cookie, allowing slight surface cracking, then rest cookies in the tin for ten minutes before transferring to a wire cooling rack.
- Optional Decoration: Elevate the festive presentation by drizzling melted white chocolate or sprinkling holiday-themed decorative elements for enhanced visual appeal.
Notes
- Control Butter Temperature: Ensure butter is softened but not melted to maintain ideal cookie texture and prevent spreading during baking.
- Perfect Dough Consistency: Mix wet and dry ingredients just until combined, avoiding overmixing to keep cookies tender and prevent toughness.
- Precise Baking Timing: Watch cookies closely during 8-10 minute window, removing when edges turn golden to prevent overcooking and maintain soft center.
- Chocolate Placement Technique: Press Reese’s cups immediately after baking while cookies are warm, allowing gentle indentation without breaking the delicate cookie structure.
- Prep Time: 10 minutes
- Cook Time: 15 minutes
- Category: Desserts, Snacks
- Method: Baking
- Cuisine: American
Nutrition
- Serving Size: 25
- Calories: 202
- Sugar: 8 g
- Sodium: 96 mg
- Fat: 11 g
- Saturated Fat: 4 g
- Unsaturated Fat: 7 g
- Trans Fat: 0 g
- Carbohydrates: 24 g
- Fiber: 1 g
- Protein: 3 g
- Cholesterol: 18 mg


Emily Lawson
Content Creator & Culinary Specialist
Expertise
Education
Oregon Culinary Institute
Diploma in Culinary Arts
Focus: Emphasis on farm-to-table cooking, sustainable practices, and the fusion of global flavors with traditional grilling methods.
Emily Lawson is the content creator at Daves Grill, turning tasty ideas into clear, easy recipes. Based in Portland, she trained at the Oregon Culinary Institute and loves cooking with fresh, seasonal ingredients, especially grilled veggies and global flavors.
Emily mixes food writing with hands-on cooking to bring you recipes that feel fun, not stressful. Her goal is to make every dish simple, flavorful, and worth coming back to. Together, she and Dave serve up real food, one recipe at a time.