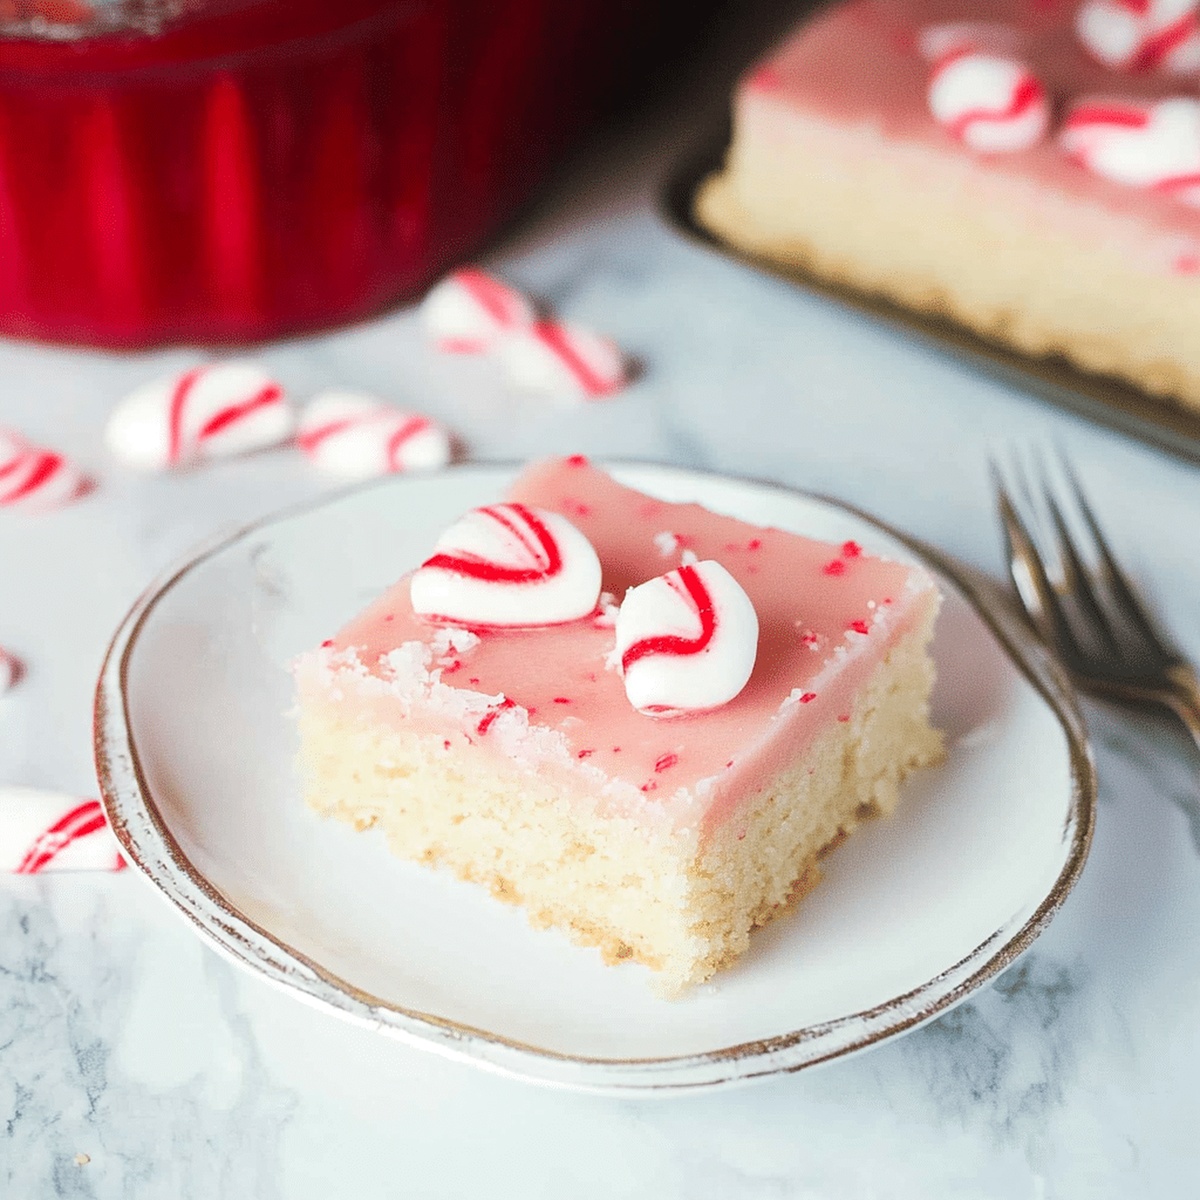
Jolly Festive Peppermint Sugar Cookie Bars Recipe for Holidays
Sweet holiday magic meets classic baking with these delightful peppermint sugar cookie bars that spark joy in every bite.
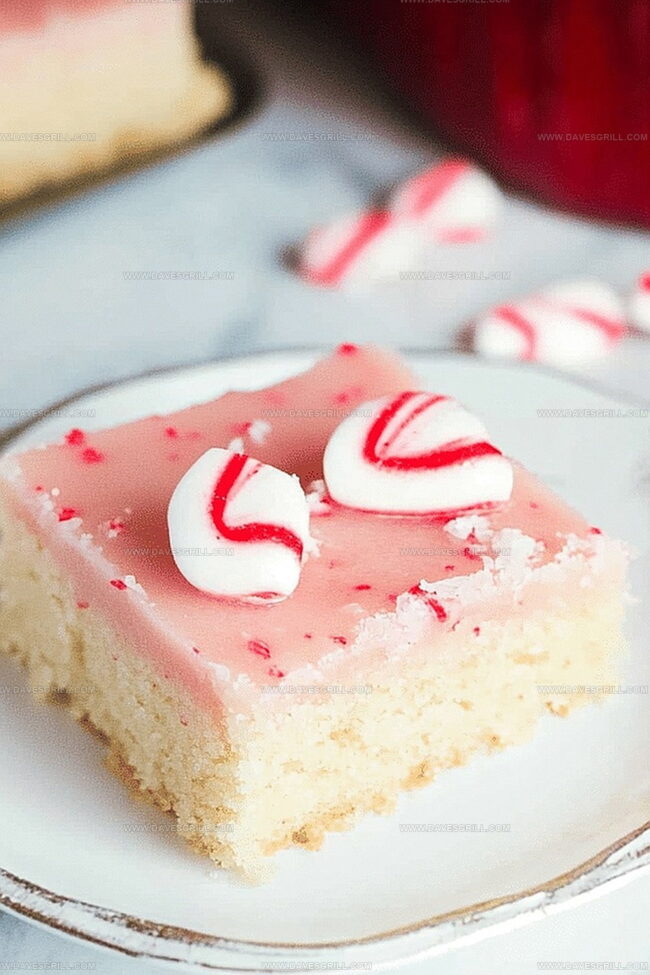
Soft, chewy textures blend perfectly with cool peppermint undertones.
Chocolate drizzles add elegant richness to these festive treats.
Each bar brings a delicate crunch and smooth peppermint flavor that dances across your palate.
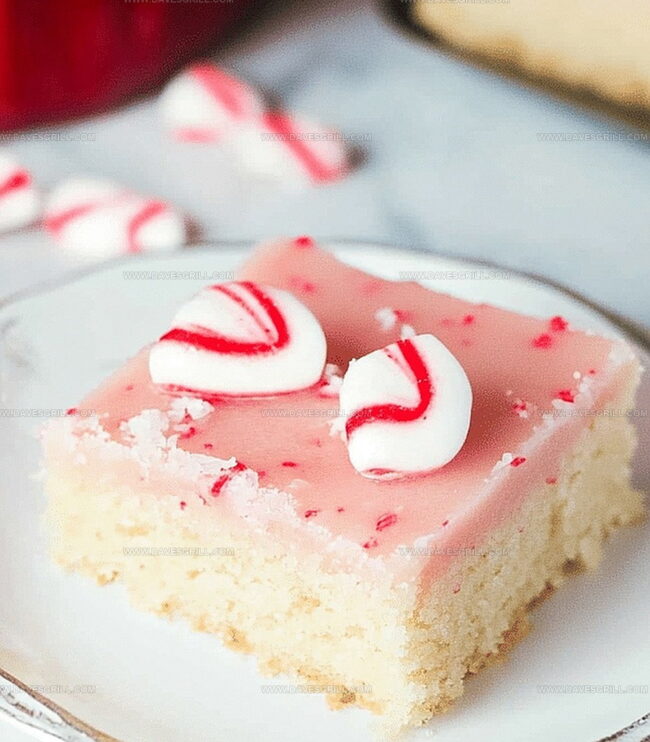
Winter celebrations shine brighter with these stunning dessert bars.
Guests will adore the simple yet sophisticated combination of buttery sugar cookie and refreshing mint.
These bars promise to be the star of any seasonal gathering.
Quick Recipe Overview
Peppermint Sugar Bar Essentials
For Cookie Base:For Flavor Enhancers:For Frosting and Decoration:Tools for Making Perfect Sugar Cookie Bars
Making Peppermint Cookie Bars
Grab a 9×13 inch pan and line it with parchment paper or give it a generous butter coating to prevent sticking.
Blend softened butter with sugars until they transform into a fluffy, dreamy mixture. Splash in eggs and flavor extracts, mixing until everything looks smooth and inviting.
Whisk flour, rising agents, and salt in a separate bowl. Gently fold these dry ingredients into your wet mixture, being careful not to overmix.
Spread the dough evenly across your prepared pan. Slide into a preheated 350F oven and bake for about 20 minutes until edges turn golden and center looks set.
Beat butter until silky, then gradually incorporate powdered sugar and cream. Stir in peppermint extract and a touch of red food coloring for a festive pop.
Once cookies cool completely, lavish the surface with peppermint frosting. Sprinkle crushed candy canes across the top for a delightful crunch and holiday flair.
Cut into neat squares or rectangles. Serve immediately or store in an airtight container for later indulgence.
Fun Flavor Twists for Peppermint Bars
Ways to Slice and Serve Sugar Bars
Tips for Keeping Peppermint Bars Fresh
Print
Festive Peppermint Sugar Cookie Bars Recipe
- Total Time: 35 minutes
- Yield: 17 1x
Description
Peppermint sugar cookie bars deliver festive holiday cheer with their delightful minty flavor and buttery texture. Guests will savor each sweet, crumbly bite of this classic seasonal dessert perfect for winter celebrations.
Ingredients
- 2 ¾ cups (350 g / 12.35 oz) all-purpose flour
- 1 cup (225 g / 8 oz) unsalted butter, softened
- 1 cup (200 g / 7.05 oz) granulated sugar
- ½ cup (100 g / 3.5 oz) powdered sugar
- 2 large eggs
- 1 tsp vanilla extract
- ½ tsp peppermint extract
- 1 tsp baking powder
- ½ tsp baking soda
- ¼ tsp salt
- ½ cup (115 g / 4 oz) unsalted butter, softened
- 3 cups (375 g / 13.23 oz) powdered sugar
- 2 tbsps heavy cream (or milk)
- ½ tsp peppermint extract
- 12 drops red food coloring (optional, for a festive pink hue)
- ¼ cup crushed candy canes or peppermint candies
Instructions
- Dry Ingredient Preparation: Meticulously whisk flour, baking powder, baking soda, and salt in a bowl to create a uniform dry mixture.
- Batter Development: Cream butter with granulated and powdered sugars until achieving a velvety texture, then methodically blend in eggs and extracts to form a smooth batter.
- Pan Preparation: Spread cookie dough evenly into a prepared rectangular baking pan, ensuring complete coverage of corners and edges.
- Baking Process: Roast in a preheated oven at 350°F until edges transform to a golden hue and center sets, approximately 18-20 minutes.
- Cooling Phase: Allow baked confection to cool completely within the pan, enabling proper setting for optimal frosting application.
- Frosting Creation: Whip butter to a silky consistency, gradually incorporating powdered sugar and cream to construct a luscious, spreadable mixture.
- Flavor Enhancement: Integrate peppermint extract and optional crimson food coloring, blending until achieving a uniform, vibrant appearance.
- Frosting Application: Generously distribute peppermint frosting across the cooled cookie base, creating a smooth, complete surface coverage.
- Festive Finishing: Sprinkle crushed candy canes atop the frosted layer, adding a delightful crunch and holiday-inspired visual appeal.
- Serving Preparation: Slice the decorated confection into precise squares, presenting an elegant and delectable seasonal treat.
Notes
- Prevent Dry Cookies: Measure flour precisely using the spoon-and-level method to avoid adding excess flour, which can lead to dense, dry bars.
- Achieve Smooth Frosting: Ensure butter is at room temperature before whipping to create a silky, lump-free frosting that spreads effortlessly across the cookie base.
- Control Peppermint Intensity: Start with a small amount of peppermint extract and gradually add more, tasting to achieve the perfect balance of refreshing mint flavor without overwhelming the cookie.
- Optimize Cutting Technique: Use a sharp, clean knife and wipe the blade between cuts for crisp, neat edges when slicing the frosted cookie bars.
- Prep Time: 15 minutes
- Cook Time: 20 minutes
- Category: Desserts, Snacks
- Method: Baking
- Cuisine: American
Nutrition
- Serving Size: 17
- Calories: 265
- Sugar: 16 g
- Sodium: 90 mg
- Fat: 12 g
- Saturated Fat: 7 g
- Unsaturated Fat: 4 g
- Trans Fat: 0 g
- Carbohydrates: 39 g
- Fiber: 0 g
- Protein: 2 g
- Cholesterol: 30 mg
Emily Lawson
Content Creator & Culinary Specialist
Expertise
Education
Oregon Culinary Institute
Diploma in Culinary Arts
Focus: Emphasis on farm-to-table cooking, sustainable practices, and the fusion of global flavors with traditional grilling methods.
Emily Lawson is the content creator at Daves Grill, turning tasty ideas into clear, easy recipes. Based in Portland, she trained at the Oregon Culinary Institute and loves cooking with fresh, seasonal ingredients, especially grilled veggies and global flavors.
Emily mixes food writing with hands-on cooking to bring you recipes that feel fun, not stressful. Her goal is to make every dish simple, flavorful, and worth coming back to. Together, she and Dave serve up real food, one recipe at a time.