Rustic Buttery Flaky Ruth’s Grandma’s Pie Crust Recipe
Golden, buttery, and delicately crafted, this flaky ruths grandmas pie crust recipe stands as a testament to generations of baking wisdom.
Passed down through whispered kitchen secrets, this recipe promises a pastry that melts in your mouth with each tender bite.
Crumbly edges and a rich, delicate texture define this beloved family classic.
Bakers know the magic lies in the precise technique and quality of ingredients.
Simple yet sophisticated, this pie crust transforms ordinary desserts into extraordinary culinary experiences.
Every slice carries the warmth of home-cooked memories and traditional baking passion.
Embrace the art of pie-making and create a crust that will become your own cherished family legacy.
Quick Recipe Overview
Pie Crust Ingredient List from Grandma’s Kitchen
For Dry Ingredients:For Fat Component:For Liquid Component:For Optional Finishing:Tools for Making the Flakiest Pie Crust
How to Make a Family Pie Crust from Scratch
Grab a roomy mixing bowl and whisk together flour, salt, and optional sugar until perfectly combined.
Drop in chilled butter chunks and massage them into the flour using fingertips or a pastry tool. Keep working until the mixture looks like rough, bumpy breadcrumbs with tiny butter bits scattered throughout.
Splash in icy water gradually, one spoonful at a time. Gently mix with a fork or hands until the dough barely holds together. The goal is a cohesive blend that sticks without getting sticky.
Split the dough into two equal portions, shape each into a smooth disk, and wrap snugly in plastic. Tuck into the refrigerator for at least an hour to relax and firm up.
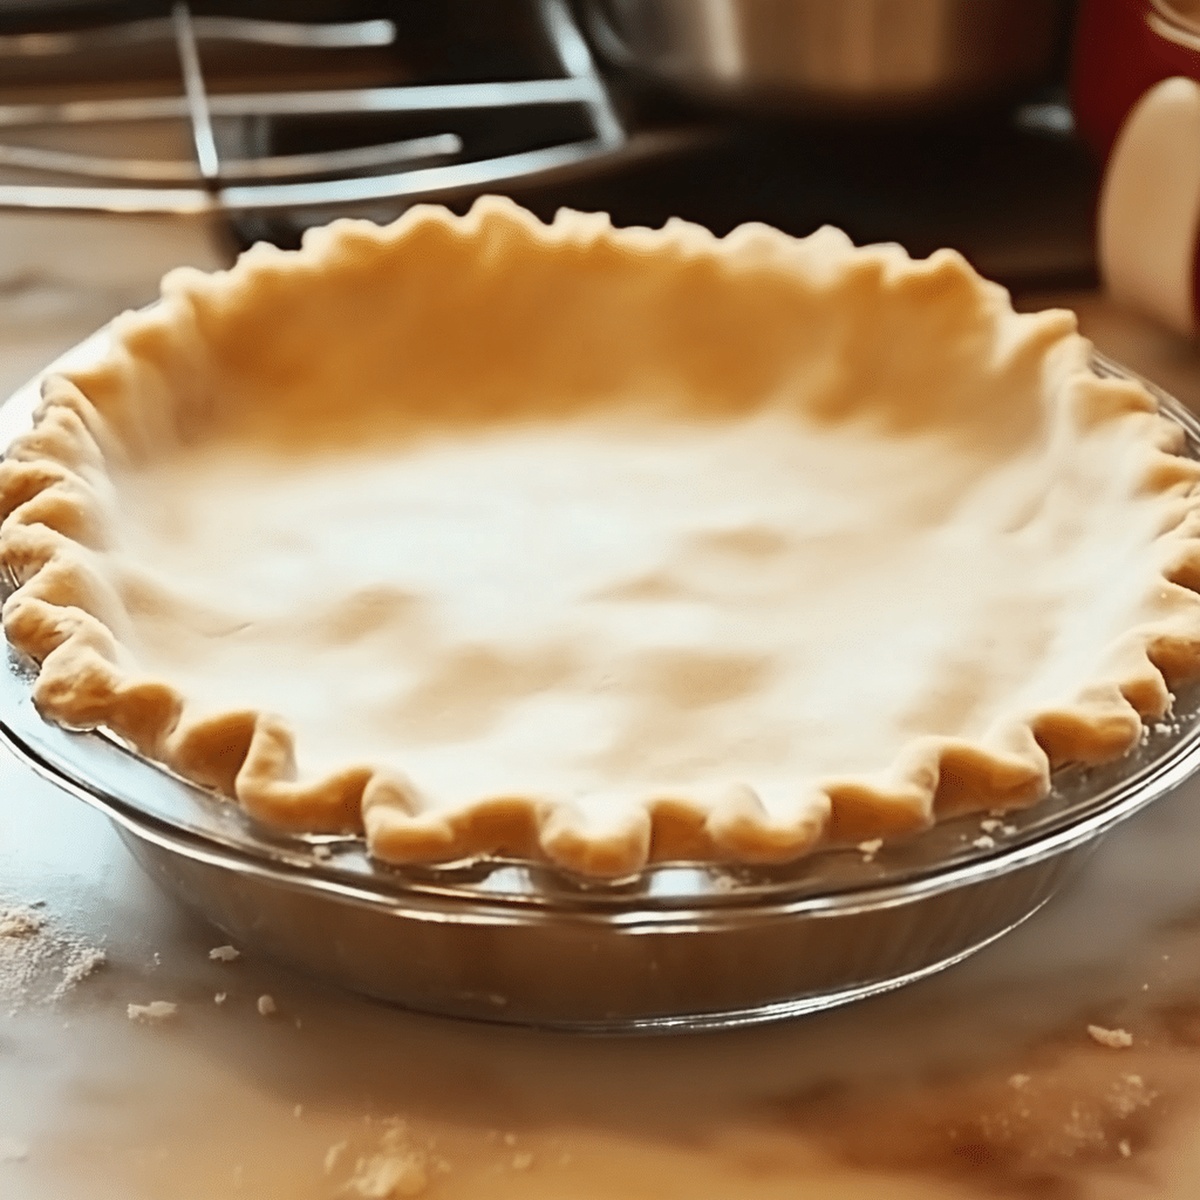
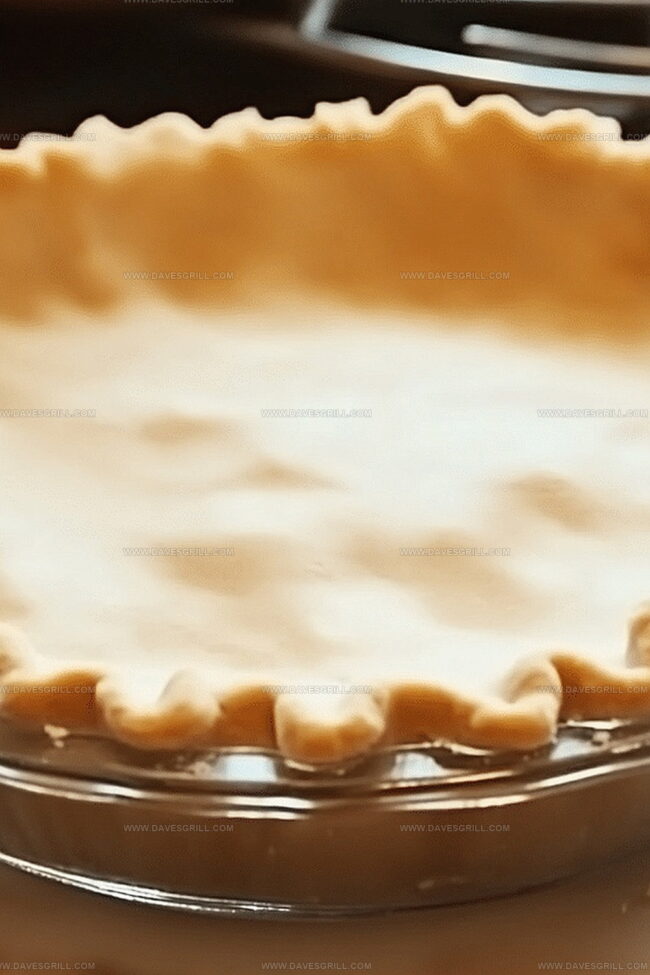
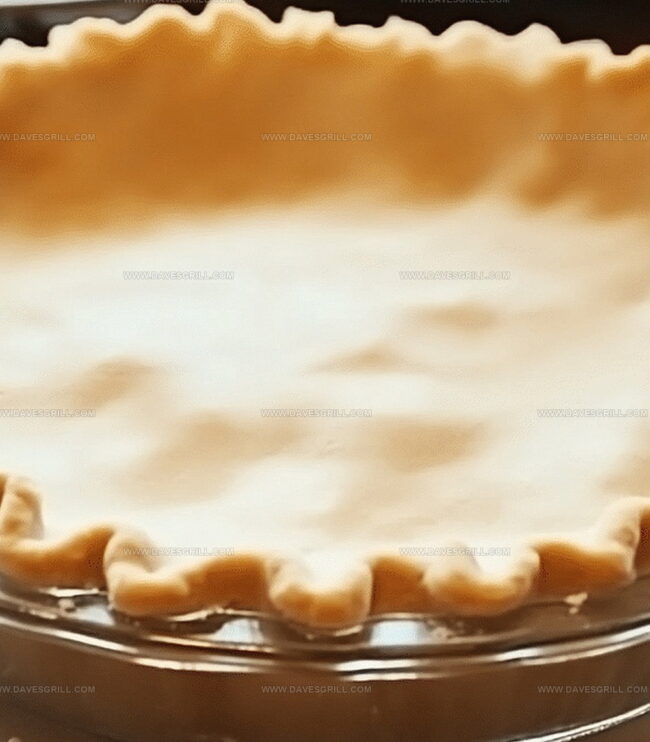
Dust your work surface with flour and roll out one dough disk until thin and wide enough to cover your pie dish. Carefully transfer to the dish, pressing softly to fit. Trim edges neatly, leaving a little extra if you’re adding a top layer.
Pour in your chosen filling, top with the second crust if desired. Pinch edges together and slice a few small breathing holes on top. Follow your specific recipe’s baking instructions for a perfect golden finish.
Tips Passed Down for Perfect Crust Every Time
Serve Your Pie with That Homemade Touch
Store Pie Dough and Keep It Chill
FAQs
Cold butter helps create flaky layers by preventing the fat from fully blending into the flour. When cold butter hits the hot oven, it creates steam pockets that result in a light, tender crust.
The dough should look like coarse crumbs with some pea-sized butter pieces. When you press it together, it should hold without crumbling but not be sticky or smooth like cookie dough.
Yes, you can prepare the dough and refrigerate it for up to 2 days before using. You can also freeze the dough disks for up to 3 months, which is great for advanced meal prep.
Add ice water very slowly, one tablespoon at a time. Mix gently until the dough just comes together. Overworking can make the crust tough, so stop as soon as it holds together.
Print
Flaky Ruths Grandmas Pie Crust Recipe
- Total Time: 1 hour 15 minutes
- Yield: 9 1x
Description
Grandma’s classic pie crust, known as Ruth’s Grandmas Pie Crust, delivers flaky, buttery perfection passed down through generations. Bakers can create this simple yet delicious pastry with just a few pantry ingredients and minimal preparation time.
Ingredients
- 1 ¼ cups (315 g) all-purpose flour
- 1 cup (225 g) cold unsalted butter
- ¼–½ cup (60–120 ml or 2–4 fl oz) ice water
- 1 tsp salt
- 1 tbsp granulated sugar (optional, for sweet pies)
Instructions
- Dry Ingredient Fusion: Whisk flour, salt, and optional sugar in a spacious mixing bowl, ensuring uniform distribution of dry components.
- Butter Integration: Incorporate chilled butter into the flour mixture using a pastry cutter or fingertips until the texture resembles coarse, gravelly crumbs with occasional pea-sized butter fragments.
- Dough Consolidation: Gradually introduce ice-cold water, folding gently until the dough coheres without excessive manipulation. Compress to test structural integrity.
- Dough Preparation: Divide the dough into two equal disks, wrap individually in plastic, and refrigerate for 60 minutes to 48 hours to enhance flavor and texture.
- Crust Shaping: Roll one dough disk to 1/8-inch thickness on a lightly floured surface, carefully transferring to the pie dish. Press gently to conform to the dish’s contours, trimming excess edges.
- Filling and Sealing: Add desired filling, and if using a double crust, roll the second disk and drape over the filling. Crimp edges to create a tight seal, and score small vents for steam release.
- Baking Finalization: Bake according to the specific recipe’s temperature and time guidelines, watching for a golden-brown finish that signals perfect doneness.
Notes
Chill Ingredients Strategically: Keep butter and water extremely cold to guarantee a flaky, tender pie crust with perfect layered texture.
Handle Dough Minimally: Use light, gentle touches when mixing and rolling to prevent gluten development, which can make the crust tough and dense.
Customize Dough Flexibility: Experiment with half butter, half shortening for enhanced flakiness or substitute part whole wheat flour for nutty, rustic flavor profile.
Master Moisture Balance: Add water gradually and stop mixing immediately when dough just begins to hold together, preventing potential dry or overly wet consistency.
- Prep Time: 15 minutes
- Cook Time: 1 hour
- Category: Desserts
- Method: Baking
- Cuisine: American
Nutrition
- Serving Size: 9
- Calories: 282
- Sugar: 2 g
- Sodium: 170 mg
- Fat: 20 g
- Saturated Fat: 12 g
- Unsaturated Fat: 8 g
- Trans Fat: 0 g
- Carbohydrates: 24 g
- Fiber: 1 g
- Protein: 3 g
- Cholesterol: 40 mg
Emily Lawson
Content Creator & Culinary Specialist
Expertise
Education
Oregon Culinary Institute
Diploma in Culinary Arts
Focus: Emphasis on farm-to-table cooking, sustainable practices, and the fusion of global flavors with traditional grilling methods.
Emily Lawson is the content creator at Daves Grill, turning tasty ideas into clear, easy recipes. Based in Portland, she trained at the Oregon Culinary Institute and loves cooking with fresh, seasonal ingredients, especially grilled veggies and global flavors.
Emily mixes food writing with hands-on cooking to bring you recipes that feel fun, not stressful. Her goal is to make every dish simple, flavorful, and worth coming back to. Together, she and Dave serve up real food, one recipe at a time.