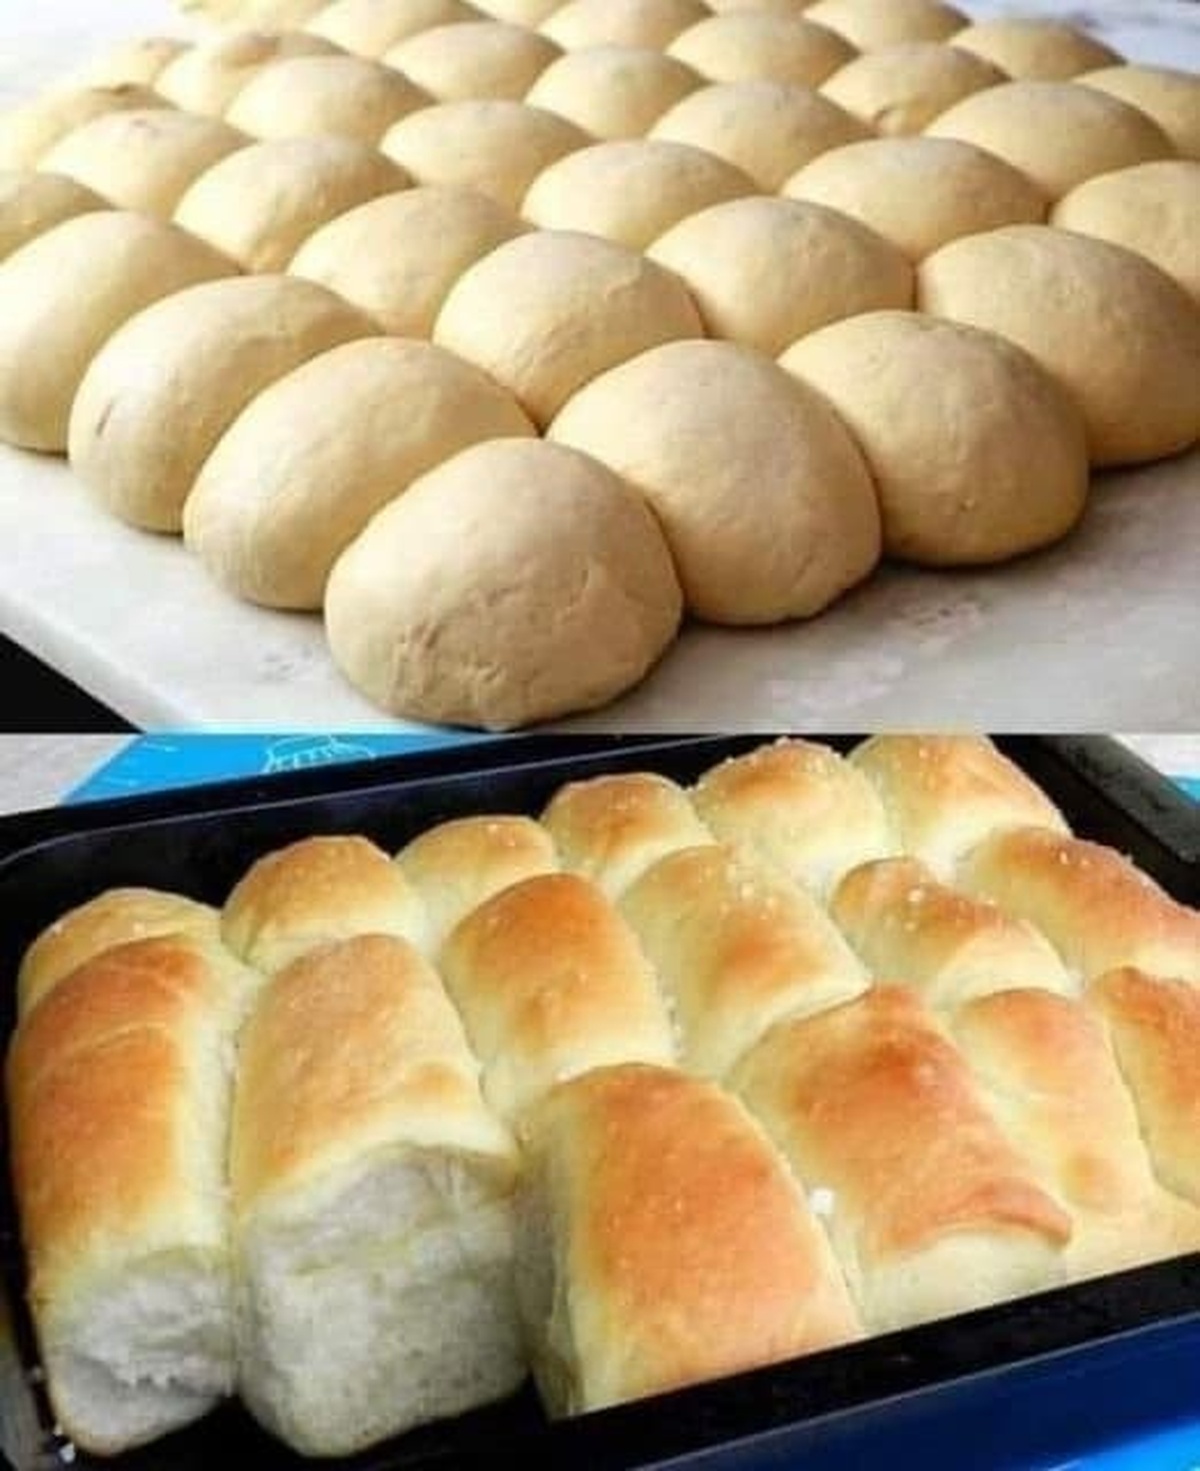
Bread Rolls Recipe Soft Airy Cloud-Like Magic
Crafting these delightful bread rolls will transport you to a world of soft, pillowy goodness.
Warm kitchens often buzz with the magic of homemade comfort.
My grandmother’s secret technique involves gentle kneading and patience.
Bread making connects us to generations of culinary traditions.
The aroma of freshly baked rolls promises pure delight.
Each bite promises a delicate, melt-in-your-mouth experience that feels like a warm embrace.
Invite friends to share this simple yet extraordinary culinary adventure.
Why Fluffiest Bread Rolls Belong on Every Dinner Table
Must-Have Ingredients for the Fluffiest Bread Rolls
Leavening Agents:Flour and Liquid Base:Binding and Flavor Ingredients:Steps for Baking the Fluffiest Bread Rolls Ever
Step 1: Awaken The Yeast
Combine warm water, sugar, and yeast in a large mixing bowl. Allow the mixture to rest and transform into a creamy, bubbly liquid. The yeast will become active and start creating magical rising power.
Step 2: Create Dough Foundation
Combine ingredients:Mix thoroughly into the yeast mixture. Gradually incorporate additional flour until the dough separates cleanly from the bowl’s sides.
Step 3: Knead With Love
Transfer dough onto a lightly floured surface. Work the dough passionately with your hands, stretching and folding for approximately 8 minutes. The dough should become smooth and springy, developing strong gluten networks.
Step 4: First Rising Adventure
Lightly coat a clean bowl with oil. Place dough inside, turning to ensure complete coverage. Cover with a soft, damp cloth. Position in a warm, draft-free location. Allow dough to expand and double in size over roughly one hour.
Step 5: Shape Beautiful Rolls
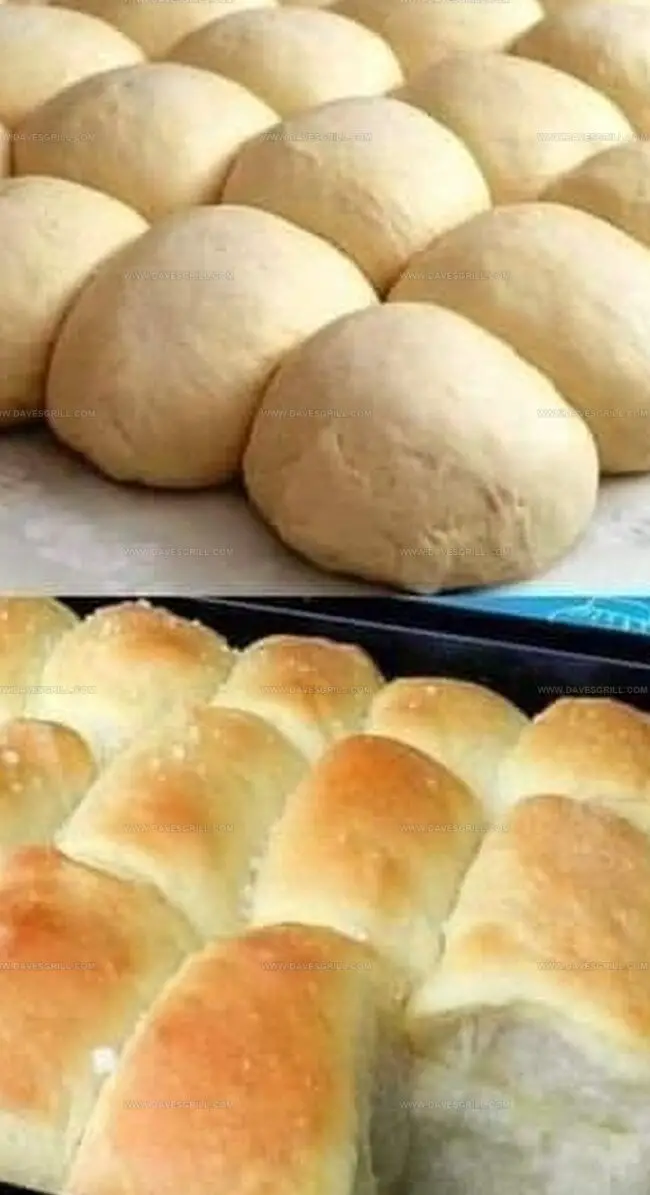
Gently deflate the risen dough. Place on a floured surface. Divide into 16 equal portions. Roll each piece into a perfect round ball, creating uniform shapes.
Step 6: Second Rising Transformation
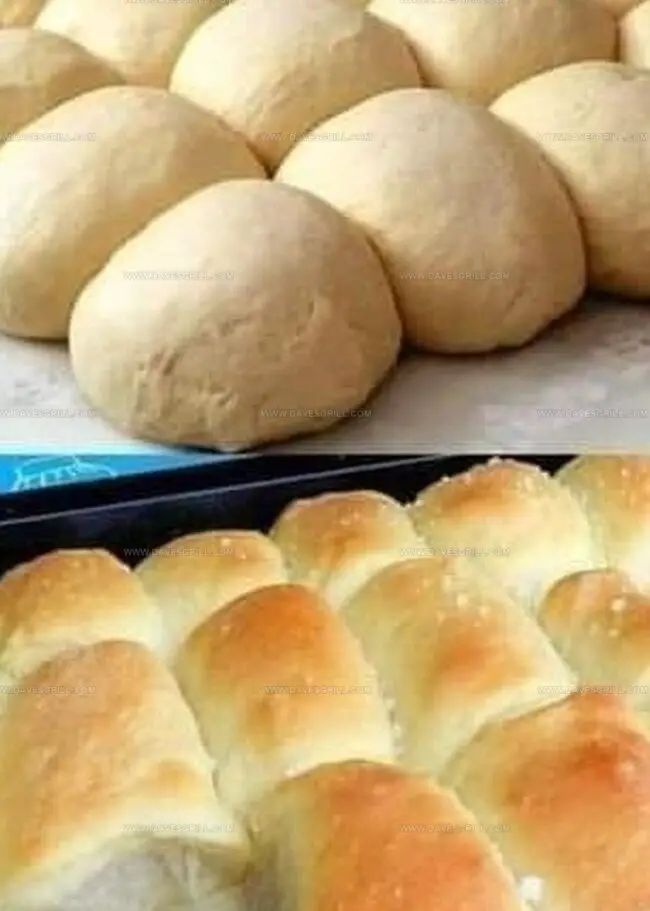
Arrange dough balls on greased baking sheets, maintaining 2-inch spacing. Cover with a damp cloth. Let rolls rise again until they double in volume, approximately 40 minutes.
Step 7: Bake To Golden Perfection
Preheat oven to 400 Fahrenheit (200 Celsius). Slide baking sheets into the oven. Bake until rolls transform into beautiful golden-brown treasures, around 18-20 minutes.
These incredibly soft rolls will melt in your mouth, perfect alongside soups, salads, or enjoyed with a generous spread of butter.
Tips for Keeping Bread Rolls Light and Airy
How to Store and Reheat Fluffiest Bread Rolls
Perfect Pairings for Fluffiest Bread Rolls
Tasty Twists on Traditional Bread Rolls
Print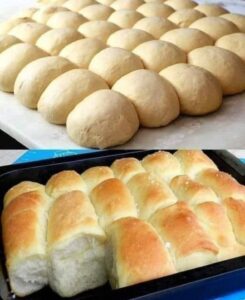
Fluffiest Bread Rolls Recipe
- Total Time: 33 minutes
- Yield: 12 1x
Description
Homemade Fluffiest Bread Rolls elevate any meal with their pillowy texture and golden-brown crust. Warm, inviting aromas fill kitchens while simple ingredients create a comforting classic you’ll crave again and again.
Ingredients
Main Ingredients:
- 4 cups (480 grams) all-purpose flour
- 1 large egg
- 1 cup (240 milliliters) warm milk
- ¼ cup (57 grams) unsalted butter, melted
Yeast and Sweeteners:
- 1 packet (2 ¼ teaspoons) active dry yeast
- ¼ cup (50 grams) granulated sugar
Seasoning:
- 1 teaspoon salt
- 2 tablespoons butter, melted (for brushing on top)
Instructions
- Awaken the yeast’s potential by combining warm water, sugar, and active dry yeast in a spacious mixing vessel. Allow the mixture to rest and transform into a creamy, bubbling concoction, signaling the yeast’s activation and readiness.
- Integrate the initial flour, vegetable oil, and salt into the effervescent yeast base. Methodically incorporate the remaining flour, blending until the dough separates cleanly from the bowl’s interior, creating a cohesive and promising mixture.
- Transfer the nascent dough onto a lightly dusted work surface. Engage in a rhythmic kneading process, working the dough for approximately 8-10 minutes until it achieves a silky-smooth consistency and elastic resilience.
- Delicately massage a thin layer of oil inside a large bowl, nestling the kneaded dough within and rotating to ensure a complete coating. Drape a moistened cloth over the bowl, positioning it in a warm, draft-free environment to encourage expansive rising.
- After the dough has luxuriously doubled in volume, gently deflate it and redistribute onto a flour-sprinkled workspace. Decisively partition the dough into 16 uniform segments, sculpting each into perfect spherical shapes with gentle, precise movements.
- Arrange the dough orbs on lightly greased baking surfaces, maintaining generous spacing to allow for independent expansion. Loosely cover with a dampened cloth, permitting a second, transformative rising period.
- Calibrate the oven to 400F (200C), creating an ideal thermal environment. Slide the anticipatory rolls into the heated chamber, allowing them to metamorphose into golden-hued, crusty delicacies over 18-20 minutes of careful baking.
Notes
- Ensure water temperature is between 100-110°F for optimal yeast activation, preventing killing or under-activation of yeast.
- Use bread flour for higher protein content, creating more gluten and resulting in softer, more elastic rolls.
- Allow rolls to cool on a wire rack to prevent bottom sogginess and maintain crisp exterior.
- Customize rolls by adding herbs like rosemary or thyme to the dough for extra flavor complexity.
- Prep Time: 15 minutes
- Cook Time: 18 minutes
- Category: Snacks, Dinner
- Method: Baking
- Cuisine: American
Nutrition
- Serving Size: 12
- Calories: 180
- Sugar: 5 g
- Sodium: 150 mg
- Fat: 7 g
- Saturated Fat: 4 g
- Unsaturated Fat: 2 g
- Trans Fat: 0 g
- Carbohydrates: 25 g
- Fiber: 1 g
- Protein: 4 g
- Cholesterol: 30 mg
Dave Mitchell
Founder & Chief Recipe Developer
Expertise
Education
Asheville-Buncombe Technical Community College
Associate of Applied Science in Culinary Arts
Focus: Comprehensive training in culinary techniques, kitchen management, and menu planning, with a special emphasis on grilling and outdoor cooking.
Dave Mitchell is the heart behind Daves Grill, a cook, writer, and lover of all things grilled. He studied Culinary Arts at Asheville-Buncombe Technical Community College and spent years cooking, testing, and sharing recipes that actually work.
Dave started Daves Grill to keep things simple: one great recipe at a time. His food is bold, easy to follow, and made for real people with regular kitchens. From juicy steaks to quick sides, Dave’s recipes bring the heat without the hassle.