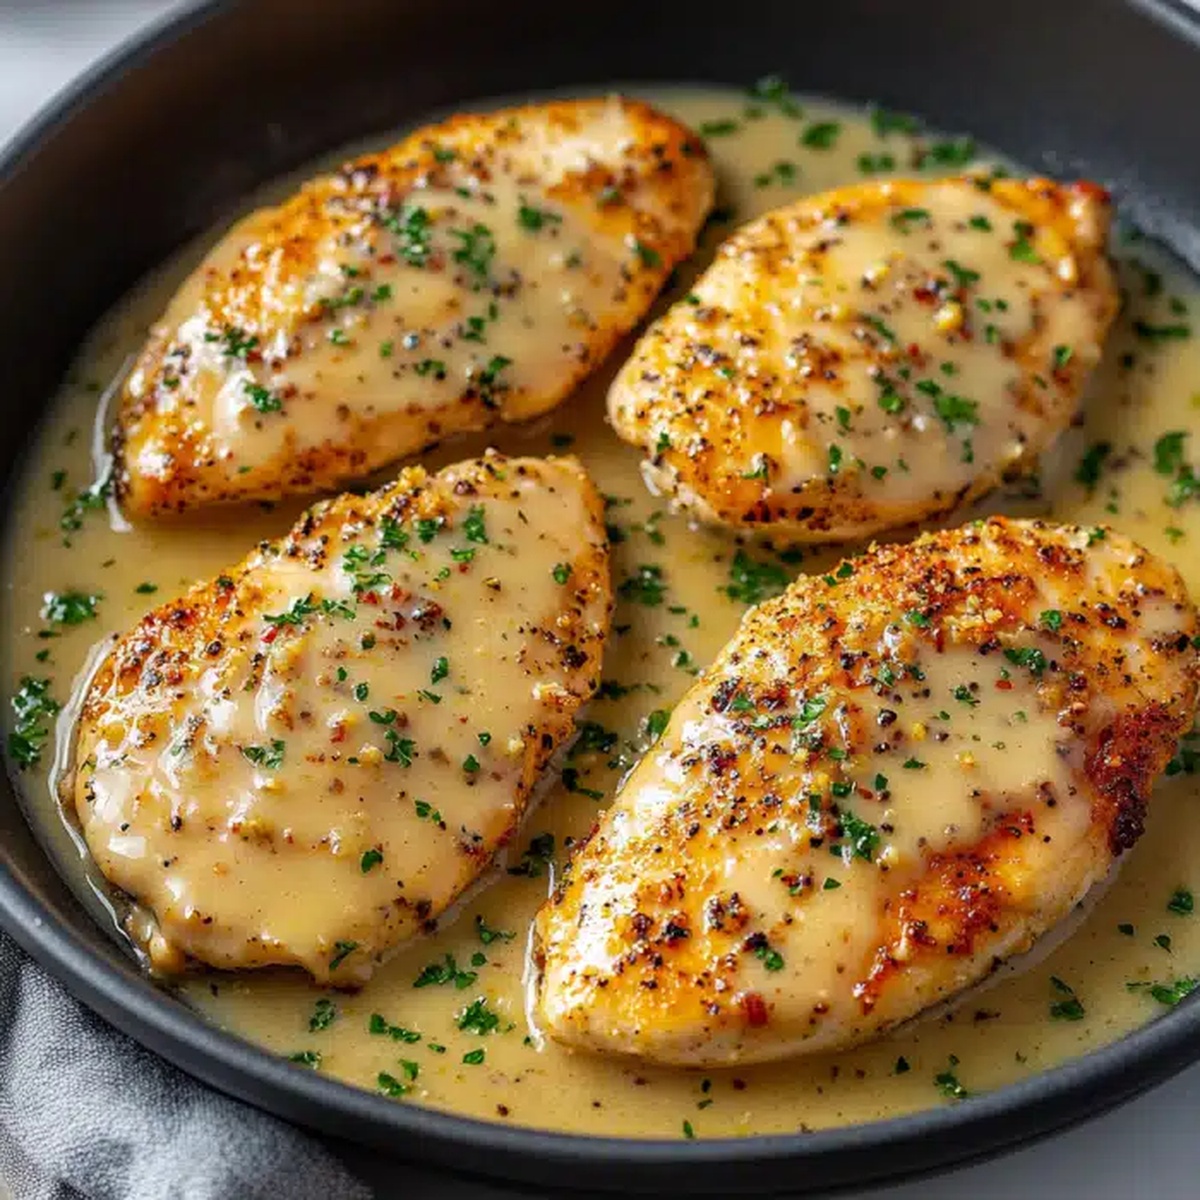
Crispy, golden chicken with a parmesan garlic coating promises to become your new weeknight favorite.
Weeknight dinners demand something special that doesn’t consume hours in the kitchen.
Cheese and herbs create a magical combination that turns simple ingredients into restaurant-quality magic.
Home cooks adore simple techniques that produce incredible flavor without complicated steps.
Each bite delivers a perfect balance of crunchy exterior and tender meat inside.
Professional chefs know this method guarantees consistent deliciousness every single time.
The secret lies in selecting quality ingredients and mastering straightforward cooking techniques.
Dive into this mouthwatering recipe that will have everyone asking for seconds.
Garlic Parmesan Chicken: What Keeps It on Repeat
The simple coating of Parmesan, breadcrumbs, and herbs creates an irresistibly crispy exterior that locks in moisture, guaranteeing juicy chicken every single time.
Kids and adults alike will love the familiar, cheesy flavors that transform ordinary chicken into a restaurant-worthy meal that everyone at the table will devour.
Serve alongside roasted vegetables, salad, or pasta for a complete dinner that works for casual family meals, date nights, or casual entertaining with friends.
What You’ll Need for Garlic Parmesan Chicken
Chicken and Protein Base:
Chicken Breasts: Lean protein with mild flavor, perfect for absorbing seasoning.
Coating and Flavor Enhancers:
Parmesan Cheese: Adds sharp, salty taste and helps create a crispy exterior.
Breadcrumbs: Creates crunchy coating and helps seal in chicken moisture.
Olive Oil: Helps breadcrumb mixture stick to chicken and provides richness.
Herbs and Seasonings:
Garlic, Dried Oregano, Dried Basil: Classic Italian herb combination for deep, aromatic flavor.
Salt, Black Pepper: Essential seasoning for enhancing overall taste.
Fresh Parsley: Optional garnish that adds bright color and fresh herbal note.
How to Cook Garlic Parmesan Chicken the Way
Step 1: Fire Up the Oven
Crank the oven to 375F (190C). Get it sizzling hot and ready for some delicious chicken magic.
Step 2: Create Flavor Explosion Coating
Grab a mixing bowl and combine:
Grated Parmesan cheese
Breadcrumbs
Minced garlic
Dried oregano
Dried basil
Salt
Black pepper
Stir everything together until the ingredients dance and mingle perfectly.
Step 3: Massage Chicken with Love
Drizzle olive oil over each chicken breast, giving it a luxurious coating. This helps the seasoning stick like a best friend. Press each piece into the Parmesan mixture, making sure every inch gets covered in flavor.
Step 4: Bake to Golden Perfection
Spread chicken on a parchment-lined baking sheet. Slide into the preheated oven and bake for 25-30 minutes. Listen for the sizzle and watch for a gorgeous golden-brown crust. Check that the internal temperature hits 165F (74C)- this means your chicken is safe and scrumptious.
Step 5: Dress and Impress
Pull the chicken out and let it rest for a few moments. Sprinkle fresh chopped parsley on top for a pop of color and extra freshness. Slice, serve, and watch everyone’s eyes light up with excitement.
Tips to Nail Garlic Parmesan Chicken
Olive Oil Trick: Brush chicken breasts generously with olive oil to create a perfect sticky surface for the breadcrumb mixture, ensuring maximum coating and flavor.
Temperature Precision: Use a meat thermometer to check chicken’s internal temperature hits exactly 165F (74C), guaranteeing safe and juicy meat without overcooking.
Breadcrumb Customization: Swap regular breadcrumbs with gluten-free alternatives for those with dietary restrictions, maintaining the same crispy texture and delicious taste.
Herb Enhancement: Experiment with fresh herbs like thyme or rosemary instead of dried herbs to elevate the chicken’s aromatic profile and add more depth to the dish.
Cheese Variation: Replace Parmesan with pecorino romano or nutritional yeast for different flavor profiles, accommodating various taste preferences and dietary needs.
How to Store Garlic Parmesan Chicken Properly
Store leftover chicken in an airtight container within 2 hours of cooking, keeping it fresh for 3-4 days in the refrigerator.
Wrap individual chicken pieces tightly in plastic wrap, then place in a freezer-safe bag, which preserves quality for up to 3 months.
Restore crispiness by placing chicken on a baking sheet, covering loosely with foil, and warming at 350F for 10-15 minutes until heated through.
Reheat in short 30-second intervals, checking temperature to prevent drying out, ensuring the chicken remains moist and enjoyable.
Favorite Pairings for Garlic Parmesan Chicken
Choose a crisp Sauvignon Blanc or Pinot Grigio to complement the garlic and Parmesan flavors, cutting through the richness of the chicken’s cheesy coating.
Toss together mixed greens, cherry tomatoes, cucumber, and a light lemon vinaigrette to balance the savory chicken and add a fresh, bright element to the meal.
Prepare a colorful mix of roasted zucchini, bell peppers, and asparagus with a drizzle of olive oil and herbs to enhance the Italian-inspired profile of the dish.
Cook quinoa with chicken broth, mix in fresh herbs like parsley and thyme, creating a nutritious and flavorful base that perfectly absorbs the chicken’s delicious coating.
New Twists on Garlic Parmesan Chicken
Gluten-Free Option: Replace traditional breadcrumbs with crushed gluten-free crackers or almond flour for a celiac-friendly version that maintains the crispy coating and flavor profile.
Herb-Infused Variation: Swap dried herbs with fresh rosemary, thyme, or a blend of fresh Mediterranean herbs to elevate the chicken’s aromatic quality and provide a more vibrant taste.
Low-Carb Adaptation: Use crushed pork rinds or finely ground nuts instead of breadcrumbs to create a keto-friendly coating that reduces carbohydrate content while keeping the signature crunch.
Spicy Kick Version: Add cayenne pepper, red pepper flakes, or smoked paprika to the Parmesan coating for those who enjoy a more intense and fiery flavor experience.
Asheville-Buncombe Technical Community College Associate of Applied Science in Culinary Arts Focus: Comprehensive training in culinary techniques, kitchen management, and menu planning, with a special emphasis on grilling and outdoor cooking.
Dave Mitchell is the heart behind Daves Grill, a cook, writer, and lover of all things grilled. He studied Culinary Arts at Asheville-Buncombe Technical Community College and spent years cooking, testing, and sharing recipes that actually work.
Dave started Daves Grill to keep things simple: one great recipe at a time. His food is bold, easy to follow, and made for real people with regular kitchens. From juicy steaks to quick sides, Dave’s recipes bring the heat without the hassle.
Dave Mitchell
Founder & Chief Recipe Developer
Expertise
Education
Asheville-Buncombe Technical Community College
Associate of Applied Science in Culinary Arts
Focus: Comprehensive training in culinary techniques, kitchen management, and menu planning, with a special emphasis on grilling and outdoor cooking.
Dave Mitchell is the heart behind Daves Grill, a cook, writer, and lover of all things grilled. He studied Culinary Arts at Asheville-Buncombe Technical Community College and spent years cooking, testing, and sharing recipes that actually work.
Dave started Daves Grill to keep things simple: one great recipe at a time. His food is bold, easy to follow, and made for real people with regular kitchens. From juicy steaks to quick sides, Dave’s recipes bring the heat without the hassle.