Heavenly Gooey Baked Brie with Honey and Nuts Recipe
Warm, creamy brie melts effortlessly with drizzled honey and crunchy nuts in this irresistible appetizer.
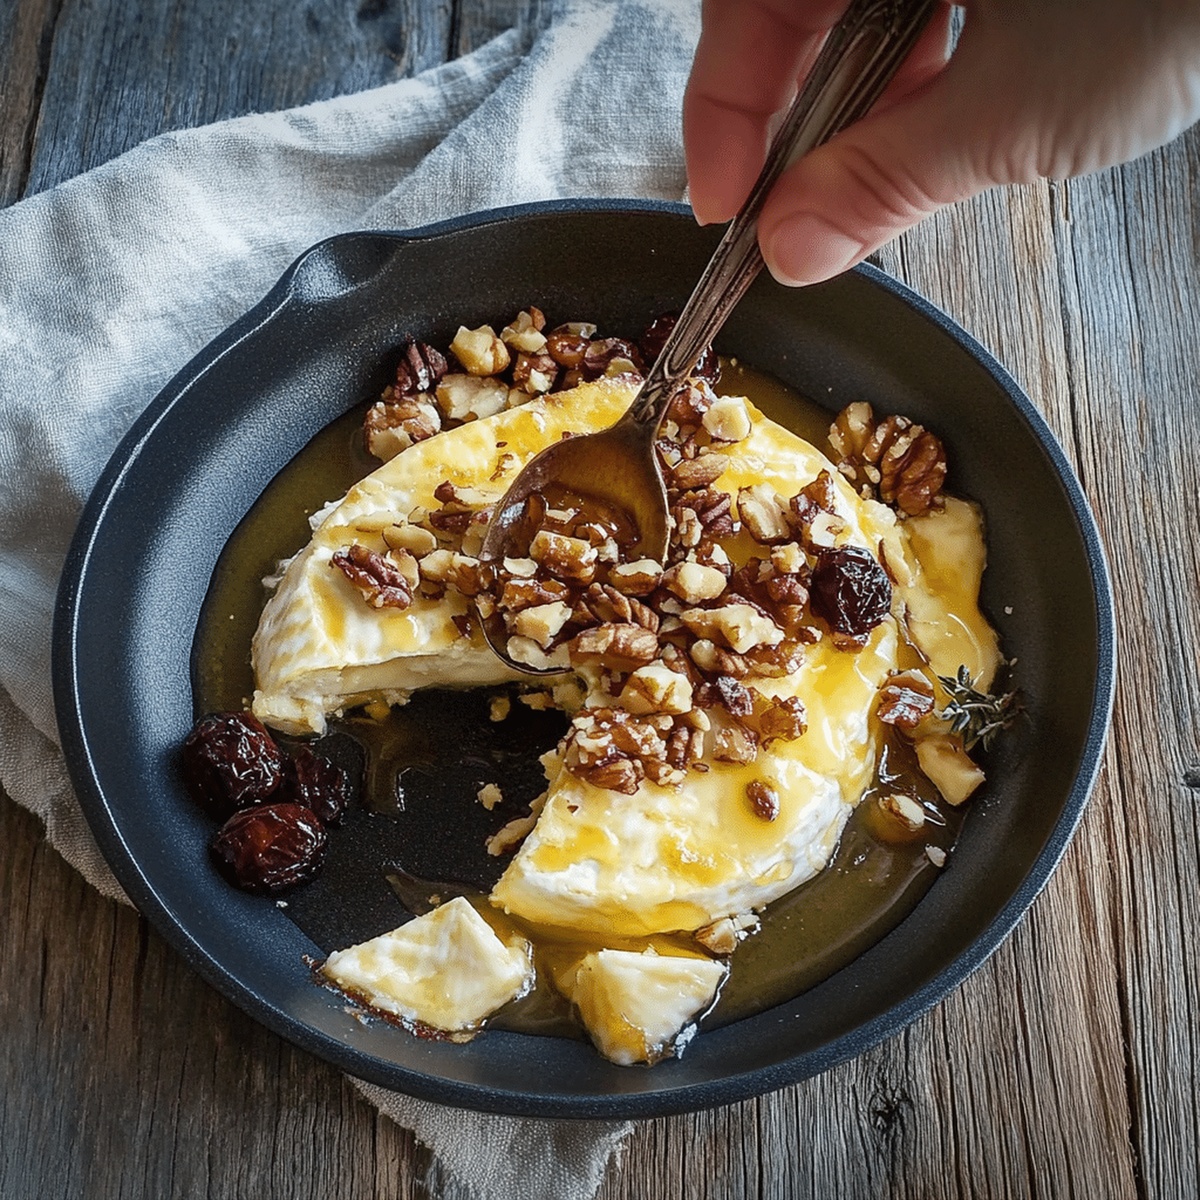
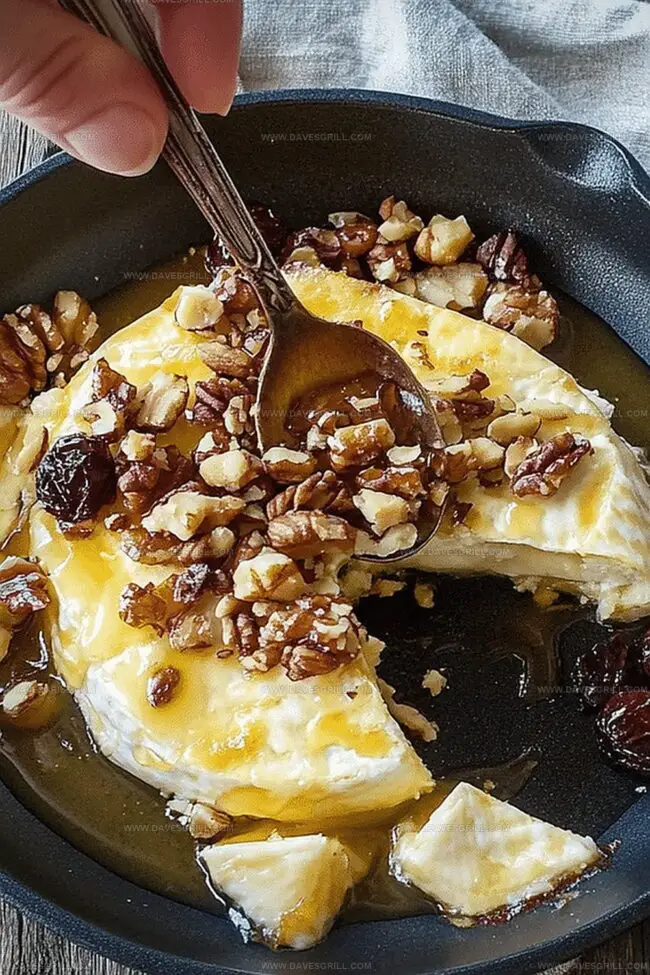
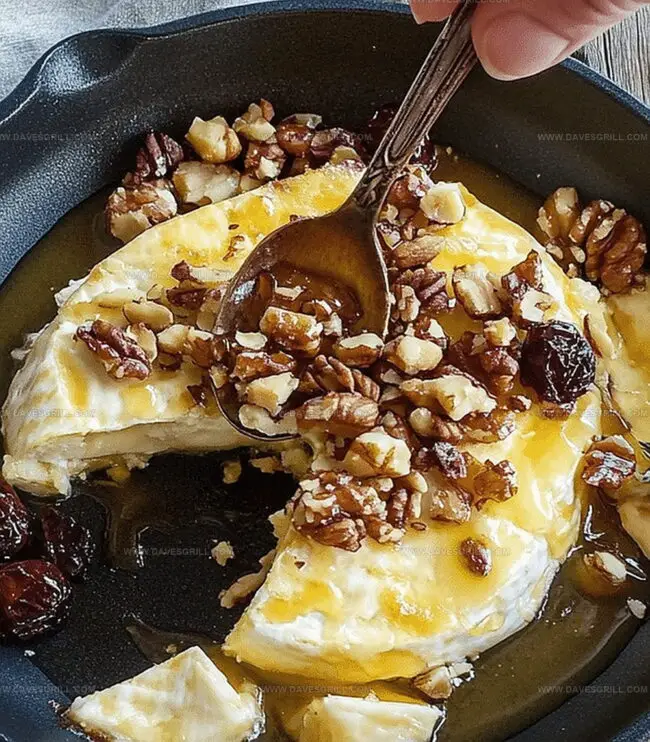
The golden-brown exterior gives way to a decadent molten center that promises pure indulgence.
Cheese lovers will swoon over this simple yet elegant dish that requires minimal effort.
Crusty bread or crisp crackers make the perfect companion for scooping up every delicious bite.
Nuts add a delightful crunch that contrasts beautifully with the smooth, rich cheese.
This recipe transforms an ordinary cheese board into a stunning centerpiece that sparks conversation.
Prepare to dazzle your guests with a starter that feels luxurious yet wonderfully approachable.
Quick Recipe Overview
What You Need for Baked Brie with Honey and Nuts
For Cheese Base:For Nutty Crunch Topping:For Flavor Enhancers:For Serving Companions:Tools That Help Bake Brie to Gooey
How to Prepare Baked Brie with Honey and Nuts
Crank your oven to a toasty 350 degrees, getting it ready for some cheesy.
Carefully place your Brie on a parchment-lined baking sheet, gently scoring the top with delicate crosshatch marks to help it melt beautifully.
Dance those chopped nuts around in a skillet, letting them release their rich, aromatic flavors until they turn a gorgeous golden brown.
Blend the toasted nuts with a drizzle of golden honey, mixing until everything is delightfully coated and glossy.
Lavish the nutty honey mixture over the Brie, then slide it into the waiting oven for about 15-20 minutes until it becomes soft and irresistibly gooey.
Pull out your molten masterpiece, let it rest for a moment, then drizzle with extra honey and maybe some fresh herbs for a stunning presentation. Grab some crispy crackers or crusty bread and dive in while it’s warm and inviting.
Tips to Enhance Sweet and Savory Brie Flavor
Serve Baked Brie Warm with Crackers or Bread
Store Baked Brie for the Next Gathering
FAQs
Pecans, almonds, and walnuts are excellent choices. They add crunch and rich flavor that complements the creamy Brie perfectly.
Absolutely! Wildflower, clover, or lavender honey all work wonderfully. Each variety brings a unique subtle sweetness to the dish.
Look for a soft, slightly puffy appearance and edges that start to melt. The cheese should be warm and gooey but not completely liquefied.
Yes, the rind is edible and adds texture. Scoring the top helps the cheese melt evenly and allows the toppings to penetrate the cheese.
Print
Gooey Baked Brie With Honey And Nuts Recipe
- Total Time: 25 minutes
- Yield: 7 1x
Description
Baked brie with honey and nuts delivers a luxurious appetizer straight from French culinary traditions. Creamy cheese melts beneath a golden crust of chopped nuts, inviting guests to savor each rich, warm bite.
Ingredients
- 1 (8 oz/226 g) wheel of brie cheese
- ¼ cup chopped nuts (walnuts, pecans, or pistachios)
- 2 tbsps chopped dried fruits (apricots, figs, or cranberries)
- 2 tbsps honey, plus extra for drizzling
- Optional fresh rosemary or thyme sprigs for garnish
- Crackers
- Sliced baguette
- Apple slices
Instructions
- Preparation: Warm the oven to 350F (175C) and position a parchment-lined baking sheet for the Brie.
- Surface Scoring: Delicately craft a crosshatch pattern on the Brie’s rind using a sharp knife, taking care not to penetrate too deeply.
- Nut Roasting: Toast chopped nuts in a skillet over medium heat, stirring until they develop a golden hue and release an enticing aroma.
- Flavor Fusion: Blend toasted nuts, dried fruits, and honey in a bowl, ensuring each ingredient is thoroughly coated with the golden nectar.
- Cheese Dressing: Lavishly spread the honey-infused nut and fruit mixture across the scored Brie surface.
- Baking and Melting: Slide the prepared Brie into the preheated oven, baking for 15-20 minutes until the cheese softens and begins to melt luxuriously.
- Finishing Touches: Remove from oven and let rest briefly, then embellish with an extra honey drizzle and delicate herb garnish.
- Serving: Present immediately with crackers, baguette slices, or apple wedges, creating an irresistible appetizer experience.
Notes
- Select Quality Cheese: Choose a high-quality, ripe Brie wheel at room temperature for optimal melting and creamy texture.
- Master Scoring Technique: Score the Brie’s surface gently to prevent ripping the rind, allowing even heat distribution and beautiful presentation.
- Control Nut Toasting: Toast nuts carefully to prevent burning, watching for a golden-brown color and releasing a rich, nutty aroma without scorching.
- Manage Baking Time: Monitor Brie closely during baking to achieve a perfectly soft, molten center without completely liquefying the cheese.
- Prep Time: 10 minutes
- Cook Time: 15 minutes
- Category: Appetizer, Snacks
- Method: Baking
- Cuisine: French
Nutrition
- Serving Size: 7
- Calories: 200
- Sugar: 9 g
- Sodium: 250 mg
- Fat: 16 g
- Saturated Fat: 8 g
- Unsaturated Fat: 6 g
- Trans Fat: 0 g
- Carbohydrates: 14 g
- Fiber: 1 g
- Protein: 7 g
- Cholesterol: 30 mg
Emily Lawson
Content Creator & Culinary Specialist
Expertise
Education
Oregon Culinary Institute
Diploma in Culinary Arts
Focus: Emphasis on farm-to-table cooking, sustainable practices, and the fusion of global flavors with traditional grilling methods.
Emily Lawson is the content creator at Daves Grill, turning tasty ideas into clear, easy recipes. Based in Portland, she trained at the Oregon Culinary Institute and loves cooking with fresh, seasonal ingredients, especially grilled veggies and global flavors.
Emily mixes food writing with hands-on cooking to bring you recipes that feel fun, not stressful. Her goal is to make every dish simple, flavorful, and worth coming back to. Together, she and Dave serve up real food, one recipe at a time.