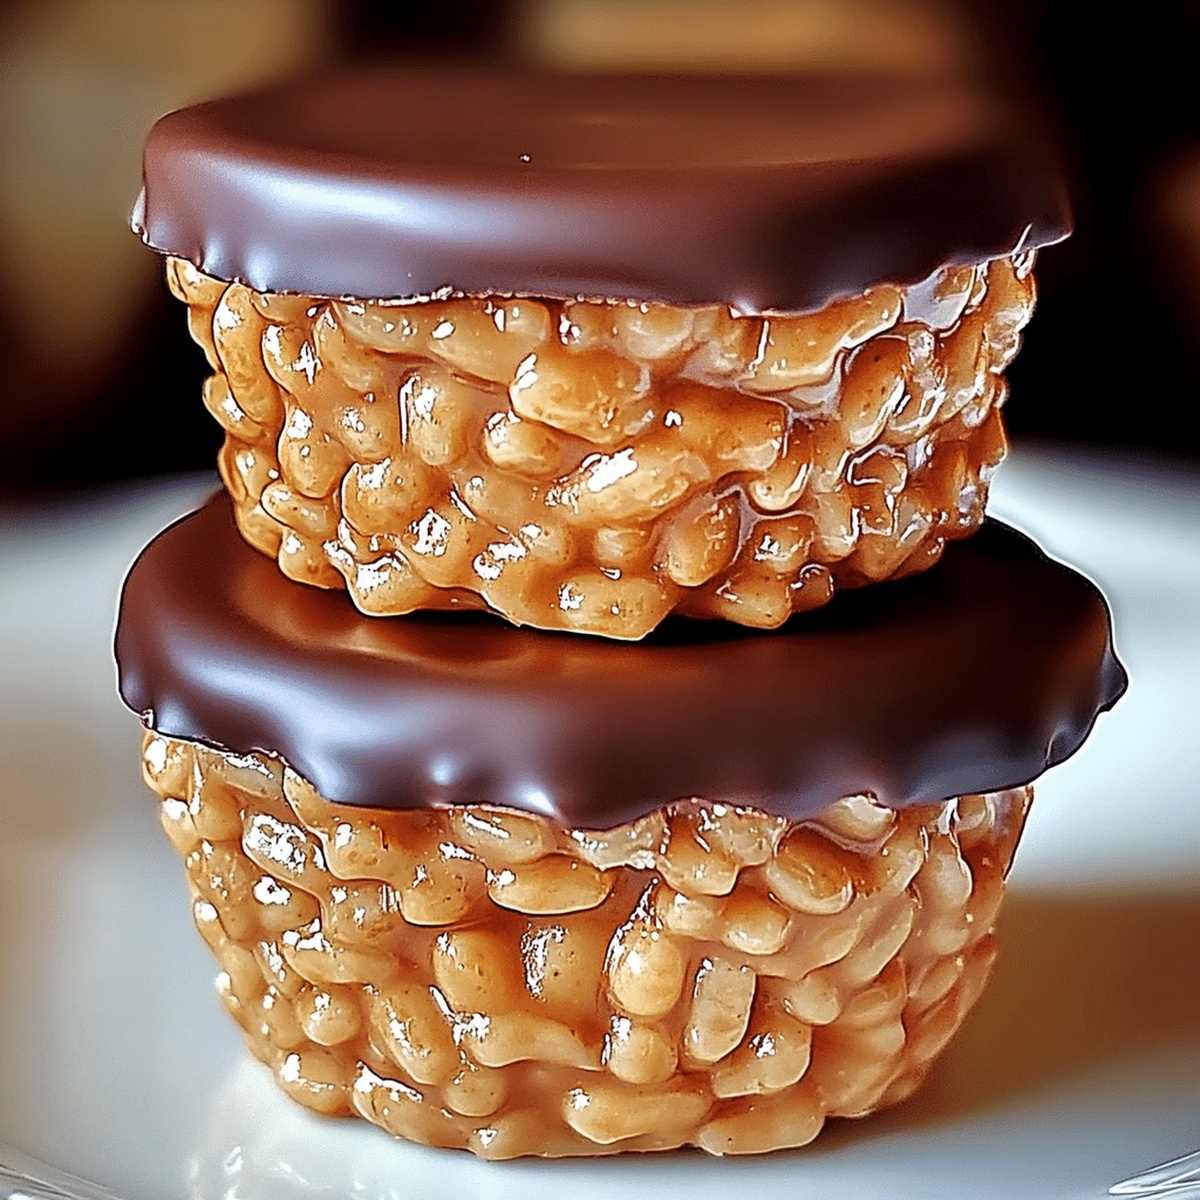
Irresistible Gooey Chocolate Peanut Butter Rice Krispie Cups Recipe
Melted chocolate and creamy peanut butter dance together in these irresistible chocolate peanut butter rice krispie cups that promise pure indulgence.
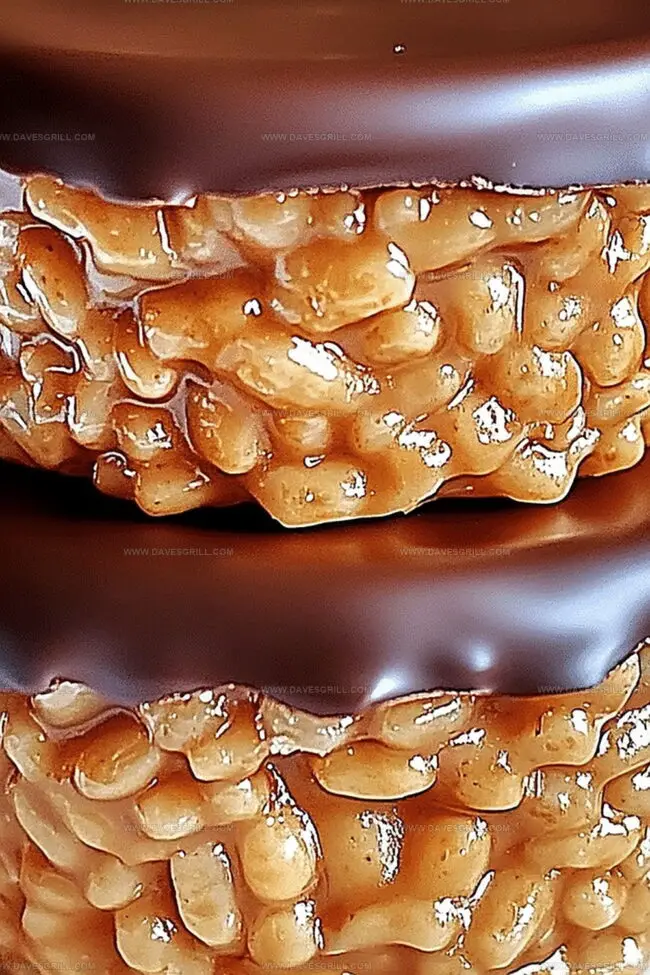
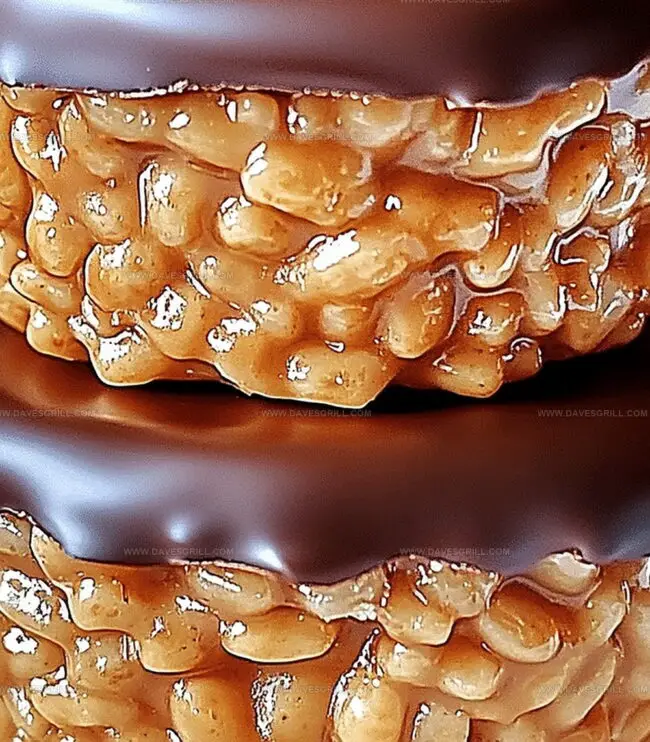
Sweet kernels of crispy rice nestle between layers of rich, decadent chocolate and smooth peanut butter.
The treat combines classic comfort with gourmet flair, delivering a perfect balance of textures and flavors.
Each bite offers a delightful crunch followed by a silky, melt-in-your-mouth experience.
No baking required means you can whip up this delectable dessert in minutes.
The recipe transforms simple ingredients into an extraordinary snack that will have everyone asking for seconds.
Prepare to be the star of any gathering with these mouthwatering, addictive cups that blend childhood nostalgia with grown-up sophistication.
Quick Recipe Overview
What’s Inside Chocolate PB Rice Krispie Cups
For Base Ingredients:For Chocolate Coating:For Optional Garnish:Tools That Make These Cups Neat and
How to Press and Chill Krispie Cups
Gently heat peanut butter and honey in a saucepan over medium heat. Stir until the mixture transforms into a silky, smooth consistency. Remove from heat after 2-3 minutes.
Pour Rice Krispies into the warm peanut butter blend. Fold carefully to ensure every crispy piece gets coated with the sweet, nutty mixture.
Place cupcake liners in a muffin tin. Carefully press the Rice Krispies mixture into each liner, creating a compact and sturdy base.
Use a microwave-safe bowl to transform chocolate chips into liquid gold. Zap in short bursts, stirring between each interval until the chocolate becomes perfectly smooth.
Generously cover the Rice Krispies bases with melted chocolate. Use a spoon to spread the chocolate evenly across each cup.
Slide the muffin tin into the refrigerator. Let the cups rest and set for about an hour until the chocolate becomes firm and delightful.
Carefully remove the cups from the tin. These decadent treats are ready to be devoured and enjoyed with friends or as a personal treat.
Flavor Tweaks for Sweet and Salty Balance
Ways to Serve These Mini Treats
Storage Tips That Maintain That Crunch
FAQs
Not automatically. Standard Rice Krispies contain gluten, so you’ll need to use a gluten-free rice cereal brand like Rice Krispies Gluten Free or similar alternative brands to make this recipe truly gluten-free.
Absolutely! You can swap peanut butter with almond butter, cashew butter, or sunflower seed butter. Each will provide a slightly different flavor profile while maintaining the recipe’s overall texture and consistency.
Always melt chocolate slowly and add a small amount of coconut oil, which helps create a smoother, more stable chocolate layer that’s less likely to crack when chilling. Ensure you’re not overheating the chocolate and stir frequently during melting.
Yes! This recipe is kid-friendly. Children can help mix the cereal with peanut butter, spoon the mixture into liners, and assist with spreading chocolate. Always supervise when working near heat or using the microwave.
Print
Gooey Chocolate Peanut Butter Rice Krispie Cups Recipe
- Total Time: 1 hour 15 minutes
- Yield: 13 1x
Description
Chocolate peanut butter rice krispie cups blend creamy chocolate with nutty peanut butter in a classic no-bake dessert. Crispy rice cereal provides delightful texture, while melted chocolate and smooth peanut butter create irresistible sweetness you’ll crave.
Ingredients
- 1 cup (175 g) chocolate chips (milk, dark, or semi-sweet)
- ¾ cup (180 g) peanut butter
- 3 cups (75 g) rice cereal
- ¼ cup (60 g) honey or maple syrup
- crushed peanuts
- sea salt flakes
Instructions
- Melt Blend: Combine peanut butter and honey in a saucepan, heating until the mixture transforms into a smooth, homogeneous liquid.
- Incorporate Cereal: Remove from heat and gently fold Rice Krispies into the warm mixture, ensuring complete and even coating of each crispy morsel.
- Shape Base: Transfer the cereal mixture into cupcake liners, firmly pressing to create a compact and uniform foundation for each delectable cup.
- Craft Chocolate Topping: Melt chocolate chips with coconut oil in the microwave, stirring between brief intervals to achieve a silky, glossy chocolate coating.
- Finish and Chill: Lavishly pour the molten chocolate over the Rice Krispies base, spreading evenly to completely enrobe each cup. Refrigerate for approximately one hour until fully set and firm.
- Serve: Carefully extract the chocolate peanut butter cups from the tin, presenting these indulgent treats ready to delight and satisfy sweet cravings.
Notes
Adjust Honey Consistency: Use room temperature honey for smoother mixing and prevent crystallization, ensuring a more uniform blend with peanut butter.
Control Melting Temperature: Melt chocolate chips slowly and carefully to prevent burning, using 15-second intervals and stirring between each microwave session for a perfect glossy texture.
Press Firmly for Stability: Apply consistent, gentle pressure when forming the Rice Krispie base to create compact, well-structured cups that hold their shape when eaten.
Consider Dietary Alternatives: Swap regular honey with maple syrup for vegan options, use dairy-free chocolate chips, or replace peanut butter with almond butter for different nutritional profiles and flavor variations.
- Prep Time: 15 minutes
- Cook Time: 1 hour
- Category: Snacks, Desserts
- Method: Blending
- Cuisine: American
Nutrition
- Serving Size: 13
- Calories: 210
- Sugar: 10 g
- Sodium: 75 mg
- Fat: 12 g
- Saturated Fat: 3 g
- Unsaturated Fat: 8 g
- Trans Fat: 0 g
- Carbohydrates: 24 g
- Fiber: 1 g
- Protein: 5 g
- Cholesterol: 0 mg
Emily Lawson
Content Creator & Culinary Specialist
Expertise
Education
Oregon Culinary Institute
Diploma in Culinary Arts
Focus: Emphasis on farm-to-table cooking, sustainable practices, and the fusion of global flavors with traditional grilling methods.
Emily Lawson is the content creator at Daves Grill, turning tasty ideas into clear, easy recipes. Based in Portland, she trained at the Oregon Culinary Institute and loves cooking with fresh, seasonal ingredients, especially grilled veggies and global flavors.
Emily mixes food writing with hands-on cooking to bring you recipes that feel fun, not stressful. Her goal is to make every dish simple, flavorful, and worth coming back to. Together, she and Dave serve up real food, one recipe at a time.