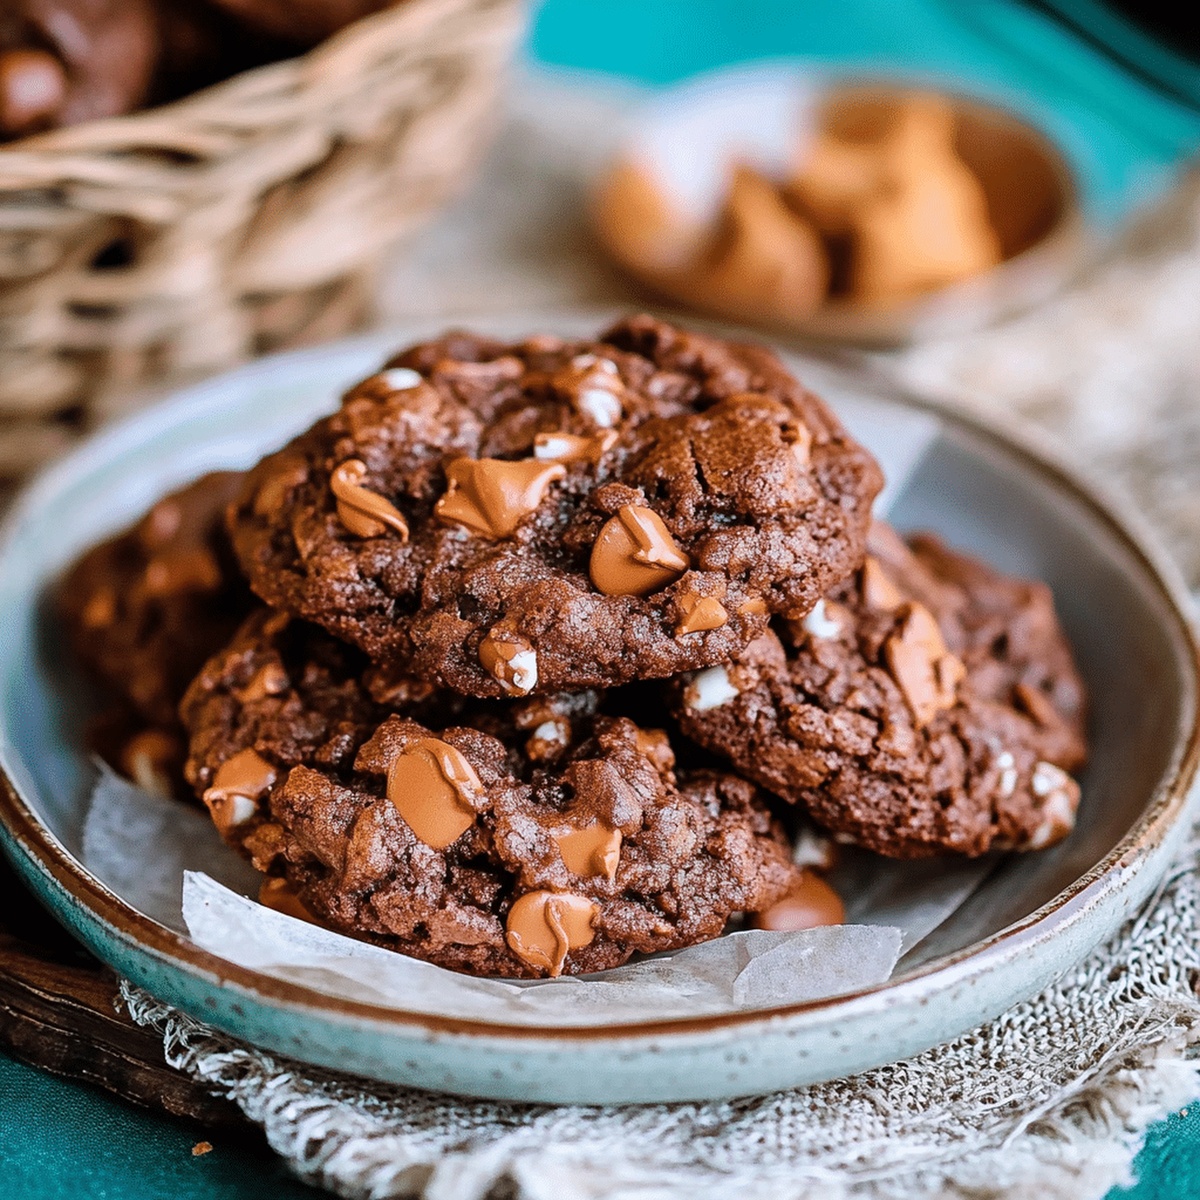
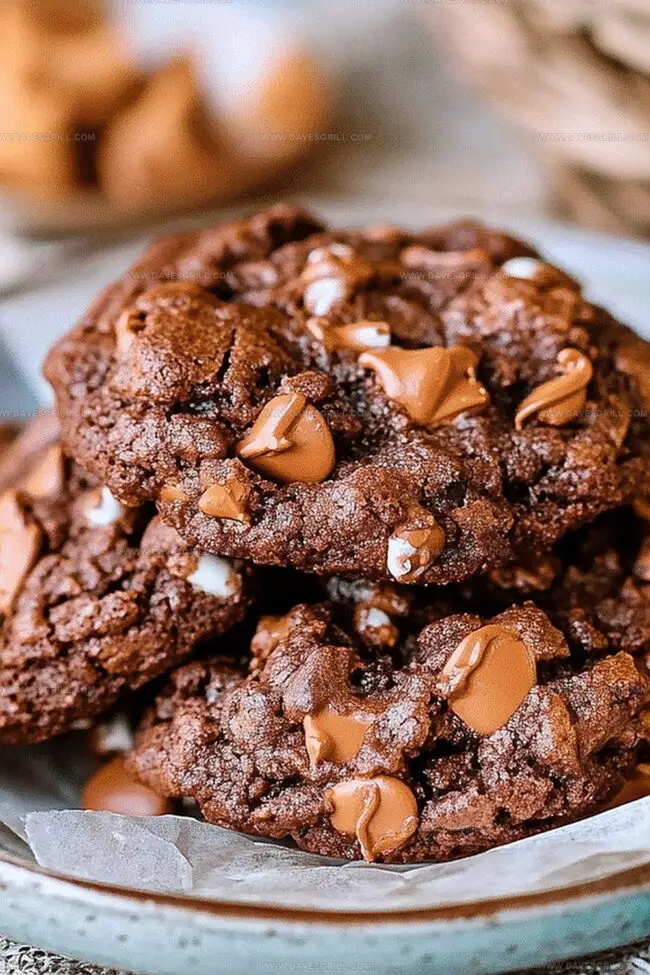
Irresistibly Gooey Magic Brownie Cookies Recipe for Sweet Bliss
These decadent chocolate brownie cookies blend rich dark cocoa and brownie comfort in an irresistible chocolate cookie treat.
Every bite of these gooey magic brownie cookies delivers a mouthwatering explosion of intense chocolate flavor.
Soft centers and crispy edges create a delightful textural contrast that chocolate lovers adore.
Incredibly simple to make, these cookies require just a few pantry staples and minimal baking skills.
The recipe combines classic brownie depth with the convenience of a cookie, making them perfect for spontaneous dessert cravings.
Warm from the oven, these cookies melt in your mouth and promise to become an instant family favorite.
Get ready to experience chocolate bliss with this easy, indulgent treat.
Quick Recipe Overview
Brownie Cookie Ingredient Rundown
For Wet Ingredients:For Dry Ingredients:For Mix-Ins:Tools to Make Chocolate Cookies with Fudge Vibes
Bake Brownie Cookies That Stay Rich and Chewy
Crank your oven to 350F and grab a baking sheet lined with parchment paper.
Whisk melted butter and sugar until they’re best friends. Toss in eggs and vanilla, mixing until the batter looks glossy and inviting.
In another bowl, sift cocoa powder, flour, salt, and baking powder together into a silky mixture.
Slowly introduce dry ingredients to wet mixture, stirring gently. Keep it light to maintain that perfect cookie texture.
Fold in chocolate chips and nuts, giving the batter a delightful surprise of extra goodness.
Scoop rounded spoonfuls onto the baking sheet, leaving space between each cookie.
Pop in the oven for 10-12 minutes. The edges should look set, but centers remain soft and tempting.
Let cookies rest on the baking sheet for 5 minutes, then transfer to a wire rack. Grab a glass of milk and enjoy your heavenly treats!
Tips That Enhance the Cocoa in Every Bite
Serve Brownie Cookies with a Glass of Milk
Keep Brownie Cookies Moist in Storage
FAQs
Yes, you can easily omit the nuts from the recipe. The cookies will still taste delicious and have a rich chocolate flavor without them.
Look for set edges and a soft center. They might seem slightly underbaked, but they’ll continue cooking on the baking sheet after removal from the oven.
Use unsweetened cocoa powder for the richest chocolate taste. Natural or Dutch-processed cocoa powder both work well in this recipe.
Absolutely! You can substitute milk, dark, or semi-sweet chocolate chips based on your preference. Each will give a slightly different flavor profile to the cookies.
Print
Gooey Magic Brownie Cookies Recipe
- Total Time: 27 minutes
- Yield: 13 1x
Description
Magic brownie cookies blend rich chocolate intensity with classic cookie crunch, creating an irresistible dessert. Chocolate enthusiasts will savor this simple yet indulgent treat that delivers pure baking satisfaction.
Ingredients
- 8 oz (225 g) semi-sweet chocolate, chopped
- 1 cup (175 g) chocolate chips or chunks
- ½ cup (115 g) unsalted butter
- ¾ cup (150 g) granulated sugar
- 2 large eggs
- 1 teaspoon vanilla extract
- ½ cup (65 g) all-purpose flour
- ¼ cup (25 g) unsweetened cocoa powder
- ½ teaspoon baking powder
- ¼ teaspoon salt
Instructions
- Oven Preparation: Calibrate oven to 350F (175C) and shield baking sheet with parchment paper or silicone mat for effortless release.
- Foundation Mixing: Whisk melted butter and sugar into a luxurious, glossy emulsion, creating a rich base for the cookie batter.
- Liquid Integration: Blend eggs and vanilla extract into the butter-sugar mixture, transforming the consistency into a smooth, homogeneous substance.
- Dry Ingredient Refinement: Meticulously sift cocoa powder, flour, salt, and baking powder to eliminate potential clumps and ensure uniform distribution.
- Batter Composition: Delicately fold wet and dry ingredients together, maintaining a light, airy texture. Combine until just incorporated, avoiding excessive manipulation.
- Flavor Enhancement: Introduce chocolate chips and nuts throughout the batter, ensuring an even dispersion of complementary textures and tastes.
- Portioning and Arrangement: Scoop dough into rounded mounds, strategically placing them 2 inches apart on the prepared baking surface to allow proper expansion.
- Baking Process: Roast in preheated oven for 10-12 minutes, targeting a slightly underdone center with firmly set edges—recognizing the cookies will continue to solidify during cooling.
- Cooling Protocol: Rest cookies on baking sheet for 5 minutes, leveraging residual heat to complete the cooking process without risking overdevelopment.
- Final Set-up: Migrate cookies to a wire rack, allowing complete cooling and optimal texture development before serving.
Notes
- Prevent Overmixing: Stir batter just until ingredients combine to maintain a light, tender cookie texture and avoid developing tough, dense results.
- Temperature Control: Watch cookies closely during baking, removing when edges are set but centers appear slightly soft, as they’ll continue cooking while cooling.
- Chocolate Chip Distribution: Fold chocolate chips gently to ensure even spread, preventing clumping and guaranteeing a consistent chocolate experience in every bite.
- Storage Strategy: Cool cookies completely before storing in an airtight container to preserve moisture and maintain their delectable soft-crisp texture.
- Prep Time: 15 minutes
- Cook Time: 12 minutes
- Category: Desserts, Snacks
- Method: Baking
- Cuisine: American
Nutrition
- Serving Size: 13
- Calories: 200
- Sugar: 12 g
- Sodium: 100 mg
- Fat: 10 g
- Saturated Fat: 6 g
- Unsaturated Fat: 4 g
- Trans Fat: 0 g
- Carbohydrates: 26 g
- Fiber: 1 g
- Protein: 3 g
- Cholesterol: 40 mg
Emily Lawson
Content Creator & Culinary Specialist
Expertise
Education
Oregon Culinary Institute
Diploma in Culinary Arts
Focus: Emphasis on farm-to-table cooking, sustainable practices, and the fusion of global flavors with traditional grilling methods.
Emily Lawson is the content creator at Daves Grill, turning tasty ideas into clear, easy recipes. Based in Portland, she trained at the Oregon Culinary Institute and loves cooking with fresh, seasonal ingredients, especially grilled veggies and global flavors.
Emily mixes food writing with hands-on cooking to bring you recipes that feel fun, not stressful. Her goal is to make every dish simple, flavorful, and worth coming back to. Together, she and Dave serve up real food, one recipe at a time.