Heavenly Gooey Peanut Butter Cup Oreo Fudge Recipe Awaits!
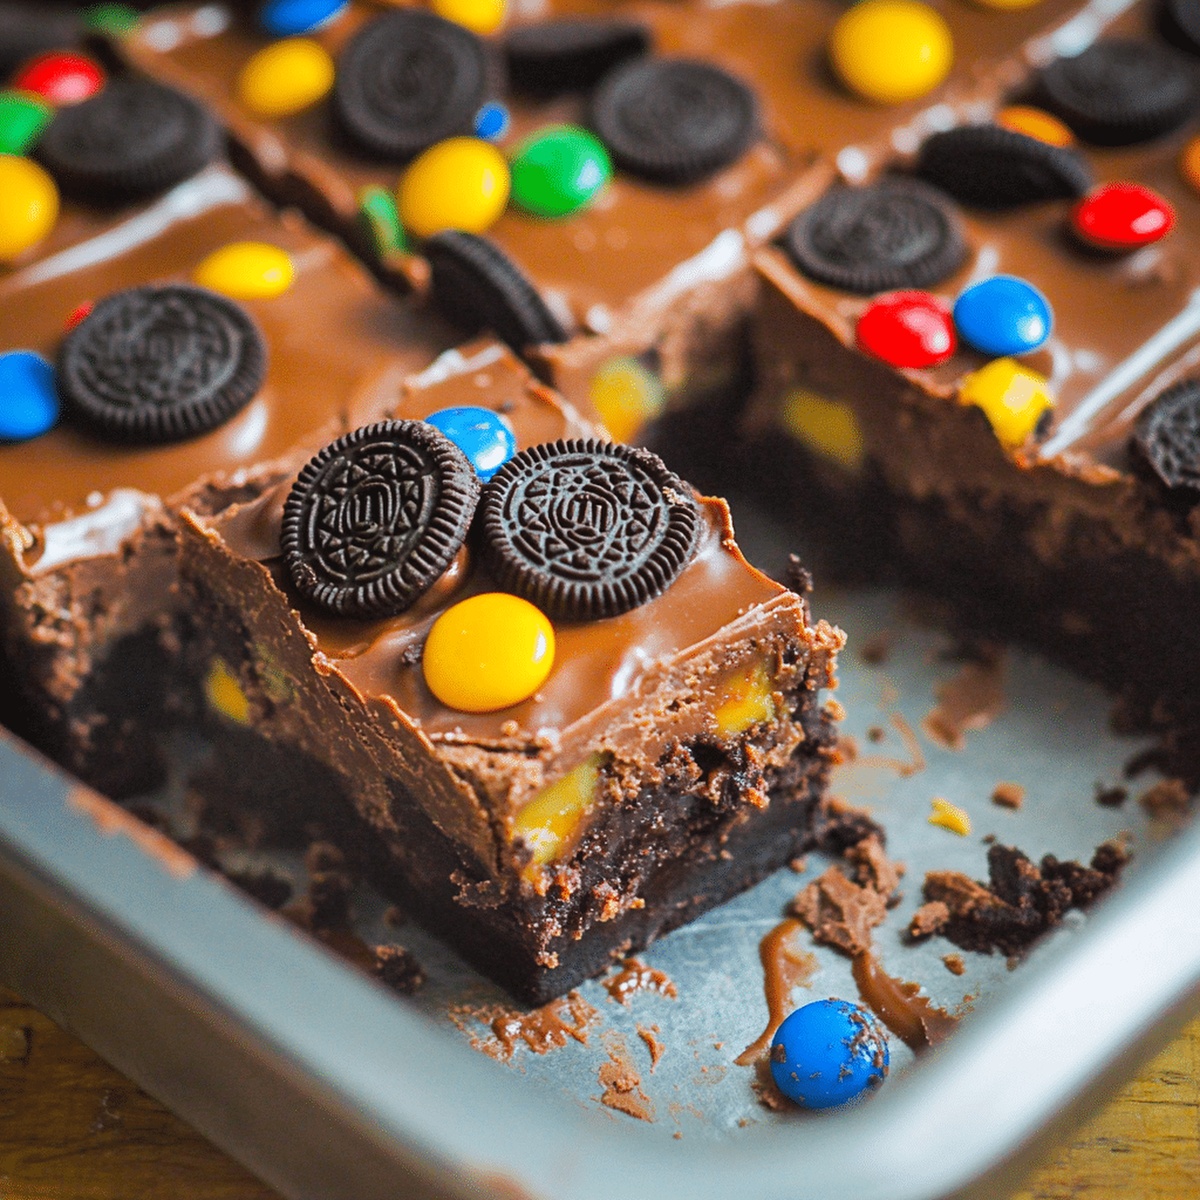
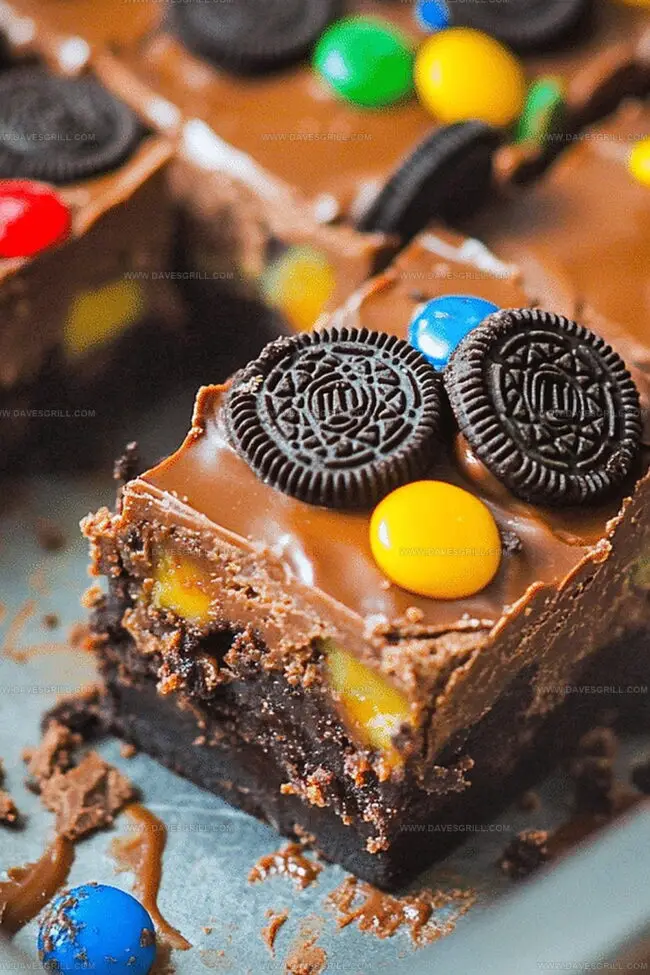
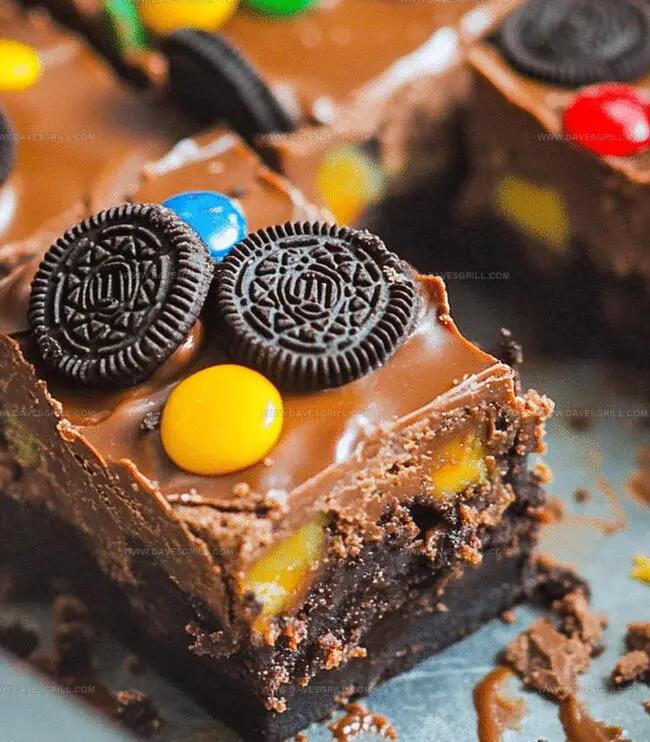
Decadent chocolate and creamy peanut butter create an irresistible peanut butter cup oreo fudge that melts in your mouth with pure indulgence.
Sweet layers of crushed oreos blend perfectly with rich chocolate ganache.
Each bite promises a symphony of textures and flavors that dance across your palate.
Chocolate lovers will swoon over this simple yet luxurious dessert.
The combination of classic ingredients transforms an ordinary treat into something extraordinary.
No baking skills required – just pure, delightful mixing and chilling.
Prepare to be the star of every potluck and family gathering with this showstopping dessert that disappears faster than you can slice it.
Quick Recipe Overview
Peanut Butter Cup Oreo Fudge Ingredient List
For Crunchy Base:For Smooth and Creamy Mixture:For Texture and Sweetness:Tools That Help You Prep Peanut Butter Cup Oreo Fudge
Make Peanut Butter Cup Oreo Fudge Like a Pro
Grab your favorite Oreos and transform them into delightful crumbs. You can use a food processor or place them in a bag and smash with a rolling pin.
Melt peanut butter, sweetened condensed milk, and butter in a saucepan over medium heat. Stir until everything blends into a silky smooth mixture. Add a splash of vanilla for extra flavor.
Mix in powdered sugar to give your fudge a perfect consistency and delectable sweetness. Stir until the mixture looks totally dreamy.
Fold those crushed Oreo pieces into the mixture. Make sure every bite will have that incredible cookie crunch.
Pour the heavenly mixture into a lined baking dish. Smooth it out with a spatula and let it relax in the refrigerator for a couple of hours until firm and fabulous.
Cut into squares and indulge in your homemade peanut butter cup Oreo fudge. Get ready for a taste sensation that’ll make your taste buds dance!
Tips for Layering Oreo and PB Flavors Just Right
Serve This Fudge for a Rich Chocolate Treat
Store Oreo Fudge Squares for Later Enjoyment
FAQs
No, this peanut butter cup Oreo fudge is very simple and beginner-friendly. It requires no baking and uses just a few basic ingredients that anyone can handle.
You’ll need a food processor or rolling pin to crush the Oreos, a large saucepan, and an 8×8-inch baking dish. Most home kitchens already have these basic tools.
Absolutely! You can experiment with different Oreo flavors like chocolate, birthday cake, or mint to create unique variations of this fudge. Just ensure you crush them into fine crumbs.
When stored in an airtight container in the refrigerator, this fudge can last up to a week. Just make sure to keep it chilled to maintain its firm texture and prevent melting.
Print
Gooey Peanut Butter Cup Oreo Fudge Recipe
- Total Time: 3 hours 10 minutes
- Yield: 37 1x
Description
Peanut Butter Cup Oreo Fudge blends creamy chocolate, crunchy cookies, and rich peanut butter in a delightful dessert. Chocolate lovers will savor each indulgent bite of this irresistible sweet treat.
Ingredients
- 3 cups (525 g) chocolate chips (semi-sweet or milk)
- 1 can (14 oz / 396 g) sweetened condensed milk
- 1 cup (100 g) mini peanut butter cups (chopped)
- 1 cup (100 g) Oreo cookies (chopped, about 8–10 cookies)
- 1 tsp vanilla extract
- Extra Oreo cookies and peanut butter cups for garnish (optional)
Instructions
- Cookie Preparation: Pulverize Oreo cookies into fine, uniform crumbs using a food processor or sealed plastic bag with a rolling pin, ensuring consistent texture.
- Melting Phase: Construct a double boiler or utilize a large saucepan on medium-low heat, gently melting peanut butter, sweetened condensed milk, and butter while stirring constantly until the mixture transforms into a luxurious, homogeneous liquid.
- Flavor Enhancement: Integrate vanilla extract into the warm mixture, whisking thoroughly to distribute the aromatic essence completely throughout the base.
- Texture Development: Gradually fold powdered sugar into the liquid, creating a thick, velvety fudge consistency that holds its shape and promises rich indulgence.
- Incorporation of Crumbs: Delicately fold Oreo crumbs into the peanut butter mixture, ensuring even distribution without compromising the smooth texture of the fudge.
- Pan Preparation: Line an 8-inch square baking pan with parchment paper, allowing slight overhang to facilitate effortless removal of the finished confection.
- Setting and Chilling: Transfer the fudge mixture into the prepared pan, spreading evenly with a rubber spatula, then refrigerate for 2-3 hours until completely firm and set, allowing flavors to meld and texture to solidify.
- Final Presentation: Remove the chilled fudge using parchment paper edges and slice into precise, bite-sized squares ready for serving and enjoying.
Notes
- Crush Oreos Uniformly: Ensure fine, consistent crumbs by using a food processor or carefully crushing in a sealed bag to prevent uneven texture in the fudge.
- Melt Ingredients Gently: Use low heat and constant stirring to prevent scorching or separating of butter, peanut butter, and condensed milk, maintaining a smooth consistency.
- Avoid Overmixing: Fold Oreo crumbs carefully into the fudge base, mixing just until combined to preserve the cookie’s texture and prevent a dense, tough result.
- Chill Completely: Allow sufficient refrigeration time to set the fudge properly, ensuring clean cuts and optimal flavor melding.
- Prep Time: 10 minutes
- Cook Time: 3 hours
- Category: Desserts, Snacks
- Method: Blending
- Cuisine: American
Nutrition
- Serving Size: 37
- Calories: 150
- Sugar: 14 g
- Sodium: 50 mg
- Fat: 8 g
- Saturated Fat: 4 g
- Unsaturated Fat: 4 g
- Trans Fat: 0 g
- Carbohydrates: 18 g
- Fiber: 1 g
- Protein: 2 g
- Cholesterol: 5 mg
Emily Lawson
Content Creator & Culinary Specialist
Expertise
Education
Oregon Culinary Institute
Diploma in Culinary Arts
Focus: Emphasis on farm-to-table cooking, sustainable practices, and the fusion of global flavors with traditional grilling methods.
Emily Lawson is the content creator at Daves Grill, turning tasty ideas into clear, easy recipes. Based in Portland, she trained at the Oregon Culinary Institute and loves cooking with fresh, seasonal ingredients, especially grilled veggies and global flavors.
Emily mixes food writing with hands-on cooking to bring you recipes that feel fun, not stressful. Her goal is to make every dish simple, flavorful, and worth coming back to. Together, she and Dave serve up real food, one recipe at a time.