
Sweet School Memory: Gooey Peanut Butter Lunch Lady Cookie Bars Recipe
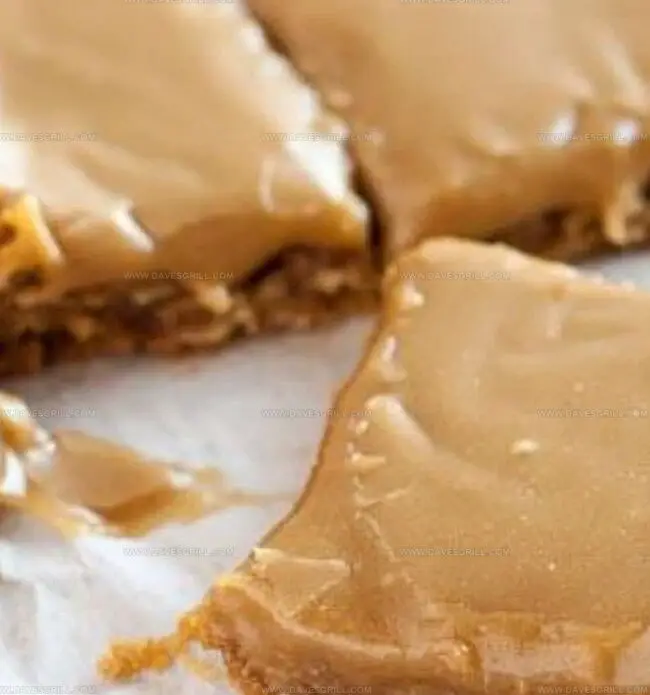
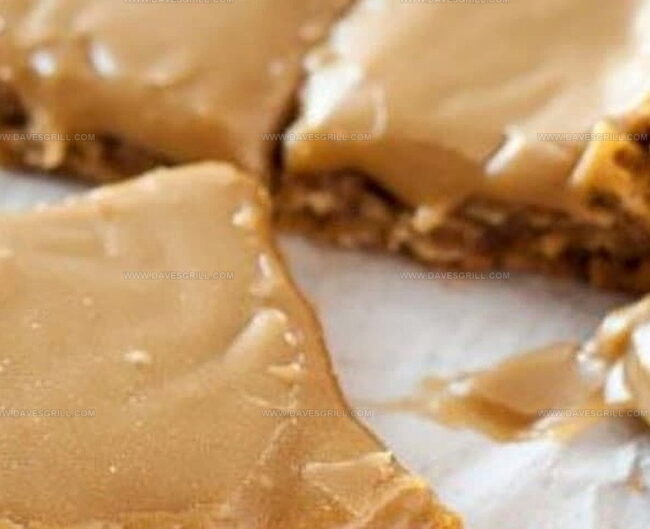
Soft, chewy, and irresistibly decadent, these peanut butter lunch lady cookie bars have been stealing hearts in school cafeterias for decades.
Memories of childhood desserts rush back with each nostalgic bite.
Generations of students have craved these classic treats that blend rich, creamy peanut butter with a tender cookie base.
The simple yet delightful recipe captures comfort in every single square.
Warm from the oven or cooled to perfection, these bars promise a sweet escape from ordinary desserts.
No bakery could match the homemade charm of this beloved recipe.
Grab a plate and savor every delicious moment of these legendary cookie bars.
Quick Recipe Overview
Peanut Butter Bar Ingredient Breakdown
For Base Ingredients:For Flavor Enhancers:For Dry Mixture:Tools for Making Lunch Lady Cookie Bars
Bake Peanut Butter Bars That Stay Chewy
Crank the oven to a toasty 350 degrees and give your baking pan a quick spray of nonstick. Line it with parchment paper for easy removal later.
Grab your mixer and whip butter and sugars into a fluffy cloud. Blend in peanut butter until silky smooth, then crack in eggs and splash of vanilla. Mix until everything looks happy together.
In another bowl, gently combine flour, baking soda, and salt. Slowly fold these dry ingredients into your creamy mixture, stirring just enough to get everything married together.
Spread the dough evenly across your prepared pan like you’re giving it a smooth, delicious blanket. Pop it into the oven and bake for about 25-30 minutes. You’ll know it’s perfect when the edges turn golden and a toothpick comes out clean when poked in the center.
Let the bars cool completely in the pan. This waiting time helps them set and become wonderfully chewy. Once cooled, slice and devour these irresistible treats that’ll remind you of classic cafeteria desserts.
Tips That Bring Out Rich Flavor and Texture
Serve Cut Into Squares or Sticks
Store in a Covered Container for Days
FAQs
These bars are softer, thicker, and more dense than traditional cookies, giving them a rich, cake-like texture that’s reminiscent of classic school cafeteria desserts.
Creamy commercial peanut butter works best because it has a consistent texture and stabilizers that help bind the ingredients together. Natural peanut butter might make the bars too crumbly or oily.
Look for golden brown edges and a slightly firm center. When you insert a toothpick, it should come out with a few moist crumbs but not wet batter. Overbaking can make the bars dry and tough.
Yes, parchment paper helps prevent sticking and makes it easier to remove and cut the bars cleanly. If you don’t have parchment paper, generously grease the pan with butter or cooking spray.
Print
Gooey Peanut Butter Lunch Lady Cookie Bars Recipe
- Total Time: 50 minutes
- Yield: 25 1x
Description
Lunch Lady Peanut Butter Cookie Bars blend nostalgic school cafeteria memories with irresistible homemade charm. Classic ingredients create a comforting dessert perfect for satisfying sweet cravings when you want a taste of childhood.
Ingredients
- 1 cup (225 g / 8 oz) unsalted butter (softened)
- 1 ½ cups (375 g / 13.2 oz) creamy peanut butter
- 1 cup (200 g / 7 oz) granulated sugar
- 1 cup (220 g / 7.8 oz) brown sugar (packed)
- 2 large eggs
- 2 cups (250 g / 8.8 oz) all-purpose flour
- 1 tsp baking soda
- ½ tsp salt
- 1 cup (250 g / 8.8 oz) powdered sugar
- ½ cup (125 g / 4.4 oz) creamy peanut butter
- 3–4 tbsps milk (adjust for consistency)
- 1 tsp vanilla extract
Instructions
- Preheating: Configure the oven to 350F (175C) and line a 9×13-inch pan with parchment paper, lightly greasing the surface to prevent sticking.
- Creaming: Vigorously whip butter and sugars until achieving a light, fluffy texture that appears pale and aerated, creating a smooth foundation for the cookie bars.
- Wet Ingredients Integration: Blend in peanut butter until silky, then incorporate eggs one at a time, ensuring complete integration after each addition. Finish with a splash of vanilla extract to elevate the flavor complexity.
- Dry Mixture Preparation: Sift flour, baking soda, and salt together, then delicately fold into the wet ingredients. Mix gently until just combined, avoiding overmixing to maintain the bars’ tender structure.
- Baking Process: Spread the dough evenly across the prepared pan, creating a uniform layer. Bake in the preheated oven for 25-30 minutes, monitoring for golden-brown edges and checking doneness with a clean toothpick inserted into the center.
- Cooling and Serving: Remove from oven and allow the bars to cool completely within the pan, enabling them to set and develop a rich, chewy texture before slicing and enjoying.
Notes
- Prevent Overmixing: Gently fold dry ingredients into wet mixture, stopping as soon as ingredients combine to maintain tender, soft bar texture without developing tough gluten.
- Temperature Precision: Use room temperature butter and eggs for smoother blending and more consistent cookie bar performance, ensuring even mixing and better texture.
- Checking Doneness: Golden-brown edges and clean toothpick test are crucial indicators; bars continue cooking slightly after removal from oven, so avoid overbaking to preserve moist interior.
- Pan Preparation Strategy: Line pan with parchment paper extending slightly over edges for easy removal and clean cutting of bars, reducing potential sticking and crumbling.
- Prep Time: 20 minutes
- Cook Time: 30 minutes
- Category: Snacks, Desserts
- Method: Baking
- Cuisine: American
Nutrition
- Serving Size: 25
- Calories: 365
- Sugar: 20 g
- Sodium: 150 mg
- Fat: 18 g
- Saturated Fat: 7 g
- Unsaturated Fat: 9 g
- Trans Fat: 0 g
- Carbohydrates: 46 g
- Fiber: 1 g
- Protein: 6 g
- Cholesterol: 35 mg
Emily Lawson
Content Creator & Culinary Specialist
Expertise
Education
Oregon Culinary Institute
Diploma in Culinary Arts
Focus: Emphasis on farm-to-table cooking, sustainable practices, and the fusion of global flavors with traditional grilling methods.
Emily Lawson is the content creator at Daves Grill, turning tasty ideas into clear, easy recipes. Based in Portland, she trained at the Oregon Culinary Institute and loves cooking with fresh, seasonal ingredients, especially grilled veggies and global flavors.
Emily mixes food writing with hands-on cooking to bring you recipes that feel fun, not stressful. Her goal is to make every dish simple, flavorful, and worth coming back to. Together, she and Dave serve up real food, one recipe at a time.