Irresistible Hearty Beef Rissoles Recipe for Cozy Dinners
Juicy rissoles with robust beef flavors make weeknight dinners a delightful culinary adventure.
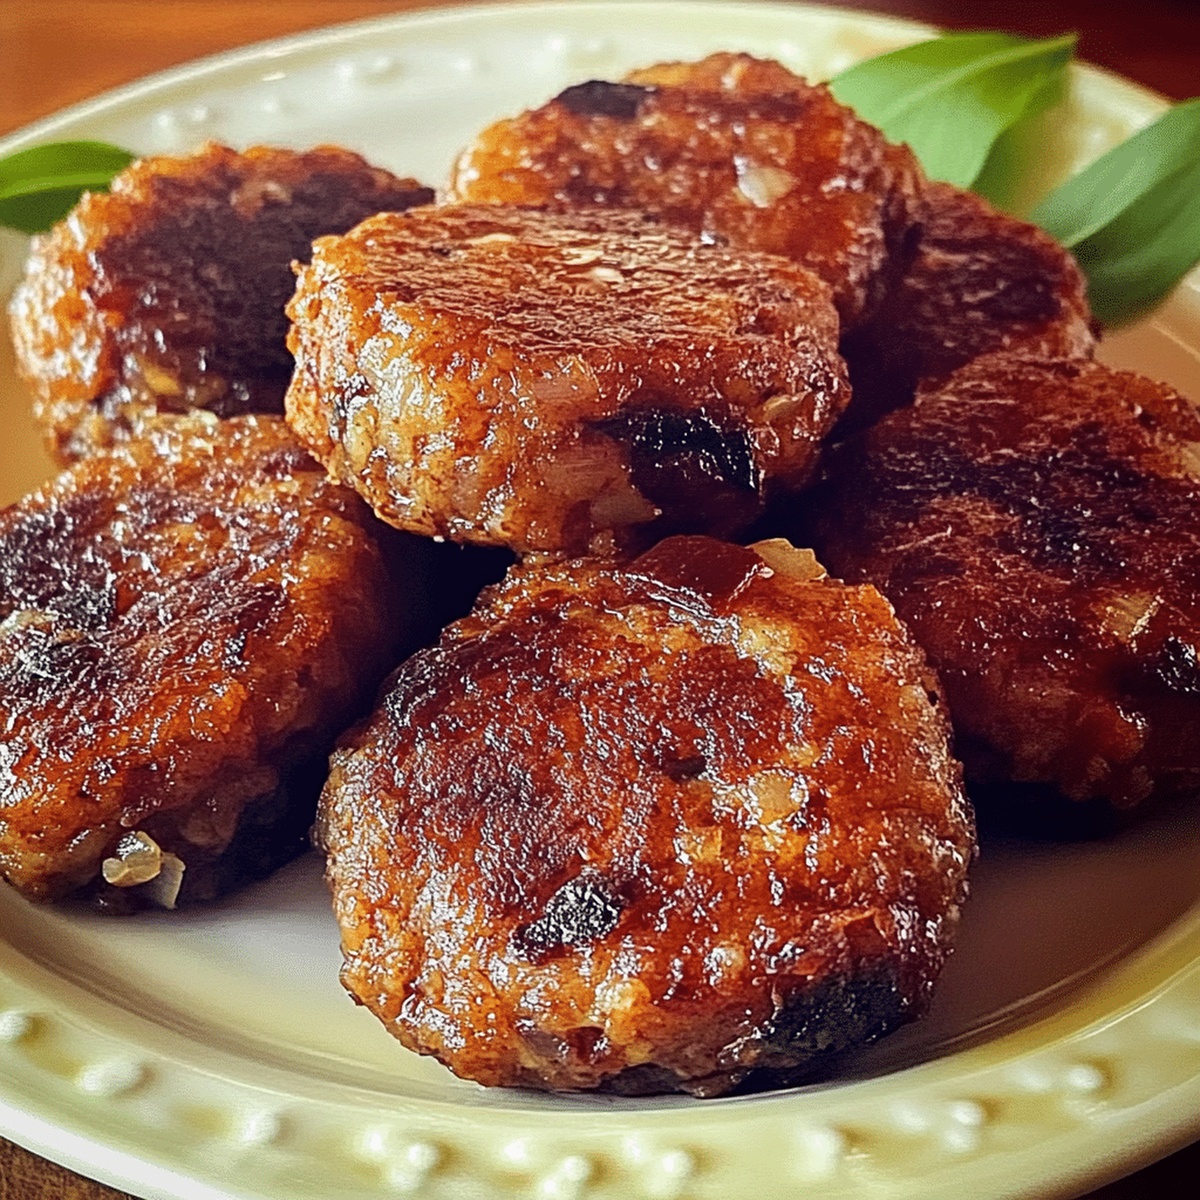
These golden-brown patties pack serious punch with simple, fresh ingredients.
Each bite delivers a tender, savory experience that satisfies deep hunger.
Home cooks adore this classic comfort food that comes together quickly and effortlessly.
Herbs and spices weave magic through the meat, creating layers of rich, complex taste.
The recipe works brilliantly for casual gatherings or relaxed family meals.
Savor these mouthwatering beef rissoles that promise to become a staple in your cooking repertoire.
Quick Recipe Overview
Classic Beef Rissoles Begin with These Ingredients
For Meat Base:For Binding and Moisture:For Flavor Enhancement:Tools for Shaping and Frying Classic Beef Rissoles
Cook Classic Beef Rissoles With Golden Crust
Finely chop onions and garlic to unlock deep, rich taste profiles for your beef patties. Blend ground beef with breadcrumbs and aromatic seasonings in a mixing bowl, using clean hands to combine ingredients thoroughly.
Gently form meat mixture into uniform oval shapes, pressing carefully to maintain compact texture. Keep patties consistent in size to ensure even cooking across all rissoles.
Heat skillet with light oil coating over medium-high flame. Carefully place rissoles into hot pan, allowing each side to develop a beautiful golden-brown crust. Cook approximately 4 minutes per side, ensuring meat reaches safe internal temperature.
Transfer rissoles onto absorbent paper to remove excess oil. Arrange on serving platter alongside vibrant green salad, creamy mashed potatoes, or roasted seasonal vegetables. Garnish with fresh herbs for an elegant touch that elevates this classic comfort dish.
Tips That Add Flavor to Every Rissoles Bite
Serve Classic Rissoles with Mashed Potatoes or Salad
Store Rissoles for Later Meals or Lunches
FAQs
Rissoles are similar to hamburger patties but typically contain more herbs and spices, and are often made with a mixture of breadcrumbs and ground meat for a more complex texture and flavor profile.
Yes, you can substitute ground beef with ground chicken, turkey, or lamb. Each meat will bring a unique flavor to the rissoles while maintaining the same cooking method.
Use a meat thermometer to check that the internal temperature reaches 70C (160F). This ensures the meat is safely cooked through and eliminates any risk of foodborne illness.
Breadcrumbs help bind the meat mixture, add texture, and prevent the rissoles from becoming too dense. They’re an essential ingredient that keeps the rissoles moist and tender during cooking.
Print
Hearty Beef Rissoles Recipe
- Total Time: 25 minutes
- Yield: 5 1x
Description
Hearty classic beef rissoles celebrate Australian home cooking with simple, rustic ingredients. Savory meat patties blend ground beef, herbs, and seasonings into a delicious meal perfect for family dinners.
Ingredients
- 1 lb (450 g) ground beef
- 1 egg, lightly beaten
- ⅓ cup (80 ml) breadcrumbs or panko
- 2 tbsps ketchup or tomato sauce
- 1 tsp Worcestershire sauce
- 1 small onion, finely chopped
- 2 cloves garlic, minced
- 1 tsp dried parsley (or 2 tbsps fresh parsley, finely chopped)
- ½ tsp smoked paprika
- ¼ tsp salt
- ¼ tsp black pepper
- 1 tbsp olive oil or vegetable oil (for frying)
Instructions
- Preparation: Finely dice onion and mince garlic to build a robust flavor base for the meat mixture.
- Mixing: Combine ground beef, breadcrumbs, onion, garlic, egg, Worcestershire sauce, oregano, paprika, salt, and pepper in a large bowl, blending ingredients thoroughly with hands or a fork until well integrated.
- Shaping: Form the meat mixture into uniform patties by rolling small portions into balls and gently pressing into disk-shaped rounds, ensuring consistent size for even cooking.
- Cooking: Heat a skillet with a thin oil layer over medium heat, then carefully place rissoles in the pan with adequate spacing to achieve optimal browning and prevent steaming.
- Searing: Cook rissoles for 6-7 minutes total, flipping once midway to create a perfectly golden-brown exterior and reaching an internal temperature of 70C (160F), which guarantees safe consumption.
- Serving: Remove rissoles from the pan and let rest briefly on a paper towel to absorb excess oil, then plate alongside complementary sides like creamy mashed potatoes, fresh garden salad, or steamed seasonal vegetables.
Notes
- Meat Selection Matters: Choose lean ground beef with around 15% fat content for juicy, flavorful rissoles that won’t dry out during cooking.
- Binding Technique: Mix ingredients gently to prevent overworking the meat, which can make rissoles tough and dense instead of tender.
- Temperature Control: Use medium heat to achieve perfect golden-brown exterior without burning, allowing even cooking and sealing in moisture.
- Dietary Adaptability: Substitute ground beef with turkey or plant-based alternatives for lighter versions, adjusting seasoning to maintain rich flavor profile.
- Prep Time: 10 minutes
- Cook Time: 15 minutes
- Category: Lunch, Dinner, Snacks
- Method: Frying
- Cuisine: Australian
Nutrition
- Serving Size: 5
- Calories: 300
- Sugar: 2 g
- Sodium: 200 mg
- Fat: 20 g
- Saturated Fat: 7 g
- Unsaturated Fat: 10 g
- Trans Fat: 0 g
- Carbohydrates: 15 g
- Fiber: 1 g
- Protein: 18 g
- Cholesterol: 70 mg
Emily Lawson
Content Creator & Culinary Specialist
Expertise
Education
Oregon Culinary Institute
Diploma in Culinary Arts
Focus: Emphasis on farm-to-table cooking, sustainable practices, and the fusion of global flavors with traditional grilling methods.
Emily Lawson is the content creator at Daves Grill, turning tasty ideas into clear, easy recipes. Based in Portland, she trained at the Oregon Culinary Institute and loves cooking with fresh, seasonal ingredients, especially grilled veggies and global flavors.
Emily mixes food writing with hands-on cooking to bring you recipes that feel fun, not stressful. Her goal is to make every dish simple, flavorful, and worth coming back to. Together, she and Dave serve up real food, one recipe at a time.