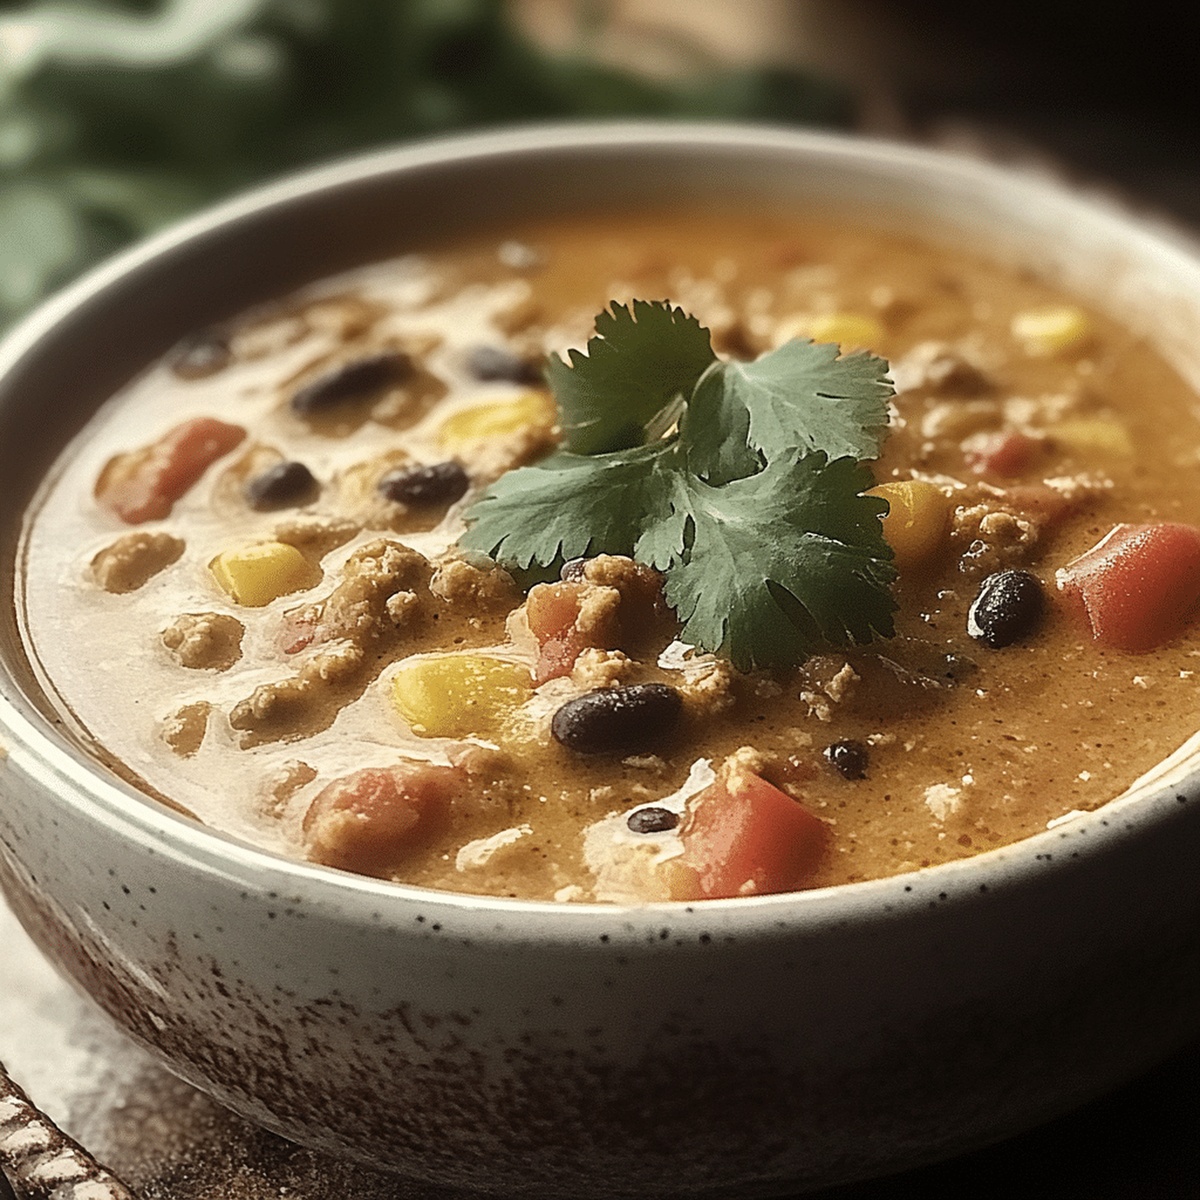
Cozy Up with Our Hearty Enchilada Chili Recipe Tonight
Spicy aromas swirl through the kitchen as this hearty enchilada chili recipe delivers a delightful fusion of Mexican-inspired flavors.
Comfort meets boldness in every steaming spoonful of this robust dish.
Layers of rich ground beef mingle with smoky spices and vibrant tomatoes.
Beans add depth and texture to this warming meal that promises satisfaction with each bite.
Melted cheese creates a golden crown atop this soul-warming creation.
Weeknight dinners or weekend gatherings will never be the same once you savor this incredible chili.
Grab a bowl and let the culinary adventure begin.
Quick Recipe Overview
Cheesy Enchilada Chili Ingredients You’ll Need
For Proteins and Base:For Flavor Enhancers:For Finishing and Topping:Tools to Create This Cheesy Enchilada Chili Bowl
Making Cheesy Enchilada Chili for Comfort and Spice
Heat oil in a large pot and sizzle ground beef until it’s nicely caramelized and crumbly, breaking it down with a wooden spoon.
Toss in chopped onions and minced garlic, letting them dance and release their fragrant until soft and translucent.
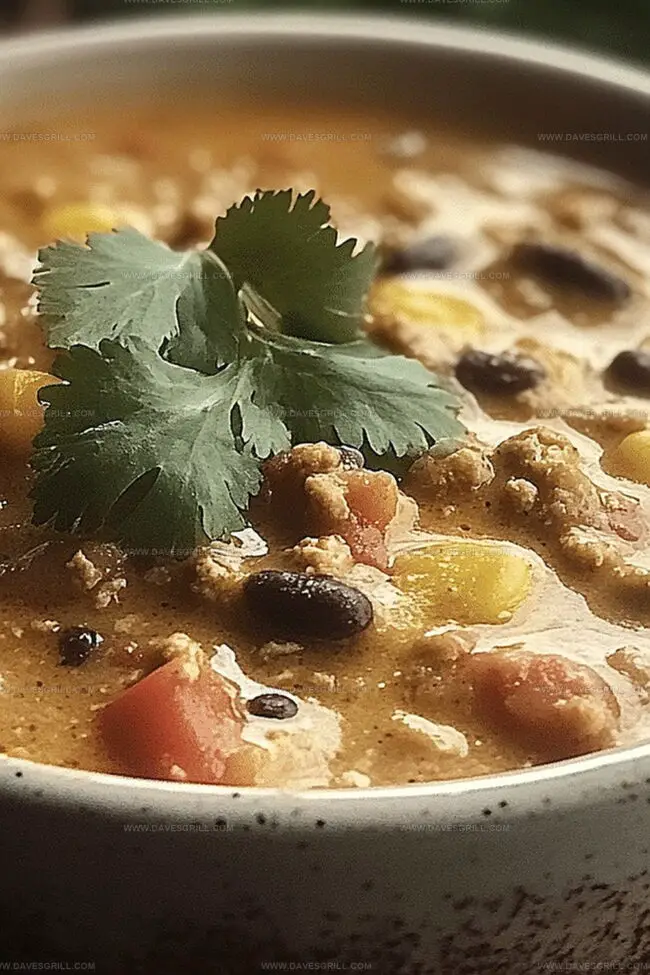
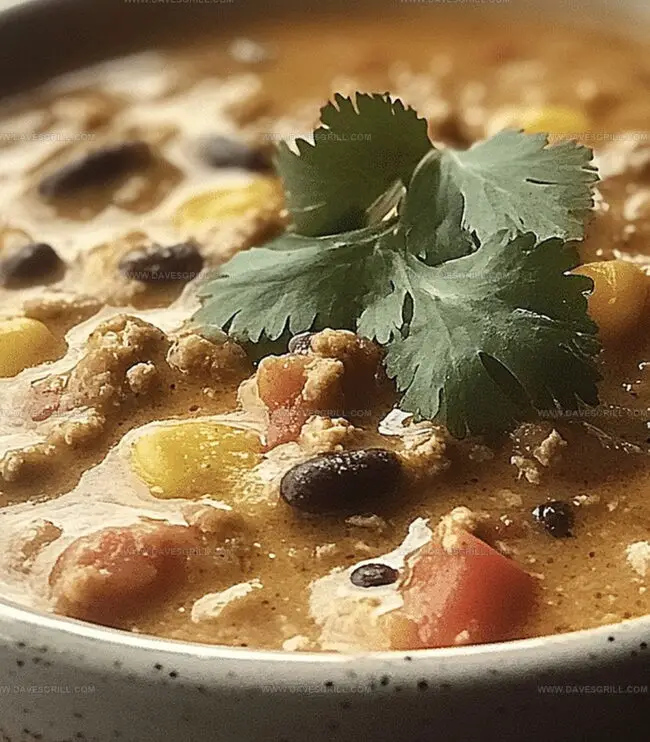
Pour in black beans, pinto beans, diced tomatoes, enchilada sauce, and broth, creating a rich and hearty foundation.
Sprinkle in chili powder, cumin, smoked paprika, salt, and pepper, stirring to distribute the warm, complex seasonings throughout.
Let the chili bubble gently on low heat, allowing flavors to mingle and deepen for about 20 minutes, stirring occasionally.
Stir in most of the cheese until it melts smoothly, creating a creamy texture that binds the chili together.
Ladle the steaming chili into bowls, top with remaining cheese, and add fresh cilantro, sour cream, avocado, or crunchy tortilla chips for extra excitement.
Chili-Making Tips for That Enchilada Flavor Punch
Serving Ideas for Cheesy Enchilada Chili
Store Cheesy Enchilada Chili Without Losing Its Kick
FAQs
The enchilada sauce and a blend of spices like chili powder, cumin, and smoked paprika create the distinctive enchilada-inspired taste profile in this chili.
Absolutely! Adjust the heat by adding more chili powder or a dash of hot sauce for extra spice. To make it milder, reduce the amount of chili powder and skip any additional spicy ingredients.
Yes, this chili is perfect for meal prep. It can be stored in the refrigerator for 3-4 days and actually tastes even better the next day as the flavors continue to develop and blend.
Definitely! While the recipe calls for black and pinto beans, you can easily substitute with kidney beans, white beans, or a mix of beans you prefer or have on hand.
Print
Hearty Enchilada Chili Recipe
- Total Time: 40 minutes
- Yield: 7 1x
Description
Hearty Cheesy Enchilada Chili blends Mexican comfort with southwestern spice. Robust flavors merge seamlessly, delivering a rich culinary experience you’ll crave again and again.
Ingredients
- 1 lb (450 g) ground beef (or ground turkey for a lighter option)
- 1 can (15 oz/425 g) black beans, drained and rinsed
- 1 can (15 oz/425 g) pinto beans, drained and rinsed
- 1 can (14.5 oz/400 g) diced tomatoes, undrained
- 1 can (10 oz/300 ml) red enchilada sauce
- 2 cups (475 ml) chicken or beef broth
- 1 cup (120 g) shredded cheddar cheese (or a Mexican cheese blend)
- 1 small onion, diced
- 2 cloves garlic, minced
- 1 tsp chili powder
- ½ tsp cumin
- ½ tsp smoked paprika
- Salt and pepper to taste
- ¼ cup chopped fresh cilantro (for garnish)
- Sour cream (optional)
- Sliced jalapenos (optional)
- Diced avocado (optional)
- Tortilla chips or strips (optional)
Instructions
- Preparation: Heat a large pot over medium, adding oil to create a flavorful foundation for the chili.
- Meat Development: Brown ground beef thoroughly, breaking it down and draining excess fat to ensure a robust base with rich, caramelized textures.
- Aromatic Infusion: Sauté onions and garlic until they transform into a fragrant, translucent mixture, releasing deep, savory notes throughout the pot.
- Liquid Ensemble: Combine black beans, pinto beans, diced tomatoes, enchilada sauce, and broth, creating a complex liquid landscape that builds remarkable depth and moisture.
- Spice Integration: Introduce chili powder, cumin, smoked paprika, salt, and pepper, stirring energetically to distribute seasonings uniformly and activate their intricate flavor profiles.
- Simmering Transformation: Bring the mixture to a vigorous boil, then reduce to a gentle simmer, allowing ingredients to meld and develop intense, harmonious flavors for 20-25 minutes.
- Cheese Fusion: Incorporate three-quarters of shredded cheese, stirring until the mixture becomes creamy and the cheese seamlessly integrates with the chili’s robust character.
- Final Refinement: Taste and adjust seasonings, ensuring a perfectly balanced flavor profile that celebrates each ingredient’s unique contribution.
- Presentation: Ladle chili into serving bowls, garnishing with remaining cheese and optional toppings like cilantro, sour cream, avocado, or tortilla chips to enhance visual appeal and textural contrast.
Notes
Manage Meat Browning: Ensure ground beef is completely browned without moisture to develop rich, deep flavors and prevent watery chili texture.
Control Spice Intensity: Adjust chili powder and cumin levels based on personal heat preference, starting conservatively and tasting gradually during cooking process.
Optimize Cheese Melting: Add cheese gradually and off direct heat to prevent separation, creating smooth, creamy consistency without graininess.
Enhance Dietary Flexibility: Substitute ground beef with plant-based alternatives like lentils or black beans for vegetarian version, maintaining robust flavor profile and protein content.
- Prep Time: 10 minutes
- Cook Time: 30 minutes
- Category: Lunch, Dinner, Appetizer
- Method: Simmering
- Cuisine: Mexican
Nutrition
- Serving Size: 7
- Calories: 400
- Sugar: 4 g
- Sodium: 800 mg
- Fat: 20 g
- Saturated Fat: 10 g
- Unsaturated Fat: 8 g
- Trans Fat: 0 g
- Carbohydrates: 36 g
- Fiber: 10 g
- Protein: 24 g
- Cholesterol: 70 mg
Emily Lawson
Content Creator & Culinary Specialist
Expertise
Education
Oregon Culinary Institute
Diploma in Culinary Arts
Focus: Emphasis on farm-to-table cooking, sustainable practices, and the fusion of global flavors with traditional grilling methods.
Emily Lawson is the content creator at Daves Grill, turning tasty ideas into clear, easy recipes. Based in Portland, she trained at the Oregon Culinary Institute and loves cooking with fresh, seasonal ingredients, especially grilled veggies and global flavors.
Emily mixes food writing with hands-on cooking to bring you recipes that feel fun, not stressful. Her goal is to make every dish simple, flavorful, and worth coming back to. Together, she and Dave serve up real food, one recipe at a time.