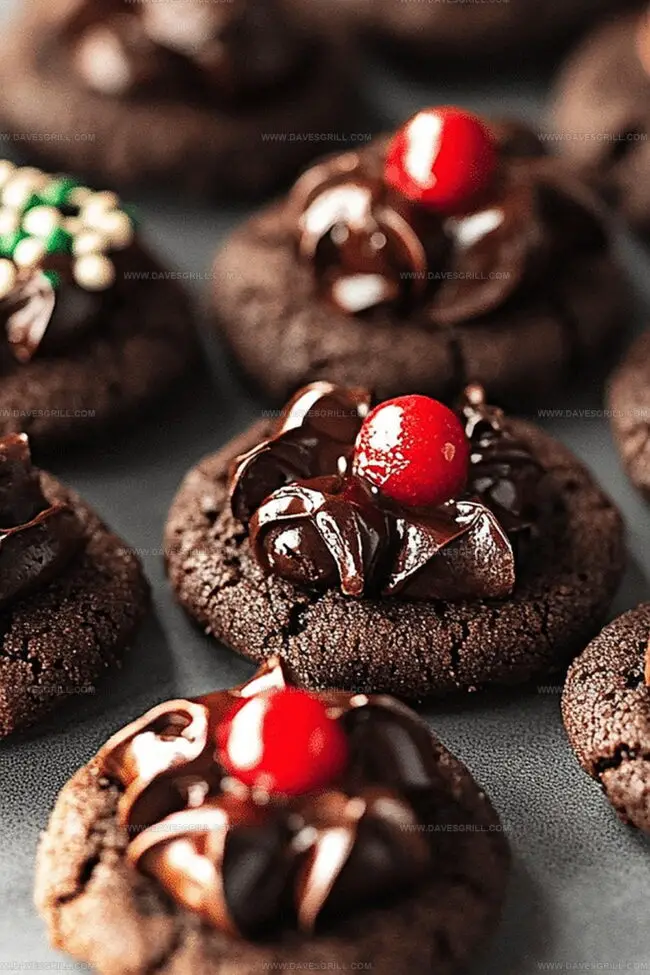
Dreamy Chocolate Blossom Cookies Recipe: Pure Bliss in Every Bite
Soft, buttery cookies dance with rich chocolate in this irresistible chocolate blossom cookies recipe that promises pure delight.
Delicate chocolate dough cradles a perfect Hershey’s kiss in its center, creating a melt-in-your-mouth experience.
These classic treats bring warmth and nostalgia to any gathering.
Each cookie offers a sweet embrace of chocolatey goodness that sparks joy with every bite.
The simple ingredients come together effortlessly, making this recipe a go-to for bakers of all skill levels.
With a golden-brown exterior and a tender, rich interior, these cookies never fail to impress.
Unleash your inner baker and let these delectable morsels become your next sweet sensation.
Quick Recipe Overview
Chocolate Blossom Cookie Ingredient Rundown
For Base and Flavor:For Binding and Moisture:For Structure and Stability:Must-Have Tools for Blossom Cookies
Bake Chocolate Blossom Cookies Just Right
Grab a big mixing bowl and blend butter with sugars until they’re super creamy and look like fluffy clouds.
Splash in egg and vanilla, stirring until everything looks silky smooth and perfectly mixed.
In another bowl, gently swirl flour, cocoa, baking soda, and salt until they become one happy family.
Pour dry ingredients into wet mixture, folding everything together with gentle love. Don’t overmix! Pop the dough in the fridge for a quick 30-minute chill to help flavors mingle and texture become divine.
Roll dough into cute little balls, place on baking sheet with enough breathing room between them. Slide into a preheated oven at 350°F and bake until edges look crisp and centers remain soft, about 10-12 minutes.
Right after pulling cookies from oven, press a chocolate kiss into each warm cookie center. Let them cool completely so the chocolate gets that perfect melt-in-your-mouth consistency.
Add a Fun Twist to Blossom Cookie Recipes
Serve Blossom Cookies That Wow
Store Chocolate Blossom Cookies Fresh
FAQs
Roll the cookies in sugar before baking and immediately press the chocolate kiss into the warm cookie right after removing from the oven. The residual heat will help the kiss melt slightly and adhere smoothly without breaking.
Yes, you can prepare the chocolate blossom cookie dough up to 3 days in advance. Wrap it tightly in plastic wrap and store in the refrigerator. When ready to bake, let the dough sit at room temperature for 10-15 minutes to soften slightly before scooping and rolling.
Dutch-processed cocoa powder is ideal for chocolate blossom cookies because it provides a richer, deeper chocolate flavor and helps create a more tender texture compared to natural cocoa powder.
Use a cookie scoop or tablespoon to ensure uniform size, then gently roll each portion between your palms to create smooth, round balls before placing on the baking sheet. This helps the cookies bake evenly and look more professional.
Print
Heavenly Chocolate Blossom Cookies Recipe
- Total Time: 25 minutes
- Yield: 25 1x
Description
Chocolate blossom cookies embody pure dessert bliss from American holiday kitchens. Rich chocolate dough cradles a perfect Hershey’s kiss, promising sweet moments you’ll savor with delightful satisfaction.
Ingredients
- 1 ½ cups (190 g) all-purpose flour
- ½ cup (115 g) unsalted butter, softened
- 1 large egg
- ½ cup (100 g) granulated sugar
- ½ cup (100 g) brown sugar, packed
- ¼ cup (25 g) cocoa powder
- ¼ cup (50 g) granulated sugar
- 1 tsp vanilla extract
- 1 tsp baking soda
- ¼ tsp salt
- 24 chocolate kisses (Hershey’s Kisses), unwrapped
Instructions
- Creaming: Whip softened butter with granulated and brown sugars until light and fluffy, ensuring complete sugar integration and aeration of the mixture.
- Wet Ingredient Fusion: Blend egg and vanilla extract into the butter-sugar base, creating a smooth, unified foundation that will bind the cookie’s essential components.
- Dry Ingredient Preparation: Sift together flour, cocoa powder, baking soda, and salt in a separate bowl, eliminating potential clumps and ensuring even distribution of dry ingredients.
- Dough Composition: Delicately incorporate dry ingredients into the wet mixture, using minimal strokes to prevent overmixing and maintain the cookie’s tender texture.
- Chill and Develop: Refrigerate the dough for 30 minutes, allowing flavors to meld and preventing excessive spreading during baking while firming up the mixture.
- Shaping: Roll chilled dough into uniform spheres, positioning them strategically on a prepared baking sheet with adequate spacing to accommodate potential expansion.
- Baking: Position the rack in the center of a preheated oven at 350°F, baking for 8-10 minutes until edges appear set and centers remain slightly soft, then immediately press chocolate kisses into the warm cookies’ centers upon removal.
Notes
- Soften Butter Strategically: Bring butter to room temperature precisely 30-45 minutes before mixing to achieve optimal creaming texture without melting.
- Control Cocoa Intensity: Adjust cocoa powder quantity based on desired chocolate depth, using high-quality dark cocoa for richer, more complex flavor profiles.
- Prevent Dough Overworking: Mix ingredients gently and minimally to maintain cookie tenderness, stopping precisely when components are just combined to avoid tough texture.
- Chill for Perfection: Refrigerate dough for minimum 1 hour (preferably overnight) to enhance flavor development and prevent excessive cookie spreading during baking.
- Prep Time: 15 minutes
- Cook Time: 10 minutes
- Category: Desserts, Snacks
- Method: Baking
- Cuisine: American
Nutrition
- Serving Size: 25
- Calories: 150
- Sugar: 10 g
- Sodium: 90 mg
- Fat: 7 g
- Saturated Fat: 4 g
- Unsaturated Fat: 2 g
- Trans Fat: 0 g
- Carbohydrates: 20 g
- Fiber: 1 g
- Protein: 2 g
- Cholesterol: 15 mg


Emily Lawson
Content Creator & Culinary Specialist
Expertise
Education
Oregon Culinary Institute
Diploma in Culinary Arts
Focus: Emphasis on farm-to-table cooking, sustainable practices, and the fusion of global flavors with traditional grilling methods.
Emily Lawson is the content creator at Daves Grill, turning tasty ideas into clear, easy recipes. Based in Portland, she trained at the Oregon Culinary Institute and loves cooking with fresh, seasonal ingredients, especially grilled veggies and global flavors.
Emily mixes food writing with hands-on cooking to bring you recipes that feel fun, not stressful. Her goal is to make every dish simple, flavorful, and worth coming back to. Together, she and Dave serve up real food, one recipe at a time.