
Dreamy Peach Cobbler Pound Cake Twinkies Recipe for Summer Joy
Summer’s golden warmth brings out the most delectable peach cobbler pound cake Twinkies that melt in your mouth.
Sweet memories of grandma’s kitchen dance through this irresistible dessert.
Ripe, juicy peaches blend seamlessly with a tender, buttery pound cake base.
Each bite promises a symphony of flavors that whispers comfort and nostalgia.
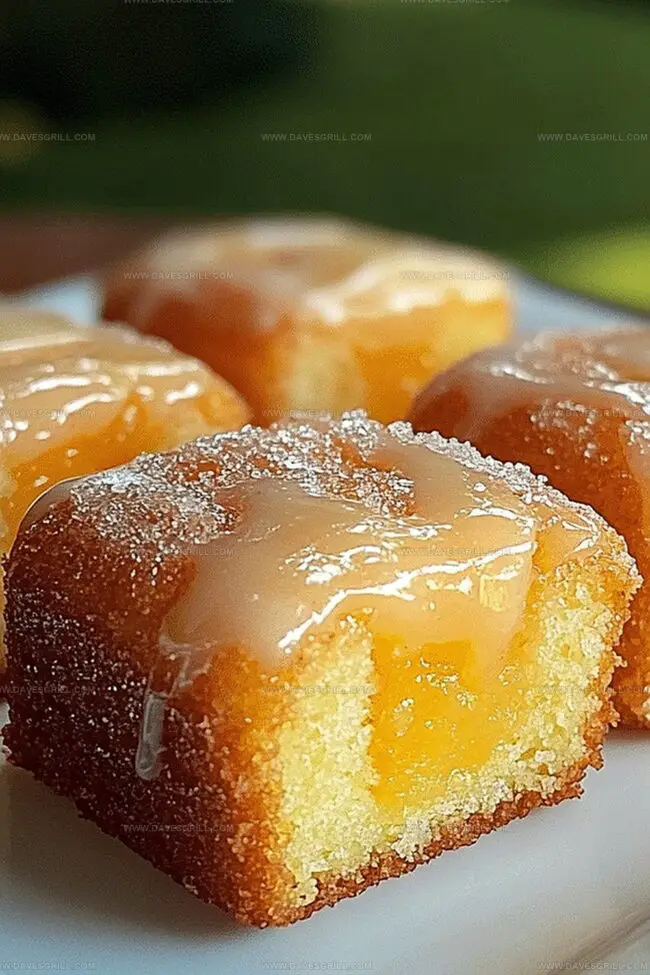
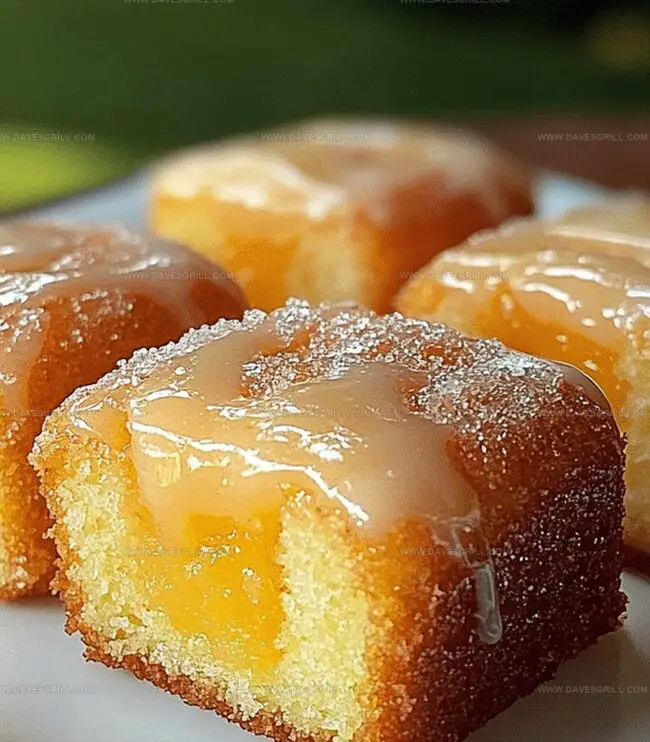
The delicate Twinkies-style presentation adds a playful twist to a classic southern treat.
Layers of soft cake and caramelized peaches create a dessert that speaks directly to your sweet tooth.
Prepare to embark on a delightful culinary journey that will have everyone asking for seconds.
Quick Recipe Overview
Pound Cake Twinkie Ingredient Breakdown
For Cake Base:For Leavening and Texture:For Moisture and Consistency:For Fruit Filling:Tools to Build These Peach-Filled Treats
Bake Peach Cobbler Twinkies With Flair
Crank the oven to a cozy 325F and lovingly coat your Twinkie or mini loaf pan with a generous butter massage.
Whip butter and sugar together until they transform into a fluffy cloud of deliciousness, creating a smooth foundation for your cake adventure.
Gently introduce eggs one by one, giving each a thorough beating and welcoming a splash of vanilla to boost the flavor party.
In a separate bowl, mix flour, baking powder, and salt. Slowly marry these dry ingredients with your creamy mixture, adding milk in between to create a harmonious batter that’s just perfectly combined.
Pour the batter into your prepared pan, filling each mold about three-quarters full. Use a spatula to create a smooth, elegant surface that promises a beautiful final result.
Send your cake into the warm oven for 20-25 minutes. Check doneness by inserting a toothpick – it should emerge clean and proud. Allow the cake to cool completely in the pan before releasing its delectable goodness.
Tips That Keep Them Moist and Flavorful
Serve with Glaze or Powdered Sugar
Store Twinkies in Airtight Containers
FAQs
Yes, you can use a mini loaf pan or standard muffin tin as alternative baking vessels.
Fresh peaches work best, but thawed frozen peaches can be used if drained thoroughly to prevent excess moisture.
Insert a toothpick into the center – if it comes out clean with no wet batter, the cake is done. The top should also be golden and slightly firm to the touch.
Use whole milk for best results. For butter, stick to unsalted butter to control the salt content and ensure consistent texture.
Print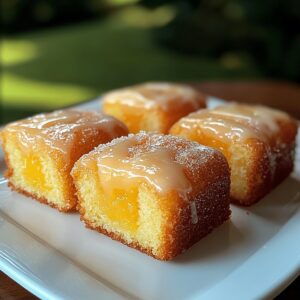
Heavenly Peach Cobbler Pound Cake Twinkies Recipe
- Total Time: 50 minutes
- Yield: 13 1x
Description
Succulent Peach Cobbler Pound Cake Twinkies merge classic dessert comfort with playful nostalgia. Southern baking traditions shine through this delightful cake that invites you to savor each sweet, buttery slice.
Ingredients
- 1 ¾ cups (350 g) granulated sugar
- 1 cup (230 g) unsalted butter, softened
- 4 large eggs
- 2 ½ cups (315 g) all-purpose flour
- 1 cup (240 ml) whole milk
- 2 tsp vanilla extract
- 1 tsp baking powder
- ½ tsp salt
- 2 cups (400 g) diced fresh or canned peaches (drained)
- ¼ cup (50 g) granulated sugar
- ½ tsp ground cinnamon
- ¼ tsp ground nutmeg
- 1 tbsp cornstarch
- 2 tbsps water
- 1 cup (240 ml) heavy whipping cream, chilled
- 3 tbsps powdered sugar
- ½ tsp vanilla extract
Instructions
- Preparation: Preheat oven to 325F (160C) and thoroughly grease a Twinkie pan or mini loaf pan with cooking spray or butter to prevent adhesion.
- Creaming: Utilize an electric mixer to whip butter and sugar until the mixture achieves a pale, voluminous texture with soft, billowy peaks.
- Egg Integration: Add eggs one at a time, mixing thoroughly after each incorporation. Infuse vanilla extract, creating an aromatic foundation.
- Dry Ingredient Combination: Whisk flour, baking powder, and salt together to eliminate potential clumps and ensure uniform distribution.
- Batter Formation: Methodically fold dry ingredients into the butter mixture, alternating with milk. Gently combine to maintain a light, delicate consistency without overworking the batter.
- Molding and Baking: Transfer batter into prepared molds, filling each cavity to about three-quarters capacity. Smooth the surface with a spatula for an even finish. Bake in the preheated oven for 20-25 minutes, or until a toothpick inserted into the center comes out immaculately clean.
- Cooling: Allow cakes to cool completely within the pan, preserving their structural integrity and preventing crumbling.
Notes
- Prep Pan Perfectly: Ensure thorough greasing with cooking spray or butter, paying special attention to corners and edges to prevent sticking and guarantee easy cake removal.
- Mix Methodically: When combining butter and sugar, beat until pale and fluffy, creating soft peaks that contribute to the cake’s light, tender texture – don’t rush this crucial step.
- Egg Incorporation Technique: Add eggs one at a time, mixing completely after each addition to create a smooth, homogeneous batter that prevents lumping and ensures even distribution.
- Avoid Overmixing: Fold dry ingredients gently into wet mixture, stopping precisely when ingredients are combined to maintain the cake’s delicate, soft crumb and prevent potential toughness.
- Prep Time: 25 minutes
- Cook Time: 25 minutes
- Category: Desserts, Snacks
- Method: Baking
- Cuisine: American
Nutrition
- Serving Size: 13
- Calories: 380
- Sugar: 30 g
- Sodium: 150 mg
- Fat: 20 g
- Saturated Fat: 12 g
- Unsaturated Fat: 8 g
- Trans Fat: 0 g
- Carbohydrates: 45 g
- Fiber: 1 g
- Protein: 4 g
- Cholesterol: 90 mg
Emily Lawson
Content Creator & Culinary Specialist
Expertise
Education
Oregon Culinary Institute
Diploma in Culinary Arts
Focus: Emphasis on farm-to-table cooking, sustainable practices, and the fusion of global flavors with traditional grilling methods.
Emily Lawson is the content creator at Daves Grill, turning tasty ideas into clear, easy recipes. Based in Portland, she trained at the Oregon Culinary Institute and loves cooking with fresh, seasonal ingredients, especially grilled veggies and global flavors.
Emily mixes food writing with hands-on cooking to bring you recipes that feel fun, not stressful. Her goal is to make every dish simple, flavorful, and worth coming back to. Together, she and Dave serve up real food, one recipe at a time.