Fluffy Peanut Butter Chocolate Chip Snowball Cookies Recipe
Soft, buttery snowball cookies take an unexpected turn with decadent peanut butter chocolate chip magic.
These melt-in-your-mouth treats combine classic holiday cookie charm with irresistible nutty richness.
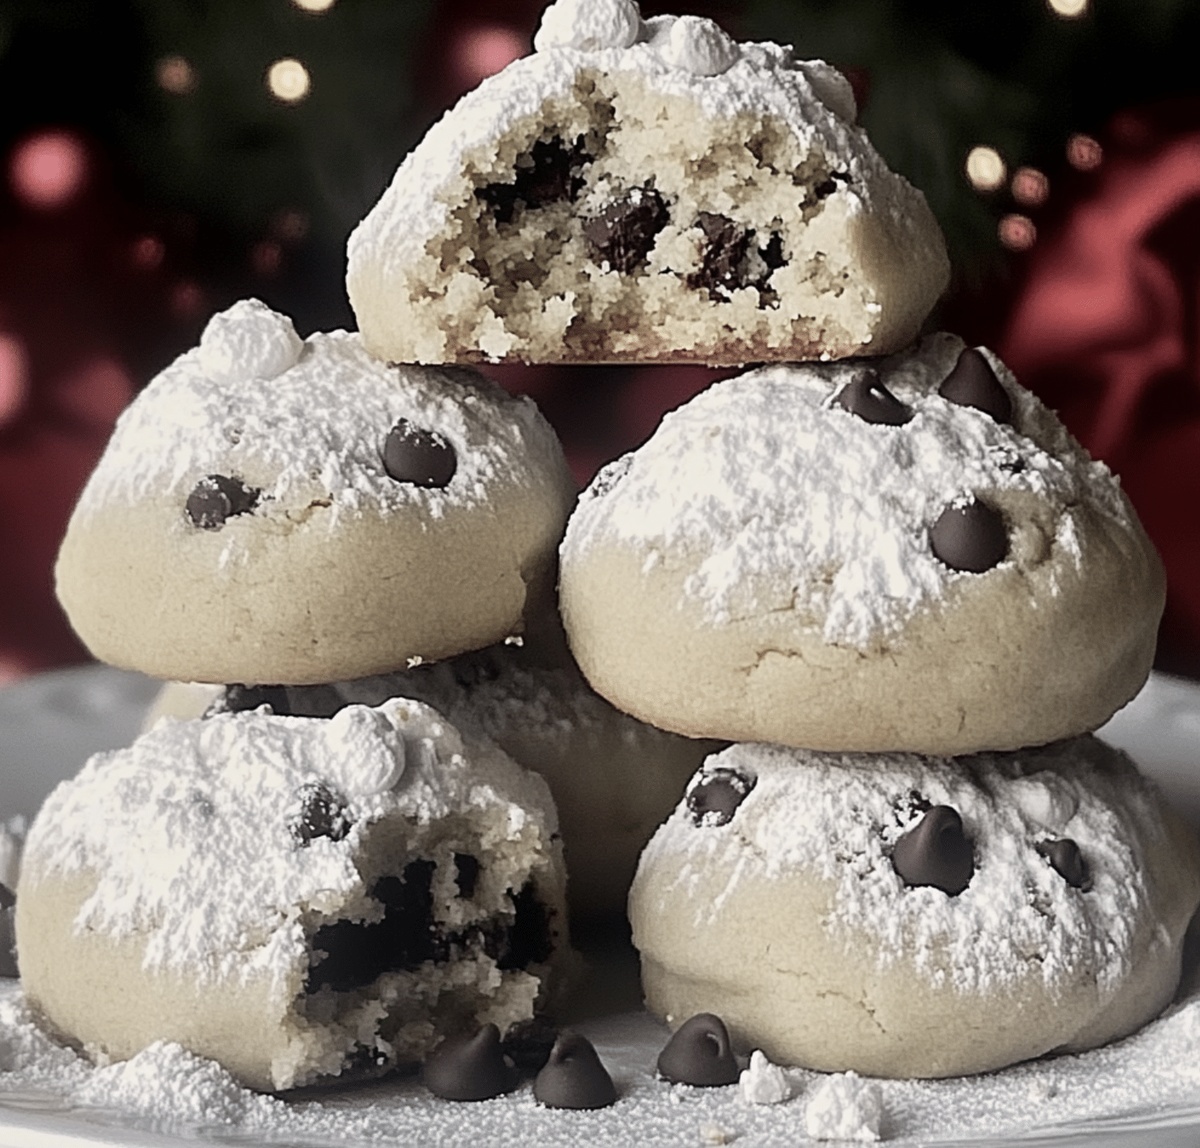
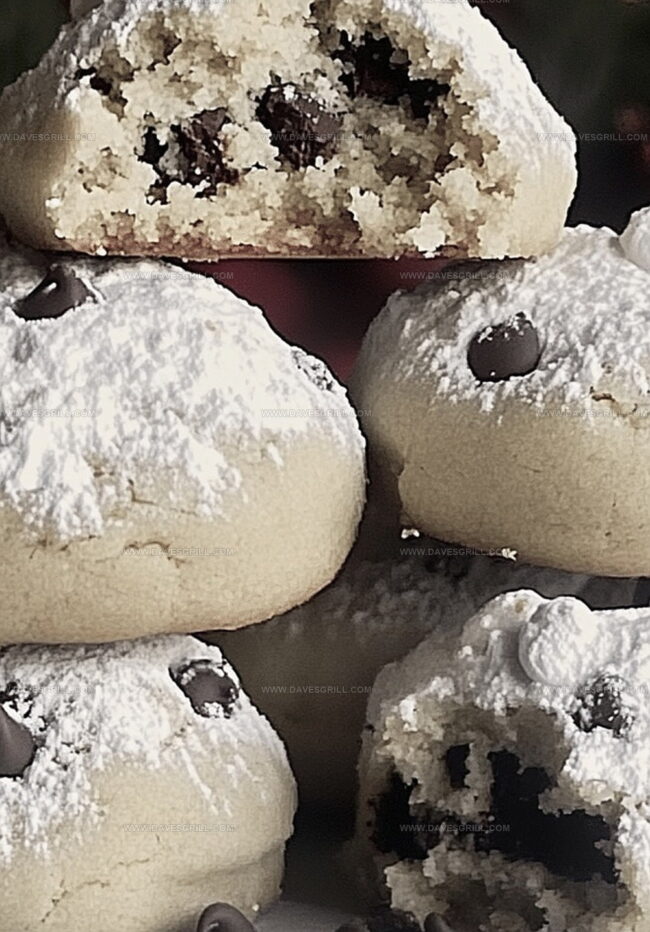
Crumbly, powdery edges give way to a surprising chocolate and peanut butter center that delights every bite.
Each cookie carries a delicate sweetness balanced by deep, warm flavors.
Rolling these delectable morsels in powdered sugar creates a festive, snow-dusted appearance that beckons dessert lovers.
Bakers of all skill levels can master this simple yet impressive recipe with ease.
Prepare to dazzle your taste buds and spread joy with these delightful, crowd-pleasing cookies.
Quick Recipe Overview
Snowball Cookie Ingredient Rundown
For Base and Binding:For Structure and Texture:For Mix-Ins and Finishing:Tools to Roll Perfect Chocolate Snowballs
How to Mix and Bake Snowballs With Chips

Mix softened butter, creamy peanut butter, and powdered sugar until beautifully blended. Splash in vanilla for a delightful aroma and stir gently. Add flour and fold in chocolate chips, creating a dreamy cookie dough.
Scoop out small portions of dough and roll into perfect little balls. Arrange them on a lined baking sheet, giving each cookie space to breathe.
Pop the cookie sheet into a toasty 350F oven. Bake until cookies look set but not darkened, around 10-12 minutes. Let them rest briefly on the baking sheet to stabilize.
While cookies are still warm, lovingly coat them in a soft blanket of powdered sugar. Once completely cooled, roll them again in powdered sugar, transforming them into gorgeous snowball treats that look like winter wonderland delights.
Tips That Add Crunch Inside and Out
Serve Dusted or Plain
Store Snowballs in Airtight Containers
FAQs
These cookies are super easy! Even beginner bakers can handle this recipe with simple ingredients and basic mixing techniques.
Creamy, smooth peanut butter works best for consistent texture. Natural peanut butter might make the dough too oily or crumbly.
Chill the dough for 15-30 minutes before shaping and baking. This helps the cookies maintain their round shape and prevents excessive spreading.
The first roll while cookies are warm helps sugar stick better. The second roll after cooling creates that classic snowball appearance and adds an extra layer of sweetness.
Print
Heavenly Peanut Butter Chocolate Chip Snowball Cookies Recipe
- Total Time: 30 minutes
- Yield: 25 1x
Description
Homemade peanut butter chocolate chip snowball cookies deliver irresistible holiday cheer with rich, nutty flavors. Delicate crumbly texture and powdered sugar coating make these treats perfect for winter celebrations.
Ingredients
- 1 ¼ cups (160 g) all-purpose flour
- ½ cup (115 g) unsalted butter, softened
- ⅓ cup (85 g) creamy peanut butter
- ½ cup (90 g) mini chocolate chips
- ¼ cup (50 g) granulated sugar
- 1 cup (120 g) powdered sugar
- 1 tsp vanilla extract
Instructions
- Preparation Setup: Warm oven to 350°F and line baking sheet with parchment paper for optimal cookie performance.
- Creamy Base Creation: Thoroughly whip butter, peanut butter, and powdered sugar until achieving a silky, light consistency that promises delectable texture.
- Flavor Infusion: Introduce vanilla extract, blending seamlessly to enhance the cookie’s aromatic profile.
- Dough Development: Gradually fold flour into wet ingredients, kneading until a soft, malleable dough forms with perfect structural integrity.
- Chocolate Integration: Disperse chocolate chips throughout the dough, ensuring a rich, even distribution that guarantees chocolate in every delightful bite.
- Shaping and Positioning: Craft uniform dough balls by rolling between palms, then arrange on prepared baking sheet with strategic spacing to prevent merging.
- Baking Process: Slide sheet into preheated oven, baking 10-12 minutes until cookies appear set but maintain a delicate, pale complexion.
- Initial Sugar Coating: While cookies remain warm, delicately roll in powdered sugar, creating an initial gossamer-like layer of sweetness.
- Final Presentation: After complete cooling, execute a second powdered sugar roll, transforming cookies into festive, snow-kissed confections ready for serving.
Notes
Enhance Dough Consistency: Work with softened butter and room temperature ingredients to create a smoother, more homogeneous dough that blends effortlessly and prevents lumpy textures.
Prevent Chocolate Sinking: Lightly dust chocolate chips with flour before folding into the dough, helping them distribute evenly and preventing them from settling at the bottom of the cookies.
Master Sugar Coating Technique: Roll cookies in powdered sugar while still warm for the first coating, then wait until completely cool for the second dusting to achieve a perfect, snow-white finish without clumping.
Adapt for Dietary Needs: Substitute regular flour with gluten-free flour blend and use dairy-free butter alternatives to make these cookies accessible for those with dietary restrictions, maintaining the same delightful texture and flavor profile.
- Prep Time: 15 minutes
- Cook Time: 15 minutes
- Category: Desserts, Snacks
- Method: Baking
- Cuisine: American
Nutrition
- Serving Size: 25
- Calories: 156
- Sugar: 8 g
- Sodium: 60 mg
- Fat: 9 g
- Saturated Fat: 4 g
- Unsaturated Fat: 5 g
- Trans Fat: 0 g
- Carbohydrates: 18 g
- Fiber: 1 g
- Protein: 3 g
- Cholesterol: 20 mg
Emily Lawson
Content Creator & Culinary Specialist
Expertise
Education
Oregon Culinary Institute
Diploma in Culinary Arts
Focus: Emphasis on farm-to-table cooking, sustainable practices, and the fusion of global flavors with traditional grilling methods.
Emily Lawson is the content creator at Daves Grill, turning tasty ideas into clear, easy recipes. Based in Portland, she trained at the Oregon Culinary Institute and loves cooking with fresh, seasonal ingredients, especially grilled veggies and global flavors.
Emily mixes food writing with hands-on cooking to bring you recipes that feel fun, not stressful. Her goal is to make every dish simple, flavorful, and worth coming back to. Together, she and Dave serve up real food, one recipe at a time.