Dreamy Peanut Butter Pie Recipe: A Luscious Sweet Escape
Creamy and decadent peanut butter pie will make your taste buds dance with pure delight.
This mouthwatering dessert combines rich, smooth flavors that melt in your mouth.
Chocolate cookie crust provides the perfect foundation for this indulgent treat.
Silky peanut butter filling creates a luxurious texture that promises pure comfort.
Each slice brings a perfect balance of sweetness and nutty goodness.
The recipe requires minimal effort but delivers maximum satisfaction.
You’ll fall in love with every single bite of this irresistible pie that’s sure to become a family favorite.
Quick Recipe Overview
Peanut Butter Pie Ingredient Breakdown
For Crust:For Filling:For Topping:Tools to Build a No-Bake Creamy Pie
Mix and Chill a Rich Peanut Butter Filling

Crush graham crackers and blend with melted butter until perfectly combined. Press the mixture firmly into a pie dish, creating a solid foundation that will hold your creamy filling.
Blend peanut butter and cream cheese until silky smooth. Fold in whipped cream gently, creating a light and airy mixture that will melt in your mouth.
Pour the peanut butter mixture into your prepared crust, spreading it evenly with smooth, gentle strokes. Make sure every inch is covered with the luscious filling.
Refrigerate the pie for several hours until the filling sets completely. This waiting time allows flavors to meld and texture to become perfectly creamy.
Before serving, drizzle with rich chocolate and sprinkle with chopped peanuts. This final touch adds amazing crunch and visual appeal to your delectable dessert.
Tips for the Right Crust-to-Filling Ratio
Serve Cold with Whipped Cream or Chocolate
Store in the Fridge for Best Results
FAQs
The mixture should look like wet sand and hold together when pressed. When you squeeze a small amount in your hand, it should compact without falling apart.
Yes, but stabilize it first by stirring well and draining excess oil. Regular creamy peanut butter works best for a consistent texture.
Ensure cream cheese and peanut butter are at room temperature and mix thoroughly. If still too soft, chill longer or add a bit more powdered sugar to help firm it up.
No, this pie contains peanut butter and is not safe for those with peanut allergies. Always check ingredients carefully for allergy concerns.
Print
Heavenly Peanut Butter Pie Recipe
- Total Time: 4 hours 15 minutes
- Yield: 9 1x
Description
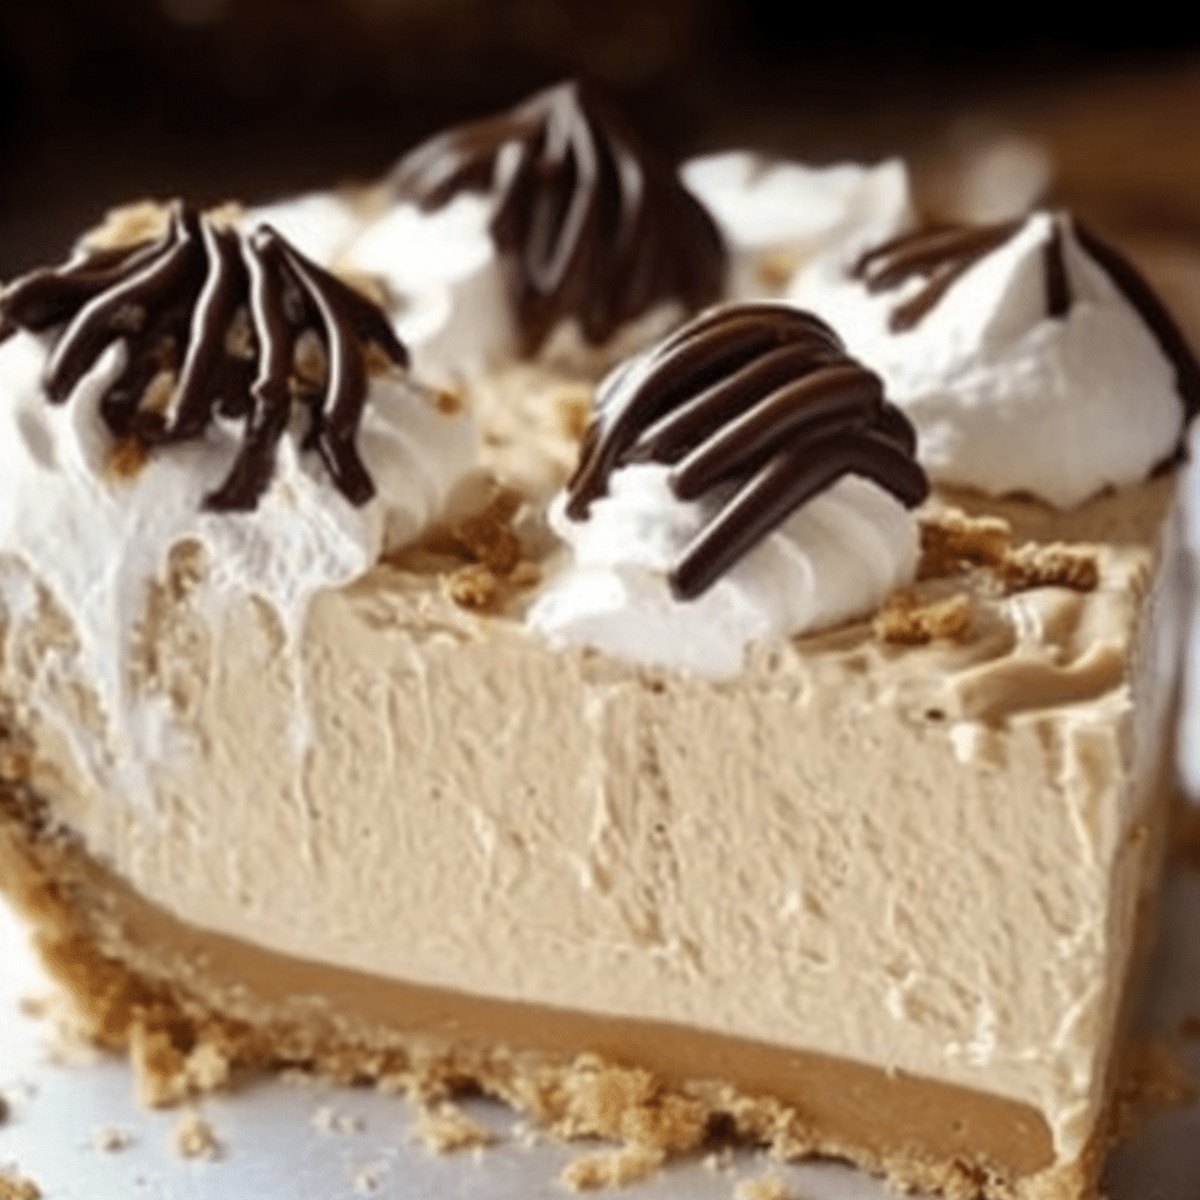
Creamy No Bake Peanut Butter Pie blends rich chocolate and silky peanut butter in a graham cracker crust. Chilled dessert lovers will savor this simple, indulgent treat that delivers pure comfort and classic flavor combinations.
Ingredients
- 1 cup (250 g) creamy peanut butter
- 8 oz (225 g) cream cheese (softened)
- 8 oz (225 g) whipped topping (like Cool Whip) or 1 cup whipped heavy cream
- 1 ½ cups (150 g) graham cracker crumbs
- 6 tbsps (85 g) unsalted butter (melted)
- ¼ cup (50 g) granulated sugar
- 1 cup (120 g) powdered sugar
- ¼ cup (60 ml) chocolate syrup or melted chocolate
- ¼ cup (30 g) chopped peanuts or mini chocolate chips
Instructions
- Crust Preparation: Pulverize graham crackers into fine crumbs, blending seamlessly with sugar and melted butter to form a cohesive mixture.
- Crust Molding: Press the crumb blend into a 9-inch pie dish, creating a uniform base and sidewall that provides a sturdy foundation for the filling.
- Filling Development: Whip cream cheese and peanut butter using an electric mixer until achieving a silky, lump-free consistency, then gradually introduce powdered sugar to create a velvety smooth base.
- Texture Enhancement: Delicately fold whipped topping into the peanut butter mixture, generating a light, cloud-like filling with gentle, billowing peaks.
- Assembly: Transfer the airy filling into the chilled crust, smoothing the surface with a spatula to eliminate any potential air pockets and ensure an elegant presentation.
- Chilling Process: Refrigerate the pie for a minimum of 4 hours, allowing the filling to solidify and develop a rich, luxurious texture; alternatively, freeze for 1-2 hours for an extra-firm consistency.
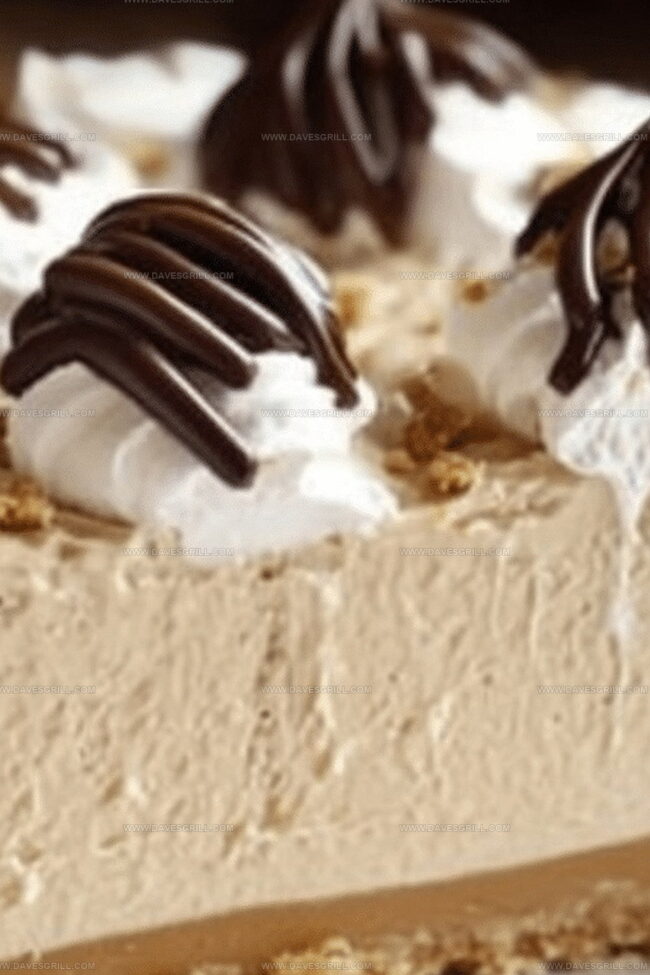
- Garnishing Finale: Before serving, adorn the pie with a graceful chocolate syrup drizzle and sprinkle with chopped peanuts or miniature chocolate chips to elevate both visual appeal and textural complexity.
Notes
- Crush Crackers Carefully: Use a food processor or rolling pin to achieve uniform, fine crumbs for a consistent, sturdy crust base.
- Blend Smoothly: Ensure cream cheese and peanut butter are at room temperature to prevent lumps and create a silky, even filling texture.
- Chill Strategically: Allow sufficient refrigeration time to help the pie set properly and develop rich, creamy consistency without compromising structural integrity.
- Customize Creatively: Swap graham crackers with gluten-free alternatives for dietary restrictions or experiment with different nut butter variations like almond or cashew for unique flavor profiles.
- Prep Time: 15 minutes
- Cook Time: 4 hours
- Category: Desserts, Snacks
- Method: None
- Cuisine: American
Nutrition
- Serving Size: 9
- Calories: 402
- Sugar: 23 g
- Sodium: 210 mg
- Fat: 25 g
- Saturated Fat: 10 g
- Unsaturated Fat: 15 g
- Trans Fat: 0 g
- Carbohydrates: 37 g
- Fiber: 2 g
- Protein: 8 g
- Cholesterol: 30 mg
Emily Lawson
Content Creator & Culinary Specialist
Expertise
Education
Oregon Culinary Institute
Diploma in Culinary Arts
Focus: Emphasis on farm-to-table cooking, sustainable practices, and the fusion of global flavors with traditional grilling methods.
Emily Lawson is the content creator at Daves Grill, turning tasty ideas into clear, easy recipes. Based in Portland, she trained at the Oregon Culinary Institute and loves cooking with fresh, seasonal ingredients, especially grilled veggies and global flavors.
Emily mixes food writing with hands-on cooking to bring you recipes that feel fun, not stressful. Her goal is to make every dish simple, flavorful, and worth coming back to. Together, she and Dave serve up real food, one recipe at a time.