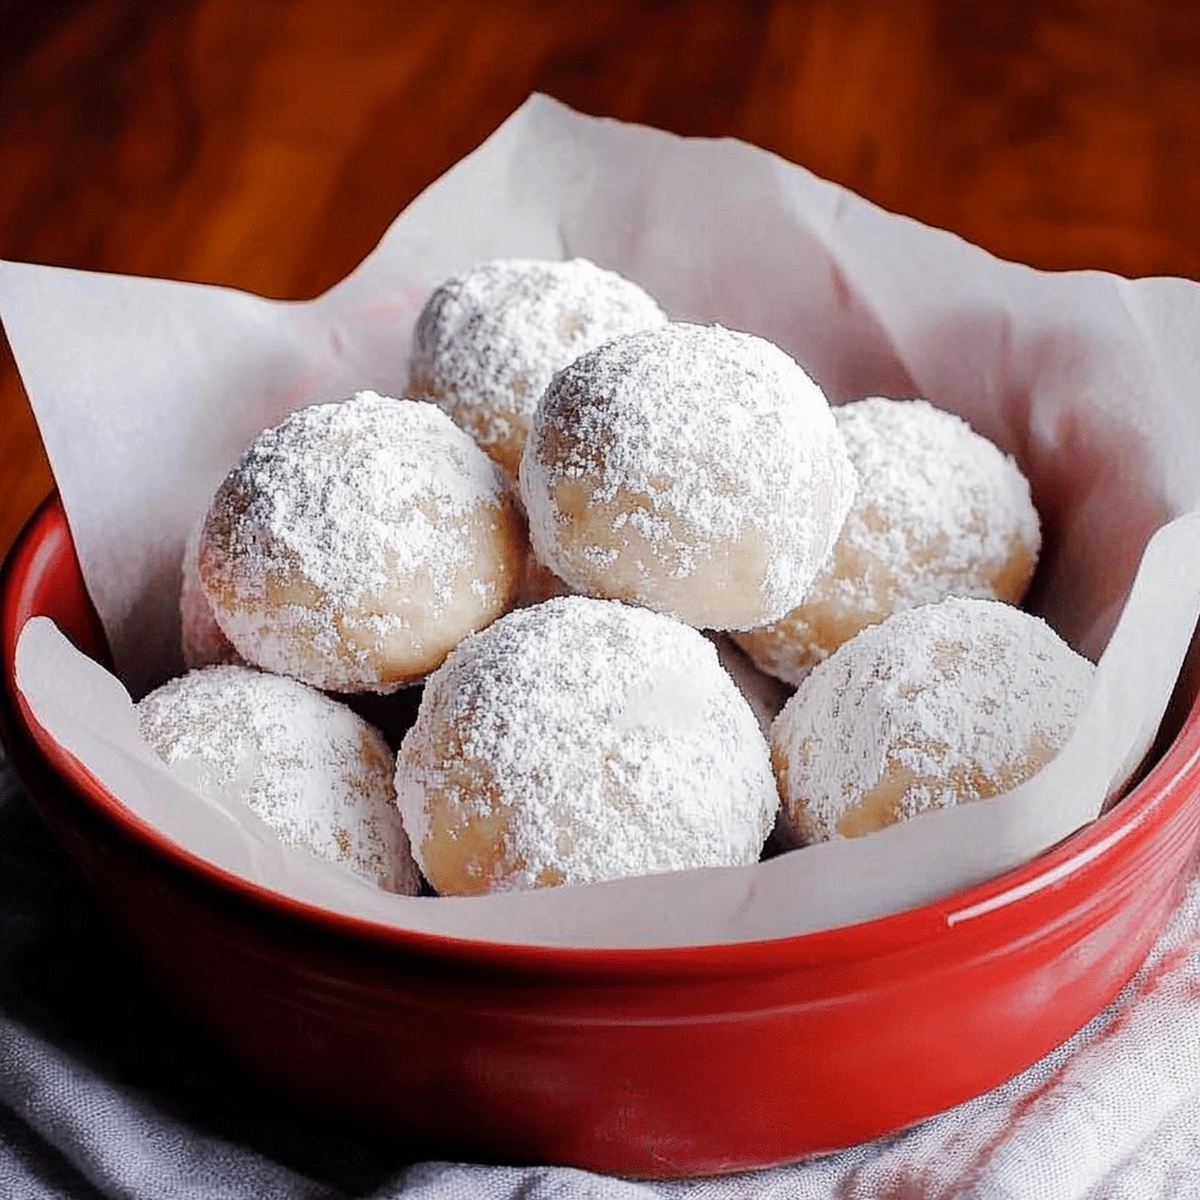
Sweet Cloud Delights: Heavenly Snowball Cookies Recipe
When winter’s chill settles in, nothing warms the heart quite like a batch of classic snowball cookies that melt in your mouth with buttery, nutty goodness.
These delicate, powdery treats bring a touch of magic to any holiday gathering or cozy afternoon.
Each delicate cookie is rolled generously in powdered sugar, creating a soft, cloud-like exterior that crumbles with delightful sweetness.
Pecans add a rich, toasted dimension to the tender dough, making every bite a delectable experience.
Crafted with simple ingredients and minimal effort, these cookies transform ordinary moments into something special.
You’ll want to savor these melt-in-your-mouth delights slowly, letting the sweet, nutty flavor dance across your palate.
With just a few simple steps, you can create a batch of these irresistible snowball cookies that are sure to become a cherished winter tradition.
Quick Recipe Overview
Snowball Cookie Ingredient List
For Mixing Base:For Flavor and Structure:For Optional Texture and Crunch:Tools That Help Shape Snowball Cookies Neatly
How to Bake Classic Snowball Cookies at Home
Fire up your oven to 350F and grab a baking sheet. Line it with parchment paper to keep those delicate treats from sticking and make cleanup a breeze.
Grab your mixer and blend butter and powdered sugar until the mixture looks light and airy. This is where the begins – aim for a fluffy texture that’ll make your cookies melt in your mouth.
Pour in some vanilla and a tiny pinch of salt. Slowly fold in flour until everything comes together smoothly. If you’re feeling nutty, toss in some chopped nuts for extra crunch.
Roll the dough into tiny balls using your hands or a cookie scoop. Think golf ball size, but smaller. Arrange them on your prepared baking sheet with a little breathing room between each one.
Slide the tray into the oven and let them bake for 12-15 minutes. Look for golden edges but keep the centers soft. The moment they look just right, pull them out and let them rest for a quick 5 minutes.
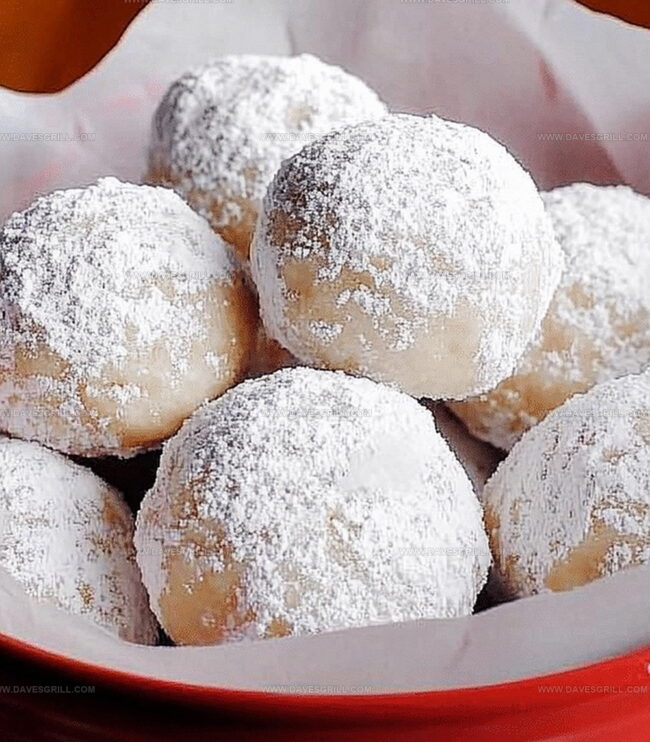
While the cookies are still warm, give them a luxurious roll in powdered sugar. Go wild and coat them generously – this is what gives them that classic snowball look. Let them cool completely before serving up these delectable treats.
Tips to Get Snowball Cookies Light and Powdery
Serve These Cookies with Cocoa or Tea
Store Snowballs to Keep Them Tender and Sweet
FAQs
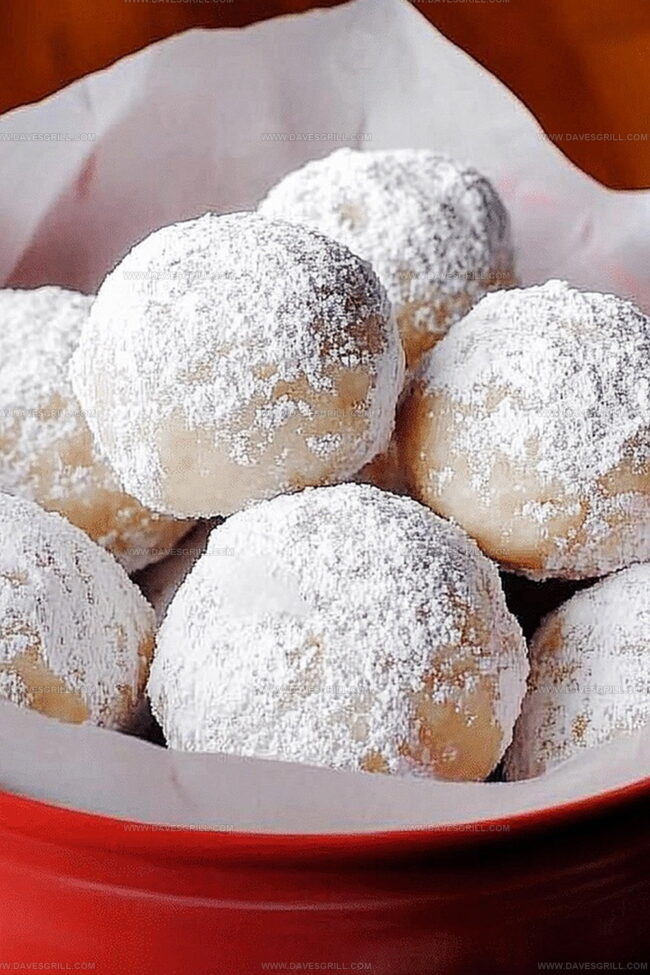
These cookies get their name from their round shape and the generous coating of white powdered sugar that makes them look like small snowballs, resembling little white spheres similar to snowballs you’d see in winter.
Absolutely! While nuts are traditional, you can easily omit them or substitute with other ingredients like mini chocolate chips or leave the cookies plain without any additional mix-ins.
The key is to roll the cookies while they’re still slightly warm and handle them gently. Let them cool for just a few minutes on the baking sheet before carefully coating them in powdered sugar to maintain their structure.
Pecans and walnuts are the most traditional choices. They add a rich, nutty flavor that complements the sweet, buttery cookie base. Chopped almonds can also work well if you prefer a different nut variety.
Print
Heavenly Snowball Cookies Recipe
- Total Time: 30 minutes
- Yield: 25 1x
Description
Mexican wedding cookies offer a delightful snowball experience with powdered sugar-coated almond shortbread. Crumbly, buttery treats melt in your mouth, providing a sweet glimpse of holiday cheer.
Ingredients
- 1 cup (225 g) unsalted butter, softened
- 2 ¼ cups (280 g) all-purpose flour
- 1 cup (120 g) finely chopped pecans or walnuts
- ½ cup (60 g) powdered sugar (plus extra for rolling)
- 1 tsp vanilla extract
- ¼ tsp salt
Instructions
- Oven Preparation: Preheat oven to 350F (175C) and line baking sheet with parchment paper for easy cookie release and cleanup.
- Butter Mixture: Cream softened butter and powdered sugar using electric mixer until fluffy and light, incorporating vanilla extract and salt for enhanced flavor profile.
- Dough Formation: Gradually fold flour into butter mixture, gently integrating chopped nuts to create a uniform, cohesive dough without overmixing.
- Cookie Shaping: Mold consistent 1-inch dough spheres using hands or cookie scoop, ensuring uniform size for even baking performance.
- Baking Process: Arrange cookie balls on prepared sheet with minimal spacing, then bake in preheated oven until edges turn delicately golden, approximately 12-15 minutes.
- Cooling and Coating: Rest cookies briefly on baking sheet, then transfer to wire rack and while still warm, generously dust with powdered sugar to create a pristine, snow-like exterior.
- Final Presentation: Allow cookies to cool completely, permitting powdered sugar coating to set and achieving optimal texture before serving or storing.
Notes
- Prevent Crumbly Texture: Ensure butter is softened at room temperature, not melted, to maintain cookie structure and smooth mixing.
- Master Uniform Sizing: Use a cookie scoop or consistent hand-rolling technique to create evenly sized balls, promoting uniform baking and professional appearance.
- Control Sugar Coating: Roll warm cookies in powdered sugar first, then re-coat once cooled for a thicker, more elegant snow-like finish that adheres better.
- Customize Nut Options: Swap traditional nuts with alternatives like pecans or almonds for different flavor profiles, or omit entirely for nut-free dietary needs.
- Prep Time: 15 minutes
- Cook Time: 15 minutes
- Category: Desserts, Snacks
- Method: Baking
- Cuisine: American
Nutrition
- Serving Size: 25
- Calories: 200
- Sugar: 4 g
- Sodium: 0.1 g
- Fat: 20 g
- Saturated Fat: 5 g
- Unsaturated Fat: 15 g
- Trans Fat: 0 g
- Carbohydrates: 18 g
- Fiber: 1 g
- Protein: 3 g
- Cholesterol: 30 mg
Emily Lawson
Content Creator & Culinary Specialist
Expertise
Education
Oregon Culinary Institute
Diploma in Culinary Arts
Focus: Emphasis on farm-to-table cooking, sustainable practices, and the fusion of global flavors with traditional grilling methods.
Emily Lawson is the content creator at Daves Grill, turning tasty ideas into clear, easy recipes. Based in Portland, she trained at the Oregon Culinary Institute and loves cooking with fresh, seasonal ingredients, especially grilled veggies and global flavors.
Emily mixes food writing with hands-on cooking to bring you recipes that feel fun, not stressful. Her goal is to make every dish simple, flavorful, and worth coming back to. Together, she and Dave serve up real food, one recipe at a time.