Quick Strawberry Crunch Cheesecake Cake Recipe That Dazzles
Summer’s sweetest dessert, bursting with strawberry crunch cheesecake magic, promises pure indulgence for every dessert lover.
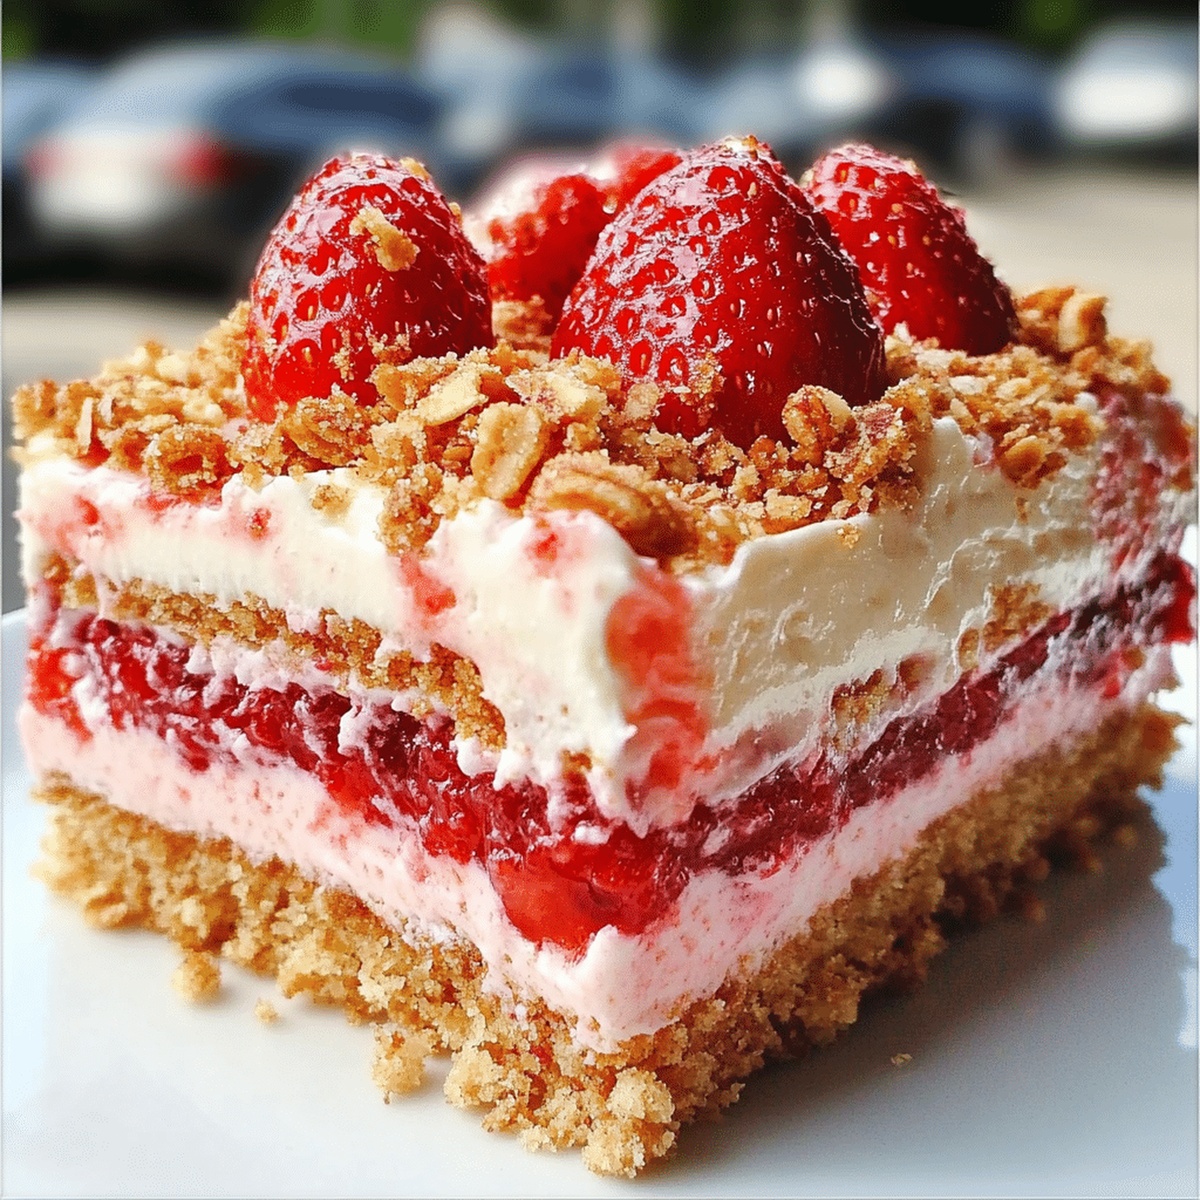
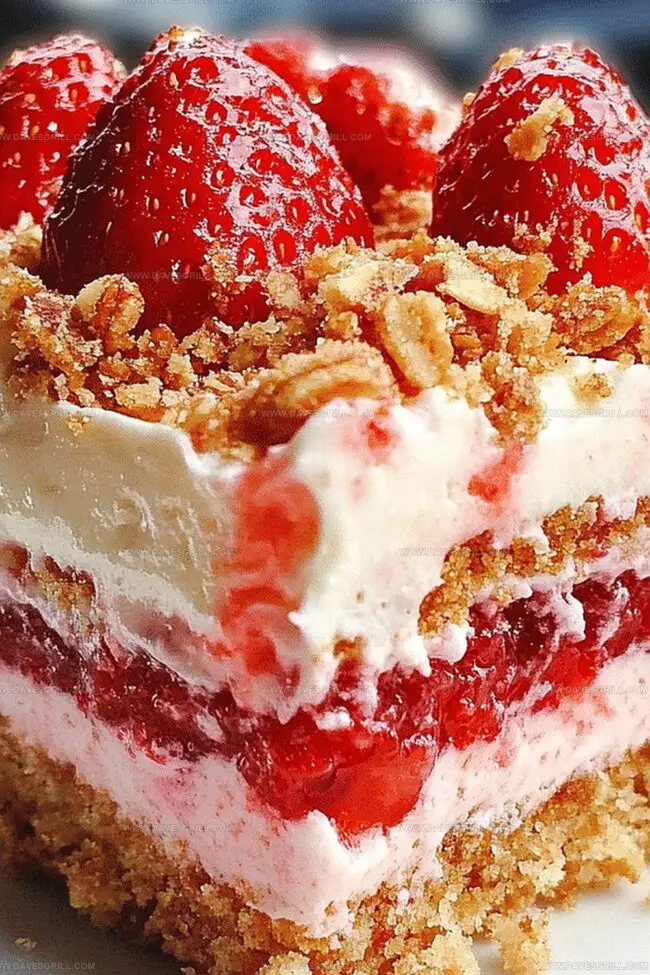
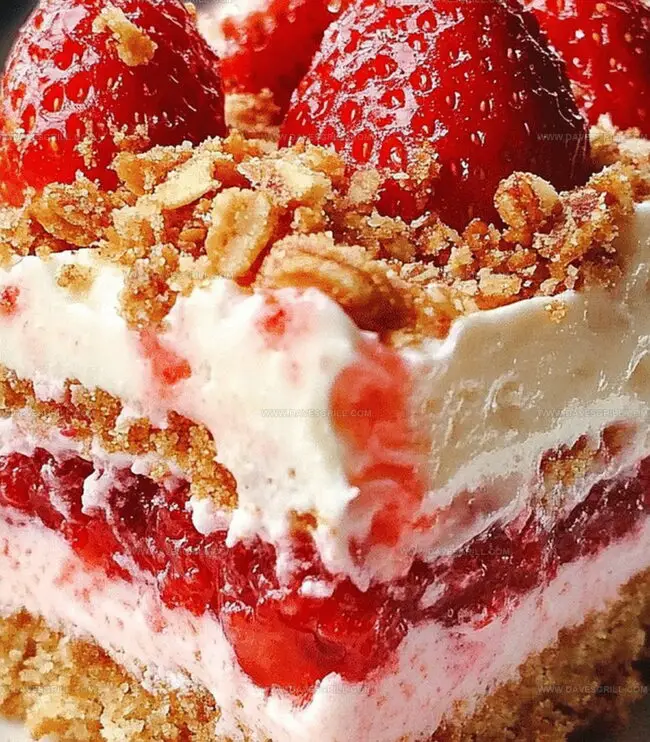
Layers of creamy cheesecake blend seamlessly with a buttery graham cracker base.
Ripe strawberries dance through each delectable slice, creating a symphony of textures and flavors.
Crisp crunch meets silky smoothness in this irresistible treat that transforms ordinary moments into extraordinary memories.
The combination of tangy cream cheese and sweet berries creates a dessert that sings with freshness.
Elegant yet simple, this recipe delivers restaurant-quality decadence right from your kitchen.
Prepare to fall in love with every single bite of this unforgettable strawberry sensation.
Quick Recipe Overview
Crunch Cheesecake Cake Ingredient Checklist
For Crust:For Cheesecake Filling:For Strawberry Crunch Topping:What You’ll Need for Strawberry Crunch Layers
Bake a Cake That’s All About Texture
Tips for Crunchy Topping That Doesn’t Soften
Serve with Strawberries or Whipped Cream
Store This Cake with Crunch Separated
FAQs
The key ingredients are crushed graham crackers, freeze-dried strawberries, melted butter, and powdered sugar, which create a crispy and flavorful layer on top of the cheesecake.
Fresh strawberries have too much moisture and might make the topping soggy. Freeze-dried strawberries provide intense flavor and crunch without adding extra liquid to the recipe.
To prevent cracking, avoid overmixing the batter, bake at a low temperature, use a water bath, and let the cheesecake cool gradually in the oven with the door slightly open after baking.
Yes, a springform pan is recommended because it allows you to easily remove the cheesecake without damaging its delicate structure, ensuring a clean and professional presentation.
Print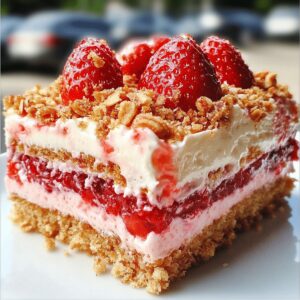
Heavenly Strawberry Crunch Cheesecake Cake Recipe
- Total Time: 1 hour 50 minutes
- Yield: 13 1x
Description
Strawberry Crunch Cheesecake Cake blends creamy cheesecake layers with crisp strawberry crumble in a delightful dessert. Homemade goodness delivers pure indulgence for passionate bakers seeking summer celebration on their plate.
Ingredients
- 3 large eggs
- 1 box (15.25 oz / 432 g) strawberry cake mix
- ⅓ cup (80 ml) vegetable oil
- 1 cup (240 ml) water
- 2 packs (16 oz / 450 g) cream cheese, softened
- 2 large eggs
- ¾ cup (150 g) granulated sugar
- 1 tsp vanilla extract
- ½ cup (120 ml) heavy cream
- 1 cup (230 g) unsalted butter, softened
- 4 cups (500 g) powdered sugar
- ¼ cup (60 ml) heavy cream
- 1 tsp vanilla extract
- 1 ½ cups (150 g) crushed Golden Oreos
- 3 tbsps freeze-dried strawberries, crushed into powder
- 4 tbsps (60 g) unsalted butter, melted
Instructions
- Preparation: Meticulously line a 9-inch springform pan with parchment paper and lightly grease interior surfaces to facilitate effortless cake extraction.
- Cream Mixture: Utilize an electric mixer to blend cream cheese and sugar until achieving a silky, uniform consistency, eliminating any potential lumps.
- Egg Integration: Incrementally introduce eggs into the mixture, thoroughly blending each addition to maintain a smooth, homogeneous texture and prevent curdling.
- Flavor Enhancement: Delicately fold vanilla extract and heavy cream into the base, creating a luxurious, aromatic cheesecake foundation with velvety richness.
- Pan Deployment: Carefully transfer the cream mixture into the prepared springform pan, ensuring even distribution and eliminating potential air pockets for a flawless texture.
- Baking Process: Position the pan in a preheated oven at 325F (160C), allowing the cheesecake to bake for 40-50 minutes until the center achieves a gentle, set-like firmness with minimal wobbling.
- Cooling and Setting: Remove from the oven and allow the cheesecake to cool naturally at room temperature, then refrigerate for a minimum of 4 hours or preferably overnight to maximize flavor development and structural refinement.
Notes
Prepare Pan Perfectly: Use parchment paper and grease to ensure smooth cake release without sticking, preventing potential structural damage during serving.
Prevent Cheesecake Cracking: Mix ingredients at room temperature and avoid overmixing to maintain a smooth, crack-free surface, creating a professional-looking dessert.
Manage Baking Temperature: Use a water bath or place a shallow pan of water in the oven to create humidity, which helps prevent surface cracking and promotes even baking.
Cooling Technique Matters: Allow cheesecake to cool gradually at room temperature before refrigerating, reducing the risk of sudden temperature changes that can cause surface imperfections or sinking.
- Prep Time: 30 minutes
- Cook Time: 1 hour 20 minutes
- Category: Desserts
- Method: Baking
- Cuisine: American
Nutrition
- Serving Size: 13
- Calories: 484
- Sugar: 48 g
- Sodium: 260 mg
- Fat: 27 g
- Saturated Fat: 15 g
- Unsaturated Fat: 12 g
- Trans Fat: 1 g
- Carbohydrates: 54 g
- Fiber: 1 g
- Protein: 6 g
- Cholesterol: 105 mg
Emily Lawson
Content Creator & Culinary Specialist
Expertise
Education
Oregon Culinary Institute
Diploma in Culinary Arts
Focus: Emphasis on farm-to-table cooking, sustainable practices, and the fusion of global flavors with traditional grilling methods.
Emily Lawson is the content creator at Daves Grill, turning tasty ideas into clear, easy recipes. Based in Portland, she trained at the Oregon Culinary Institute and loves cooking with fresh, seasonal ingredients, especially grilled veggies and global flavors.
Emily mixes food writing with hands-on cooking to bring you recipes that feel fun, not stressful. Her goal is to make every dish simple, flavorful, and worth coming back to. Together, she and Dave serve up real food, one recipe at a time.