Homemade Apple Cider Recipe for Autumn Sipping
Crisp autumn winds carry the delightful whispers of a homemade apple cider that beckons with warmth and nostalgia.
Fragrant spices dance through my kitchen, infusing the air with memories of cozy sweaters and crackling fireplaces.
Sweet apples, freshly picked from local orchards, promise a comforting brew that connects us to time-honored traditions.
Each simmering pot tells a story of harvest celebrations and quiet moments shared with loved ones.
My grandmother’s cherished recipe comes alive with cinnamon sticks, cloves, and a splash of orange zest.
The gentle brewing process transforms simple ingredients into liquid gold, releasing an aroma that wraps you in pure comfort.
Sip this magical elixir and let the magic of fall embrace your senses.
Why Homemade Apple Cider Is the Coziest Drink for Fall
What Goes Into Homemade Apple Cider
Fresh Produce:Spices and Aromatics:Sweeteners and Enhancers:Step-by-Step Guide to Making Fresh Apple Cider at Home
Step 1: Prepare Apple Base
Wash apples thoroughly. Cut them into quarters, keeping the skin intact for enhanced flavor and color. Transfer apple quarters into a large stockpot or slow cooker.
Step 2: Infuse with Aromatic Spices
Add spices and citrus to create a complex flavor profile:Step 3: Create Liquid Foundation
Pour water over apples and spices, ensuring complete coverage. Position pot on stove and heat to boiling temperature.
Step 4: Develop Rich Flavor
Reduce heat after boiling. Allow mixture to simmer gently for 1.5 to 2 hours. The kitchen will fill with a warm, inviting fragrance as apples soften and spices release their essence.
Step 5: Extract Maximum Flavor
Crush softened apples using a potato masher or large spoon. This process helps release additional juice and intensify overall taste.
Step 6: Separate Liquid Gold
Position a fine-mesh strainer or cheesecloth over a clean bowl. Carefully pour the mixture through the strainer, gently pressing to extract maximum liquid.
Step 7: Customize Sweetness
Taste the freshly strained cider. Adjust flavor by stirring in brown sugar. Enhance complexity by adding extra spices if desired.
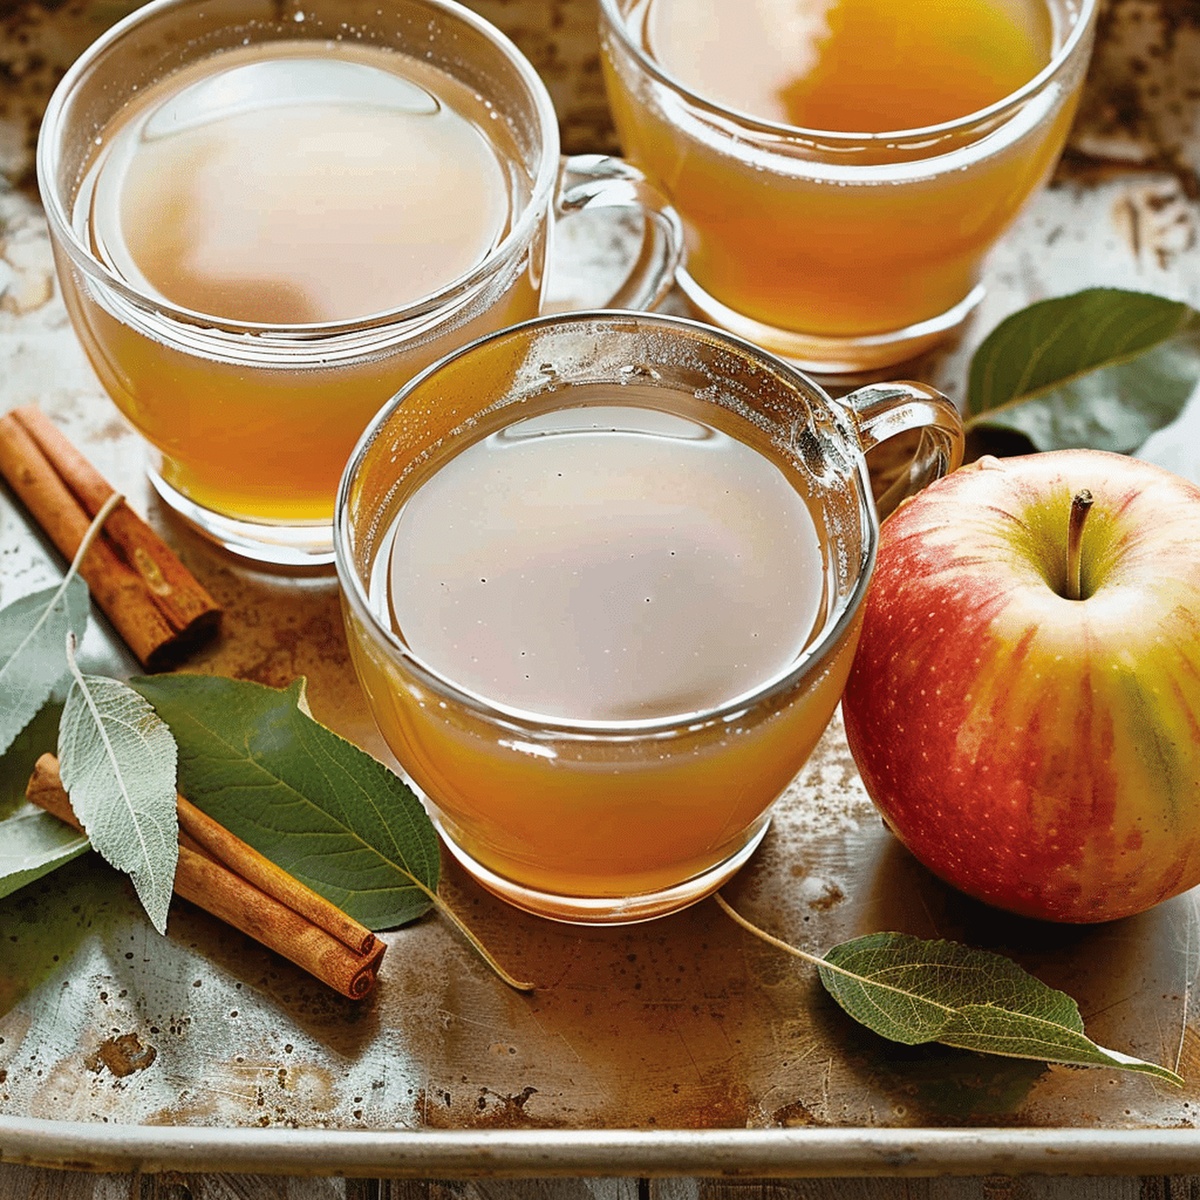
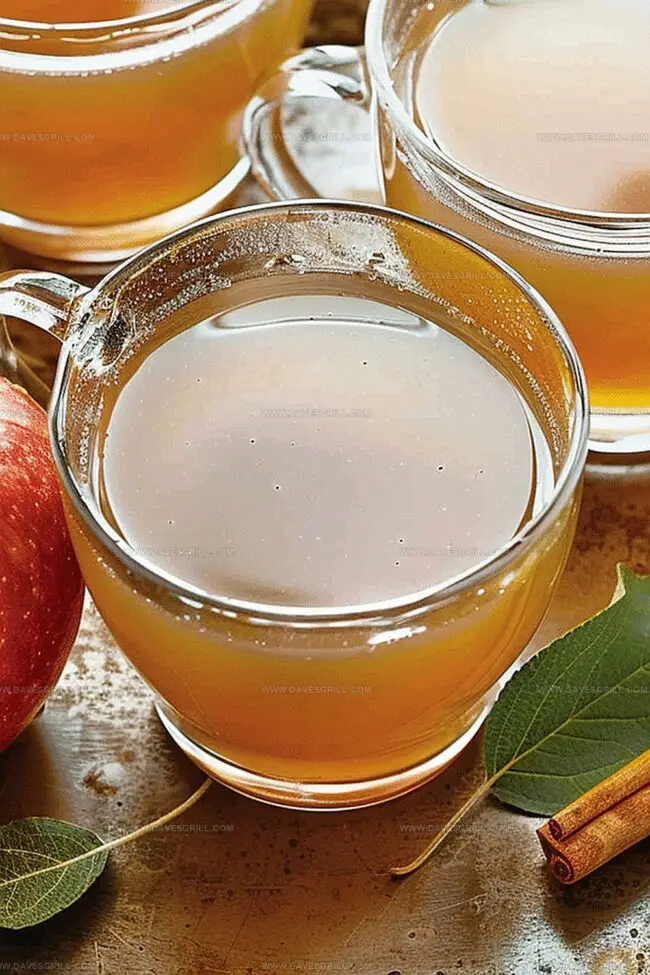
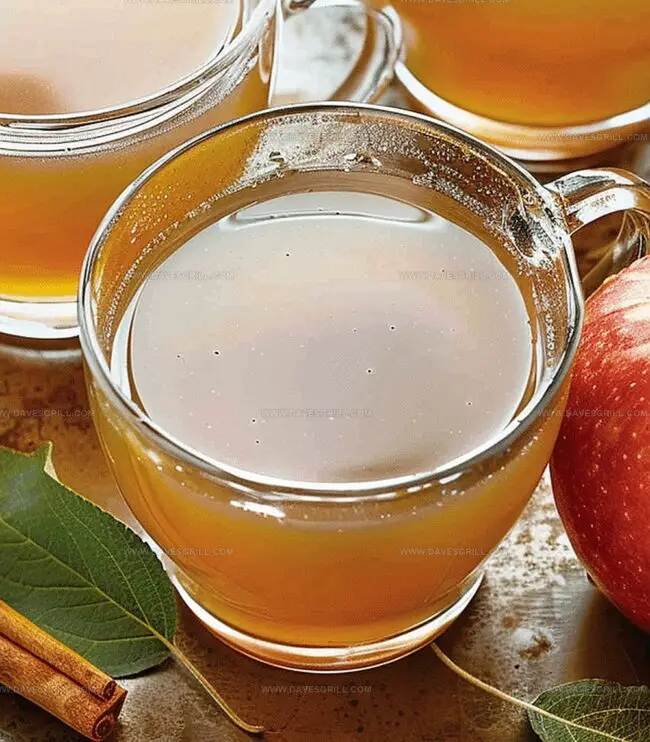
Step 8: Serve with Style
Present warm cider in mugs. Garnish with a cinnamon stick or orange slice for visual appeal. For a chilled version, refrigerate and reheat before serving.
Tips for a More Fragrant, Flavorful Cider
How to Keep Homemade Apple Cider Fresh and Warm
Snacks and Dishes That Pair Well with Apple Cider
Apple Cider Variations You’ll Want to Sip Again
Print
Homemade Apple Cider Recipe
- Total Time: 5 hours 10 minutes
- Yield: 10 1x
Description
Warm spices dance through Homemade Apple Cider, creating a comforting autumn embrace. Sweet apple notes and fragrant cinnamon invite cozy moments that connect you with seasonal traditions.
Ingredients
Primary Ingredients:
- 10 medium apples (mix of Honeycrisp, Fuji, and Granny Smith)
- 10 cups water
Spices and Aromatics:
- 3–4 cinnamon sticks
- 1 tablespoon whole cloves
- 1 tablespoon whole allspice
Additional Ingredients:
- 1 orange, quartered
- ½ cup brown sugar
Instructions
- Meticulously wash and quarter apples without peeling, preserving the skin for enhanced flavor and rich color. Distribute apple pieces into a spacious stockpot or slow cooker.
- Incorporate aromatic spices including cinnamon stick, cloves, and star anise. Quarter an orange and introduce entire segments into the mixture, allowing zesty citrus notes to permeate the liquid.
- Submerge all ingredients completely with water, ensuring they are generously covered. Elevate heat to trigger a rolling boil.
- Reduce temperature immediately after boiling, transitioning to a gentle simmer. Allow ingredients to harmonize and infuse, typically requiring 1.5 to 2 hours of patient cooking until apples transform into soft, fragrant components.
- Utilize a potato masher or robust spoon to aggressively break down apple segments. Mashing releases concentrated juices and intensifies the overall flavor profile, creating a more robust liquid.
- Position a fine-mesh strainer or layered cheesecloth atop a large receptacle. Carefully transfer the entire mixture through the strainer, applying gentle pressure to extract maximum liquid essence.
- Sample the freshly strained cider and adjust sweetness by integrating brown sugar. Optionally enhance spice complexity by introducing additional cinnamon or clove elements according to personal preference.
- Present the homemade cider steaming hot, embellished with a decorative cinnamon stick or orange slice. Alternatively, refrigerate for a refreshing chilled version, reheating prior to serving.
Notes
- Choose ripe, sweet apples like Gala, Fuji, or Honeycrisp for the most flavorful homemade cider, ensuring a rich and natural sweetness without excessive added sugar.
- Avoid using bruised or overripe apples, as they can introduce off-flavors and potentially make the cider taste bitter or musty.
- Experiment with different spice combinations by adding a pinch of nutmeg, ginger, or cardamom to create a unique and personalized cider profile that suits your taste preferences.
- For a lighter, less sweet version, reduce or omit the brown sugar and let the natural apple sweetness shine through, making it more suitable for those watching their sugar intake.
- Prep Time: 10 minutes
- Cook Time: 2.5 hours
- Category: Drinks, Snacks
- Method: Simmering
- Cuisine: American
Nutrition
- Serving Size: 10
- Calories: 50
- Sugar: 12 g
- Sodium: 5 mg
- Fat: 0 g
- Saturated Fat: 0 g
- Unsaturated Fat: 0 g
- Trans Fat: 0 g
- Carbohydrates: 13 g
- Fiber: 2 g
- Protein: 0.5 g
- Cholesterol: 0 mg
Dave Mitchell
Founder & Chief Recipe Developer
Expertise
Education
Asheville-Buncombe Technical Community College
Associate of Applied Science in Culinary Arts
Focus: Comprehensive training in culinary techniques, kitchen management, and menu planning, with a special emphasis on grilling and outdoor cooking.
Dave Mitchell is the heart behind Daves Grill, a cook, writer, and lover of all things grilled. He studied Culinary Arts at Asheville-Buncombe Technical Community College and spent years cooking, testing, and sharing recipes that actually work.
Dave started Daves Grill to keep things simple: one great recipe at a time. His food is bold, easy to follow, and made for real people with regular kitchens. From juicy steaks to quick sides, Dave’s recipes bring the heat without the hassle.