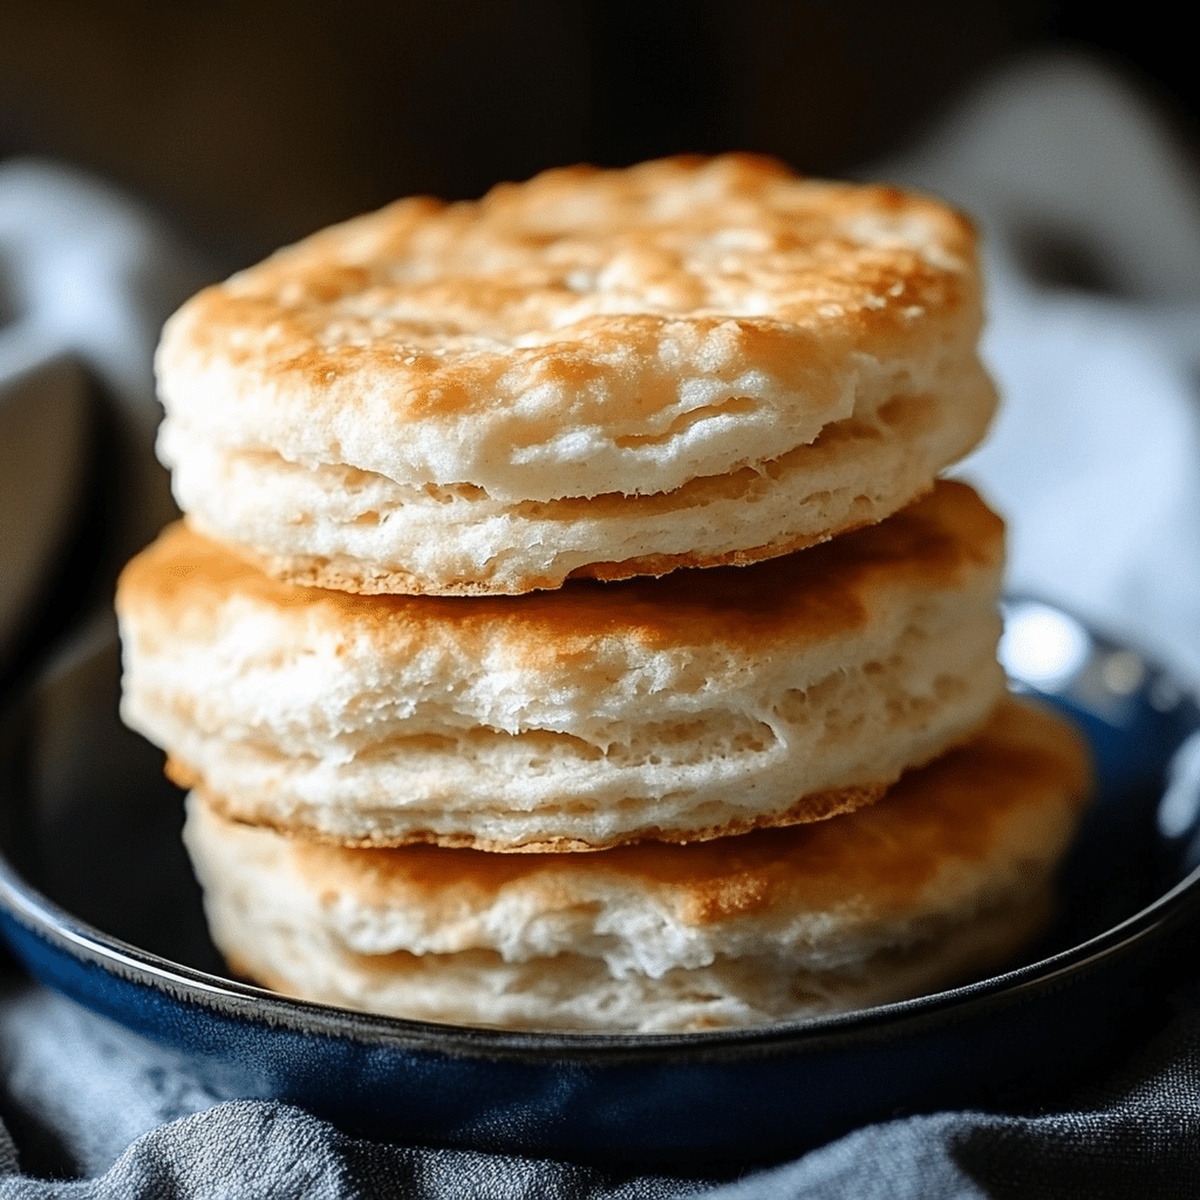
Easy Homemade Biscuits Recipe: Fluffy Comfort in Every Bite
Those warm homemade biscuits float like clouds of comfort straight from grandmother’s kitchen.
Buttery aromas instantly transport us to cherished memories of slow weekend mornings.
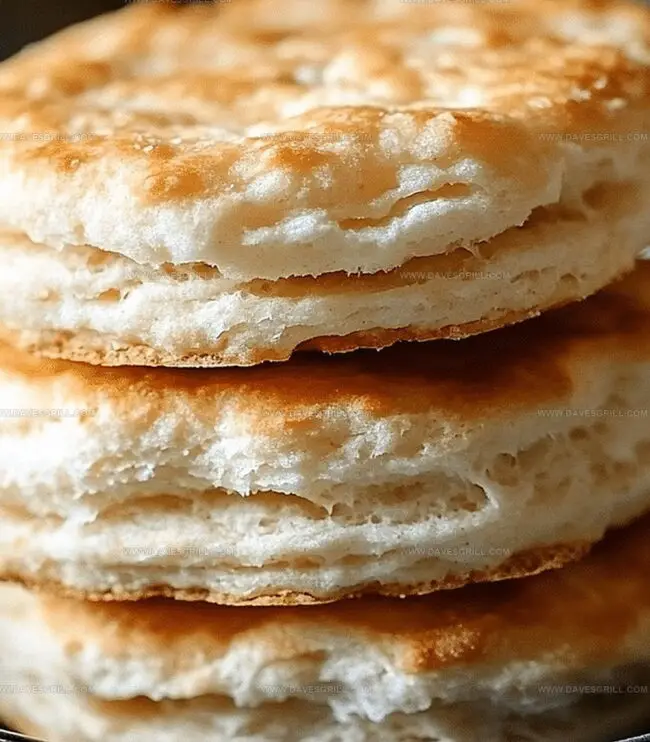
Flaky layers promise golden-edged deliciousness that melts in seconds.
Southern kitchens have perfected this simple art through generations of careful practice.
Every baker can master these tender treasures with just a few basic ingredients.
Crisp edges and soft centers create magic on your plate.
Trust me, these biscuits will become your new weekend breakfast obsession.
Why Homemade Biscuits Make Every Meal Cozier

What Goes into Classic Fluffy Homemade Biscuits
Flour Ingredients:Fat Ingredients:Liquid Ingredients:Optional Finishing Ingredient:How to Make Tender and Golden Homemade Biscuits
Step 1: Preheat the Oven
Set your oven to a toasty 450F (232C). This high heat is the secret to creating those dreamy, flaky biscuit layers that melt in your mouth.
Step 2: Combine Dry Ingredients
Grab a large mixing bowl and whisk together:These ingredients are your biscuit’s flavor foundation.
Step 3: Work in the Butter
Drop in cold, cubed butter. Grab a pastry cutter or use your fingertips to blend the butter into the flour. You’re looking for a texture like coarse, pebbly sand with tiny butter chunks scattered throughout.
Step 4: Introduce the Milk
Pour in the milk and stir gently. The goal is a slightly sticky dough that just barely holds together. If it feels too dry, splash in a bit more milk, one tablespoon at a time.
Step 5: Knead and Fold
Dust a clean surface with flour and turn out the dough. Fold it over itself a few times- this creates those irresistible layers. Keep it gentle to maintain the biscuits’ light, airy texture.
Step 6: Roll Out the Dough
Flatten the dough with a rolling pin to about 1-inch thick. Think pillowy and substantial, not paper-thin.
Step 7: Cut Biscuit Shapes
Use a biscuit cutter or a drinking glass to punch out perfect rounds. Press straight down- no twisting! Collect the scraps, re-roll, and cut more biscuits.
Step 8: Bake to Golden Perfection
Arrange the biscuits close together on a baking sheet. Slide them into the hot oven and bake for 10-12 minutes until they’re beautifully golden and puffed up.
Step 9: Butter Finish
For an extra touch of deliciousness, brush the hot biscuits with melted butter right after they come out of the oven.
Tips for Light, Flaky Homemade Biscuits Every Time
Keeping Homemade Biscuits Soft and Warm Later On
Best Foods and Drinks with Homemade Biscuits
Fun Twists on the Traditional Homemade Biscuit
Print
Homemade Biscuits Recipe
- Total Time: 25 minutes
- Yield: 8 1x
Description
Buttery homemade biscuits promise golden, flaky perfection with simple Southern charm. Crisp edges and tender centers invite warm memories of grandma’s kitchen, welcoming hungry souls with irresistible comfort.
Ingredients
Main Dry Ingredients:
- 2 cups (480 milliliters) all-purpose flour
- 1 tablespoon (15 milliliters) baking powder
- 1 tablespoon (15 milliliters) sugar
- ½ teaspoon (2.5 milliliters) salt
Dairy Ingredients:
- ½ cup (1 stick or 113 grams) cold unsalted butter, cut into small cubes
- ¾ cup (180 milliliters) cold milk (or buttermilk for extra flavor)
Instructions
- Prepare your kitchen workspace and gather essential equipment like a mixing bowl, pastry cutter, rolling pin, and baking sheet.
- Calibrate the oven temperature precisely to 450F (232C), ensuring an optimal environment for creating golden, flaky biscuits.
- Combine flour, baking powder, salt, and sugar in a large mixing bowl, whisking thoroughly to distribute ingredients evenly.
- Extract cold butter from refrigerator and cube into small, uniform pieces to facilitate even integration with dry ingredients.
- Incorporate butter into flour mixture using a pastry cutter or fingertips, breaking down butter until the texture resembles coarse, sandy crumbs with tiny butter fragments.
- Create a well in the center of the mixture and slowly introduce milk, stirring minimally to prevent gluten development and maintain a tender texture.
- Transfer dough onto a lightly floured surface, using gentle folding techniques to develop delicate layers without overworking the mixture.
- Roll out dough to approximately one-inch thickness, ensuring consistent depth for uniform baking.
- Utilize a sharp biscuit cutter or clean-edged glass to stamp out precise circular shapes, pressing directly downward to preserve dough structure.
- Arrange biscuits closely on baking sheet, allowing edges to barely touch for maximum rising potential.
- Position baking sheet in preheated oven and monitor for 10-12 minutes until surfaces transform into a rich, golden-brown hue.
- Optional: Enhance visual appeal and flavor by brushing warm biscuits with melted butter immediately after removing from oven.
Notes
- Chill butter thoroughly before cutting to ensure maximum flakiness and prevent dough from becoming greasy during mixing.
- Use buttermilk instead of regular milk for extra tanginess and more tender texture, creating lighter and more delicate biscuits.
- Handle dough minimally to prevent gluten development, which can make biscuits tough and dense instead of light and fluffy.
- For gluten-free variations, substitute all-purpose flour with a high-quality gluten-free flour blend containing xanthan gum for better binding and texture.
- Prep Time: 10 minutes
- Cook Time: 15 minutes
- Category: Breakfast, Snacks
- Method: Baking
- Cuisine: American
Nutrition
- Serving Size: 8
- Calories: 200
- Sugar: 1 g
- Sodium: 150 mg
- Fat: 10 g
- Saturated Fat: 6 g
- Unsaturated Fat: 4 g
- Trans Fat: 0 g
- Carbohydrates: 26 g
- Fiber: 1 g
- Protein: 3 g
- Cholesterol: 30 mg
Dave Mitchell
Founder & Chief Recipe Developer
Expertise
Education
Asheville-Buncombe Technical Community College
Associate of Applied Science in Culinary Arts
Focus: Comprehensive training in culinary techniques, kitchen management, and menu planning, with a special emphasis on grilling and outdoor cooking.
Dave Mitchell is the heart behind Daves Grill, a cook, writer, and lover of all things grilled. He studied Culinary Arts at Asheville-Buncombe Technical Community College and spent years cooking, testing, and sharing recipes that actually work.
Dave started Daves Grill to keep things simple: one great recipe at a time. His food is bold, easy to follow, and made for real people with regular kitchens. From juicy steaks to quick sides, Dave’s recipes bring the heat without the hassle.